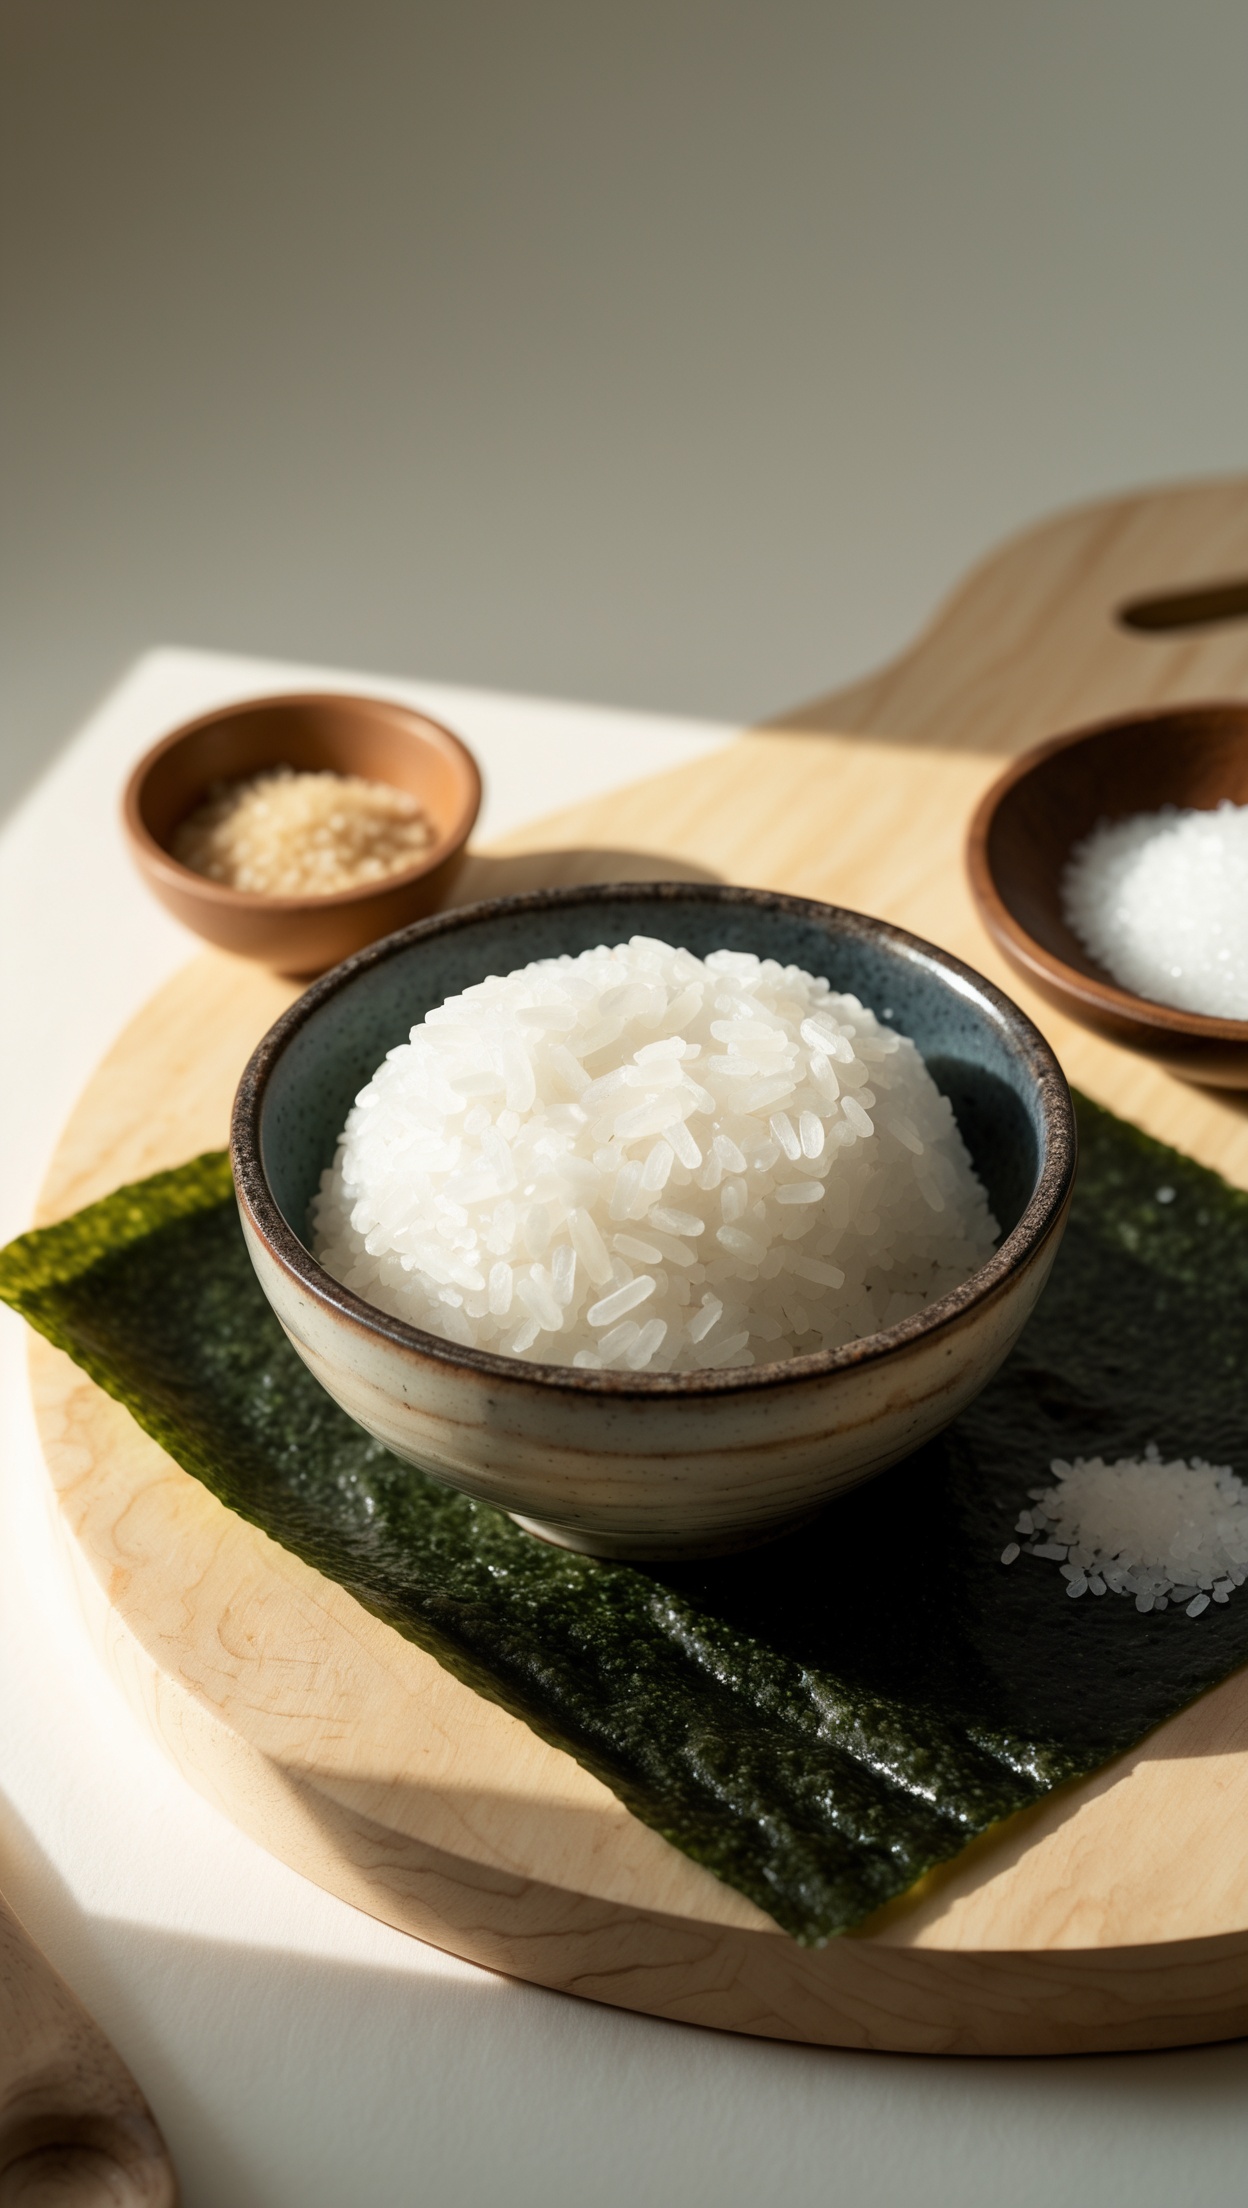
Authentic Sushi Rice in a Rice Cooker — Easy & Delicious
Sushi rice is the beating heart of Japanese cuisine. Whether you're rolling maki, shaping nigiri, or building a vibrant chirashi bowl, the quality of your sushi rice makes or breaks the entire dish. The good news? You don't need professional chef training or a specialty kitchen to nail it. With a rice cooker and the right technique, you can prepare authentic Japanese sushi rice at home — perfectly fluffy, beautifully glossy, and seasoned to absolute perfection.
In this guide, we'll walk you through every step, from choosing the right rice and washing it correctly, to mastering the vinegar seasoning that transforms plain steamed rice into something truly special.
What Makes Sushi Rice Different?
Sushi rice — known in Japanese as shari or sumeshi — is not simply cooked short-grain rice. It is rice that has been carefully seasoned with a blend of rice vinegar, sugar, and salt while still warm, then folded gently to give it a subtle shine and a perfectly balanced sweet-tangy flavour. The result is rice that sticks together just enough to hold a roll or a nigiri topping, without becoming gluey or heavy.
The key to getting this right lies in three things: the type of rice, the water ratio, and the seasoning mixture.
Ingredients
- 2 cups Japanese short-grain rice (such as Koshihikari or Calrose)
- 2 cups cold water (use slightly less than a 1:1 ratio for firmer sushi rice)
- 4 tablespoons rice vinegar (unseasoned)
- 2 tablespoons white sugar
- 1 teaspoon fine sea salt
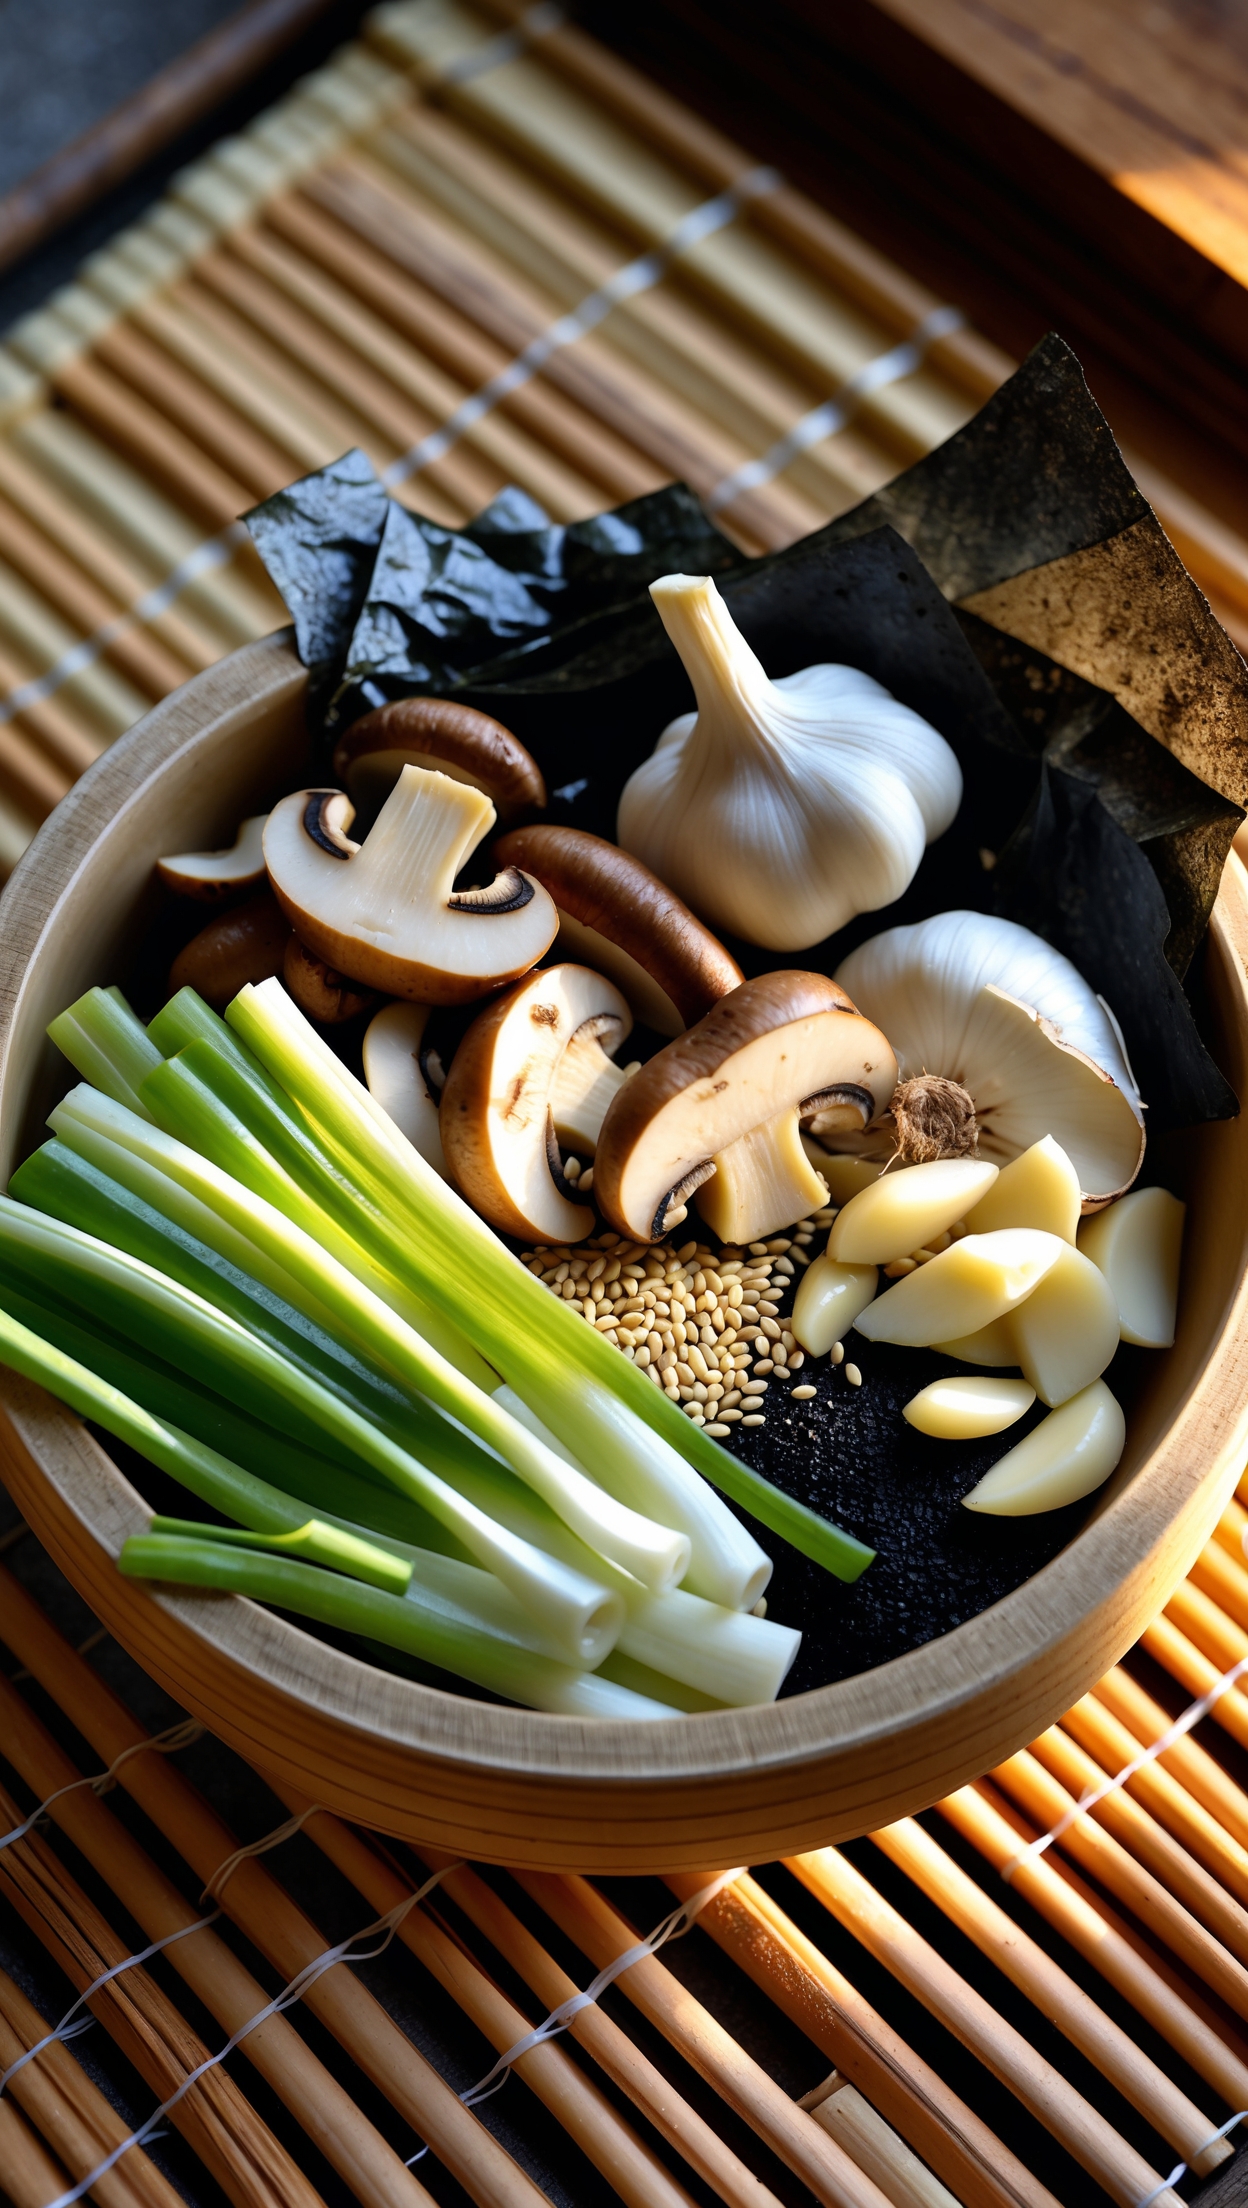
- 1 small piece of kombu (optional, for extra umami depth)
Equipment You'll Need
- A rice cooker (any standard model works great)
- A large wooden or non-metallic mixing bowl (hangiri if available)
- A flat wooden spatula or rice paddle
- A hand fan or folded piece of cardboard
Step-by-Step Instructions
Step 1: Rinse the Rice
Place the rice in a large bowl and cover with cold water. Gently swirl the rice with your hand and drain the milky water. Repeat this process 4 to 6 times until the water runs nearly clear. This removes excess surface starch and prevents the rice from becoming gummy. Let the rinsed rice drain in a fine-mesh sieve for at least 30 minutes before cooking.
Step 2: Cook in the Rice Cooker
Add the rinsed rice and measured cold water to your rice cooker. If using kombu, lay the small piece on top of the rice before starting the cooker. Select the standard white rice setting and let the cooker do its magic. Do not lift the lid during cooking — the steam is doing important work inside. Once the cooker switches to 'keep warm', allow the rice to rest, lid on, for a further 10 minutes.
Step 3: Prepare the Sushi Vinegar
While the rice cooks, combine the rice vinegar, sugar, and salt in a small saucepan over low heat. Stir gently until the sugar and salt are fully dissolved — this takes only about 2 minutes. Do not let the mixture boil. Remove from heat and allow to cool slightly. This seasoned vinegar is called awase-zu and it is the soul of authentic sushi rice. For a truly premium-quality result, sourcing the finest Japanese-style rice vinegar makes a real difference — Dallmayr stocks an excellent range of high-quality Asian pantry essentials that are perfect for recipes like this.
Step 4: Season and Fan the Rice
Transfer the hot cooked rice to your large wooden bowl. Pour the awase-zu evenly over the rice. Using your rice paddle, gently fold the vinegar into the rice using a slicing, cutting motion — never stir or mash, as this will break the grains and make the texture unpleasant. While folding, have someone fan the rice, or use your own hand to fan it yourself. The fanning cools the rice quickly and evaporates excess moisture, giving sushi rice its characteristic glossy shine.
Continue folding and fanning for about 3 to 5 minutes until the rice reaches body temperature — it should feel slightly warm to the touch, not hot.
Step 5: Rest and Use Promptly
Cover the seasoned rice with a clean, slightly damp cloth and allow it to rest at room temperature until you're ready to use it. Never refrigerate sushi rice — cold temperatures make the grains hard and chalky, ruining the texture entirely. Sushi rice is always used at room temperature and is best consumed on the same day it is made.
Tips for Perfect Sushi Rice Every Time
- Use Japanese short-grain rice only. Long-grain or basmati rice will not give you the right sticky texture.
- The water ratio matters. For sushi rice, use very slightly less water than for regular steamed rice — around 10% less. Most rice cookers have markings for sushi rice specifically.
- Season while the rice is hot. The grains absorb the vinegar mixture much better when they are warm.
- Don't skip the fanning. This step is what gives sushi rice its glossy appearance and prevents it from becoming sticky and clumped.
- Taste and adjust. Once cooled, taste your sushi rice and adjust with a tiny extra splash of vinegar or a pinch of sugar if needed.
How to Use Your Sushi Rice
Once your sushi rice is ready, the possibilities are endless. Use it to roll maki rolls with nori and your choice of fillings, press it into onigiri rice balls, layer it in a chirashi bowl topped with fresh vegetables and pickles, or shape individual pieces of nigiri topped with your favourite ingredients. Whatever you choose, this perfectly seasoned sushi rice will be the foundation of a truly authentic Japanese meal.
Storage and Make-Ahead Notes
Sushi rice does not store well. It is always best made fresh and used within a few hours. If you must keep it, store at room temperature covered with a damp cloth for up to 4 hours. Avoid the fridge at all costs — it will harden the rice irreversibly. Plan to make your sushi rice close to when you intend to use it for the very best results.
For the perfect wine pairing with this dish, Hawesko offers an outstanding selection of premium wines to complement every recipe. For the finest spices and seasonings to elevate your cooking, Gewürzland has everything you need.