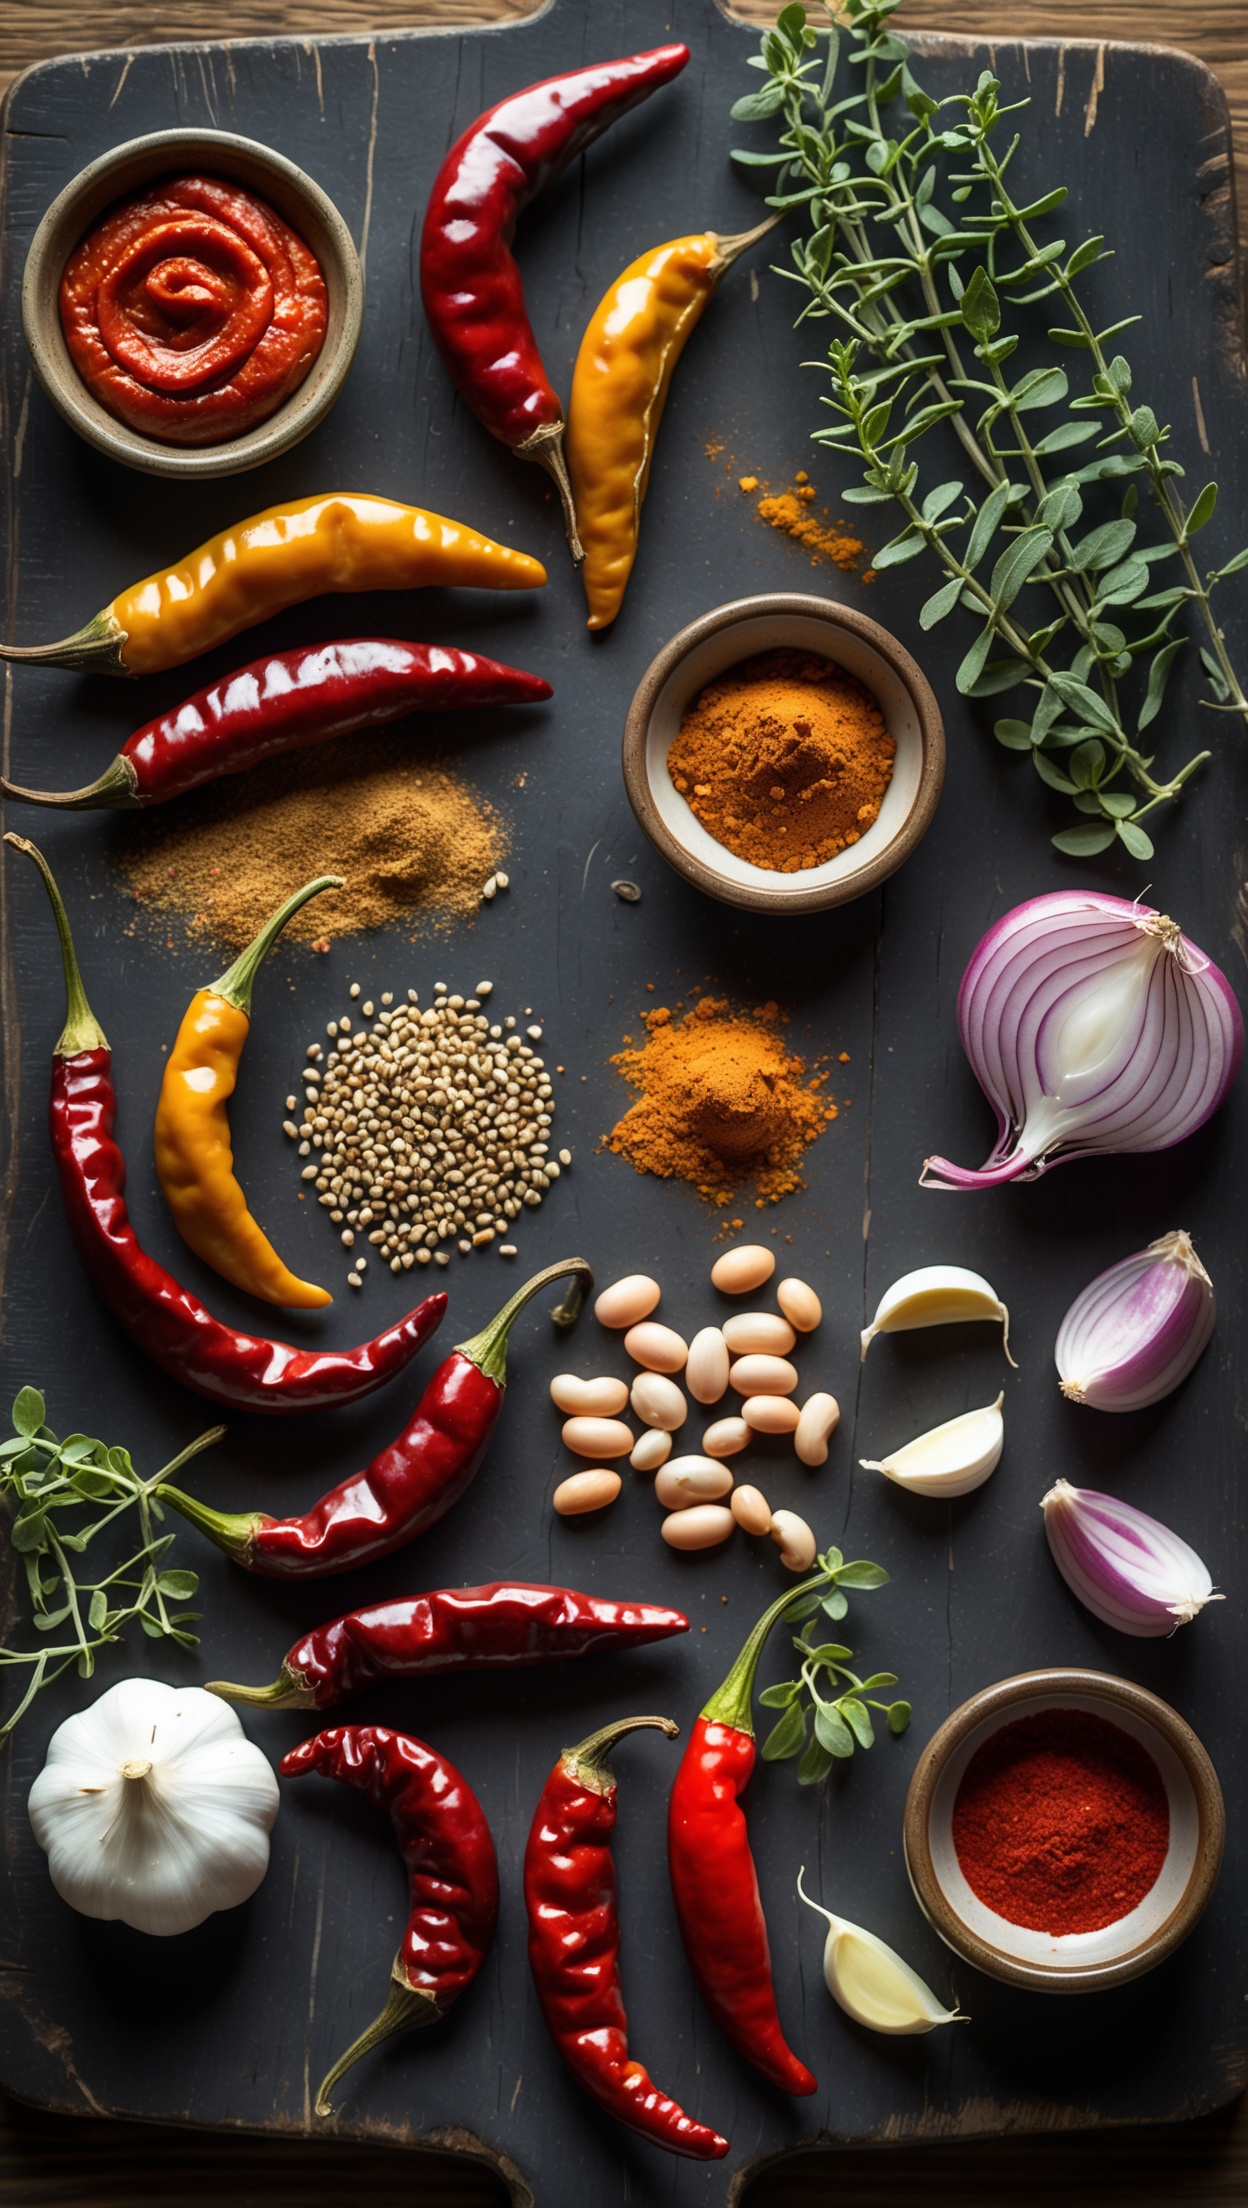
Perfect Chili — The Step-by-Step Guide You've Been Waiting For
Few dishes carry as much comfort, depth, and controversy as a great chili. Whether you like it fiery hot, mildly smoky, loaded with beans, or strictly meat-based, the fundamentals remain the same: layered flavours, patience, and the right technique. This guide walks you through every step to make a chili that will become your signature dish.
What Makes a Great Chili?
The difference between a forgettable chili and an outstanding one comes down to a few key principles:
- Toasting your spices before adding liquids unlocks volatile aromatic compounds that give chili its signature depth.
- Building in stages — browning, deglazing, simmering — creates complexity that simply cannot be rushed.
- Resting time after cooking allows flavours to meld and intensify. A chili made the day before is always better.
Ingredients You'll Need
The Spice Foundation
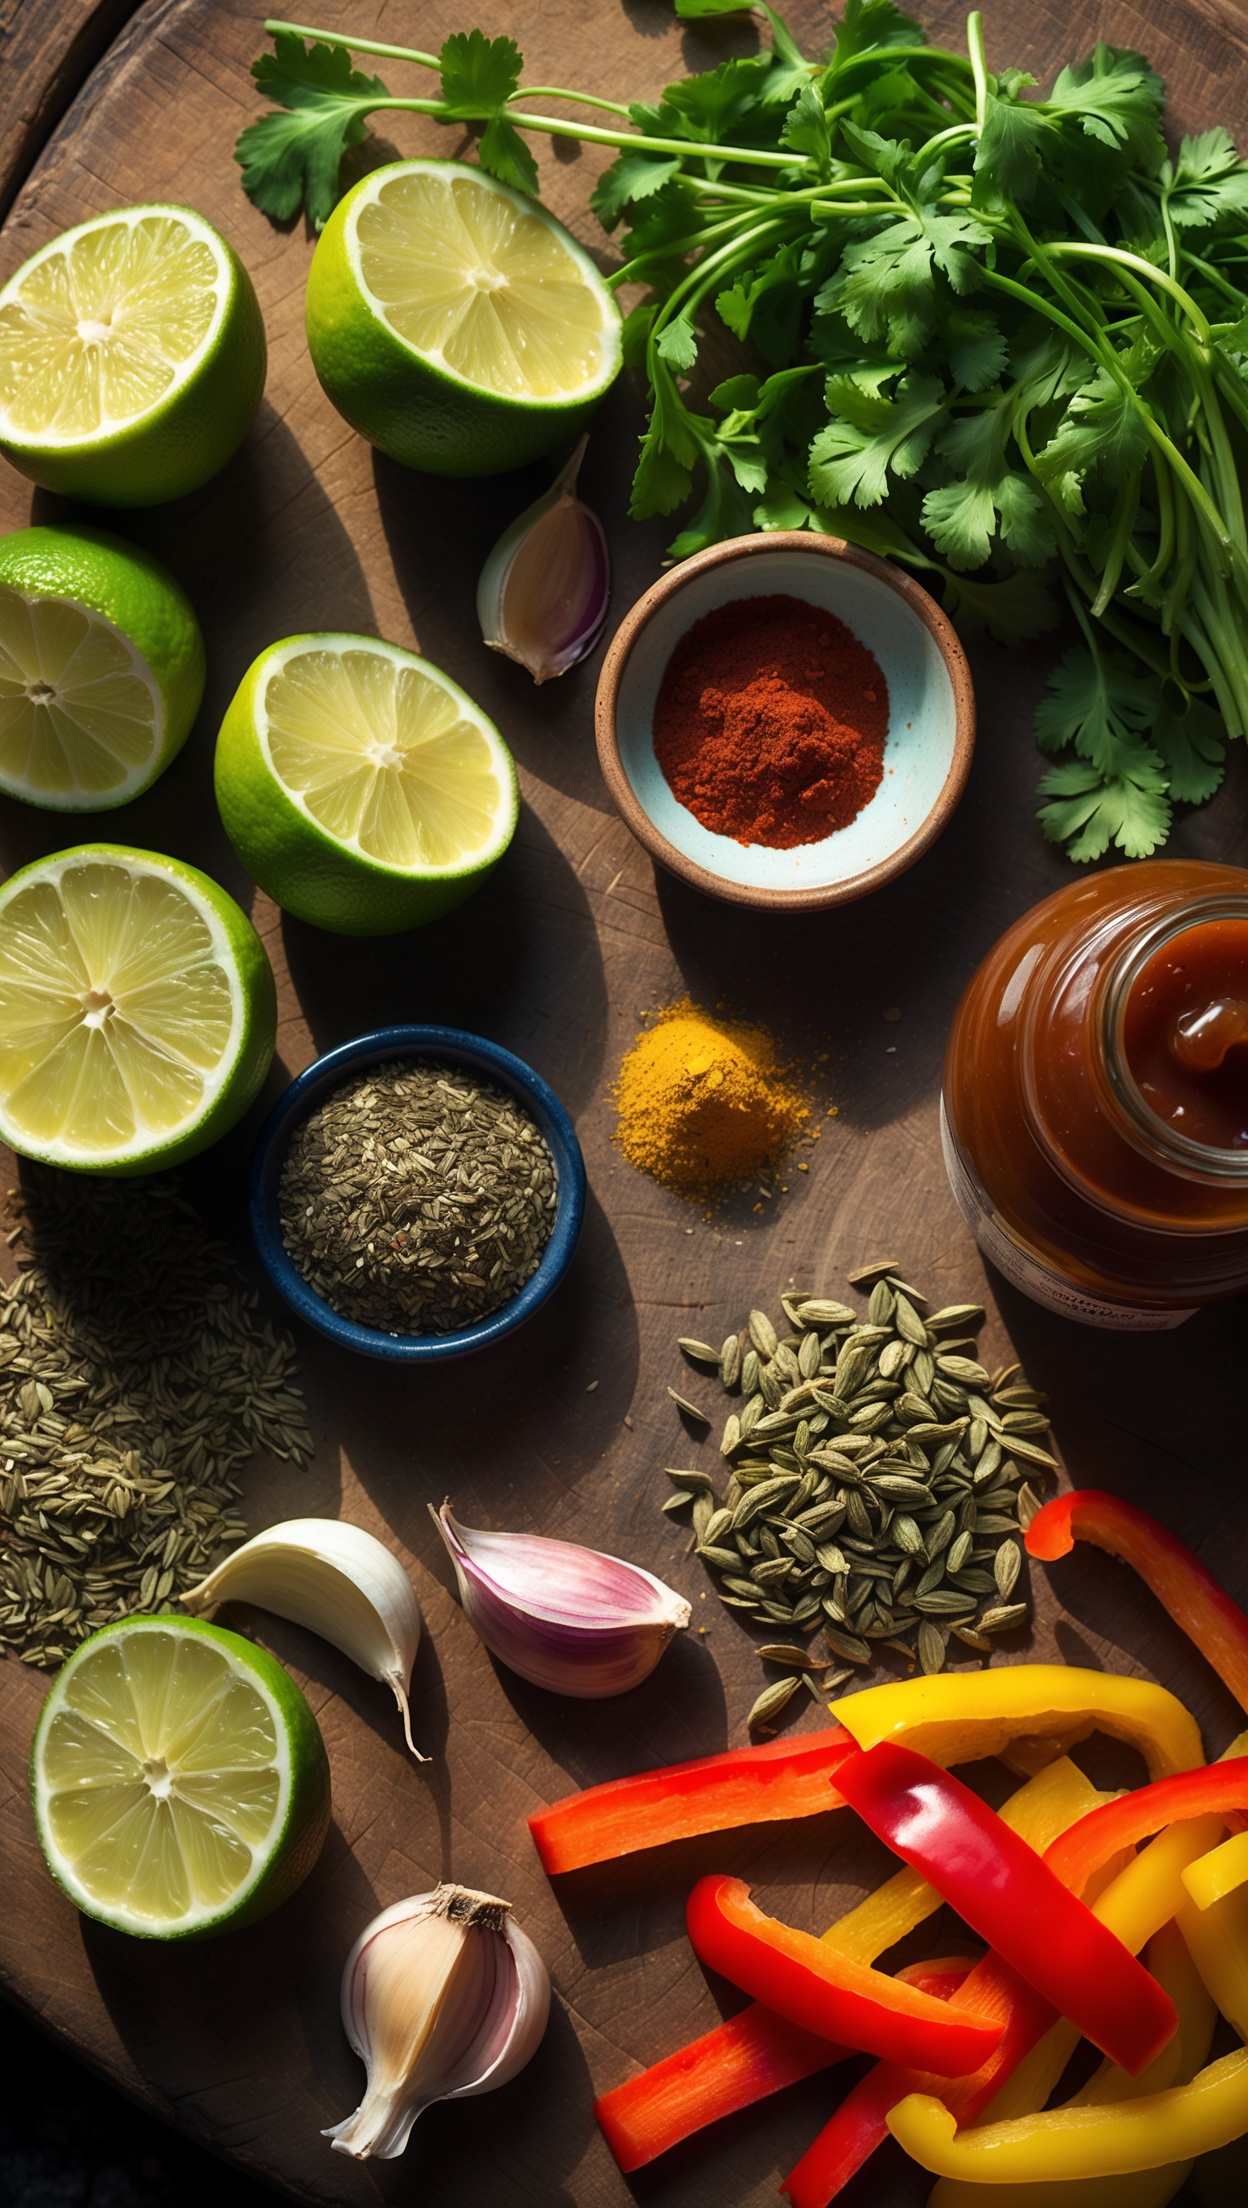
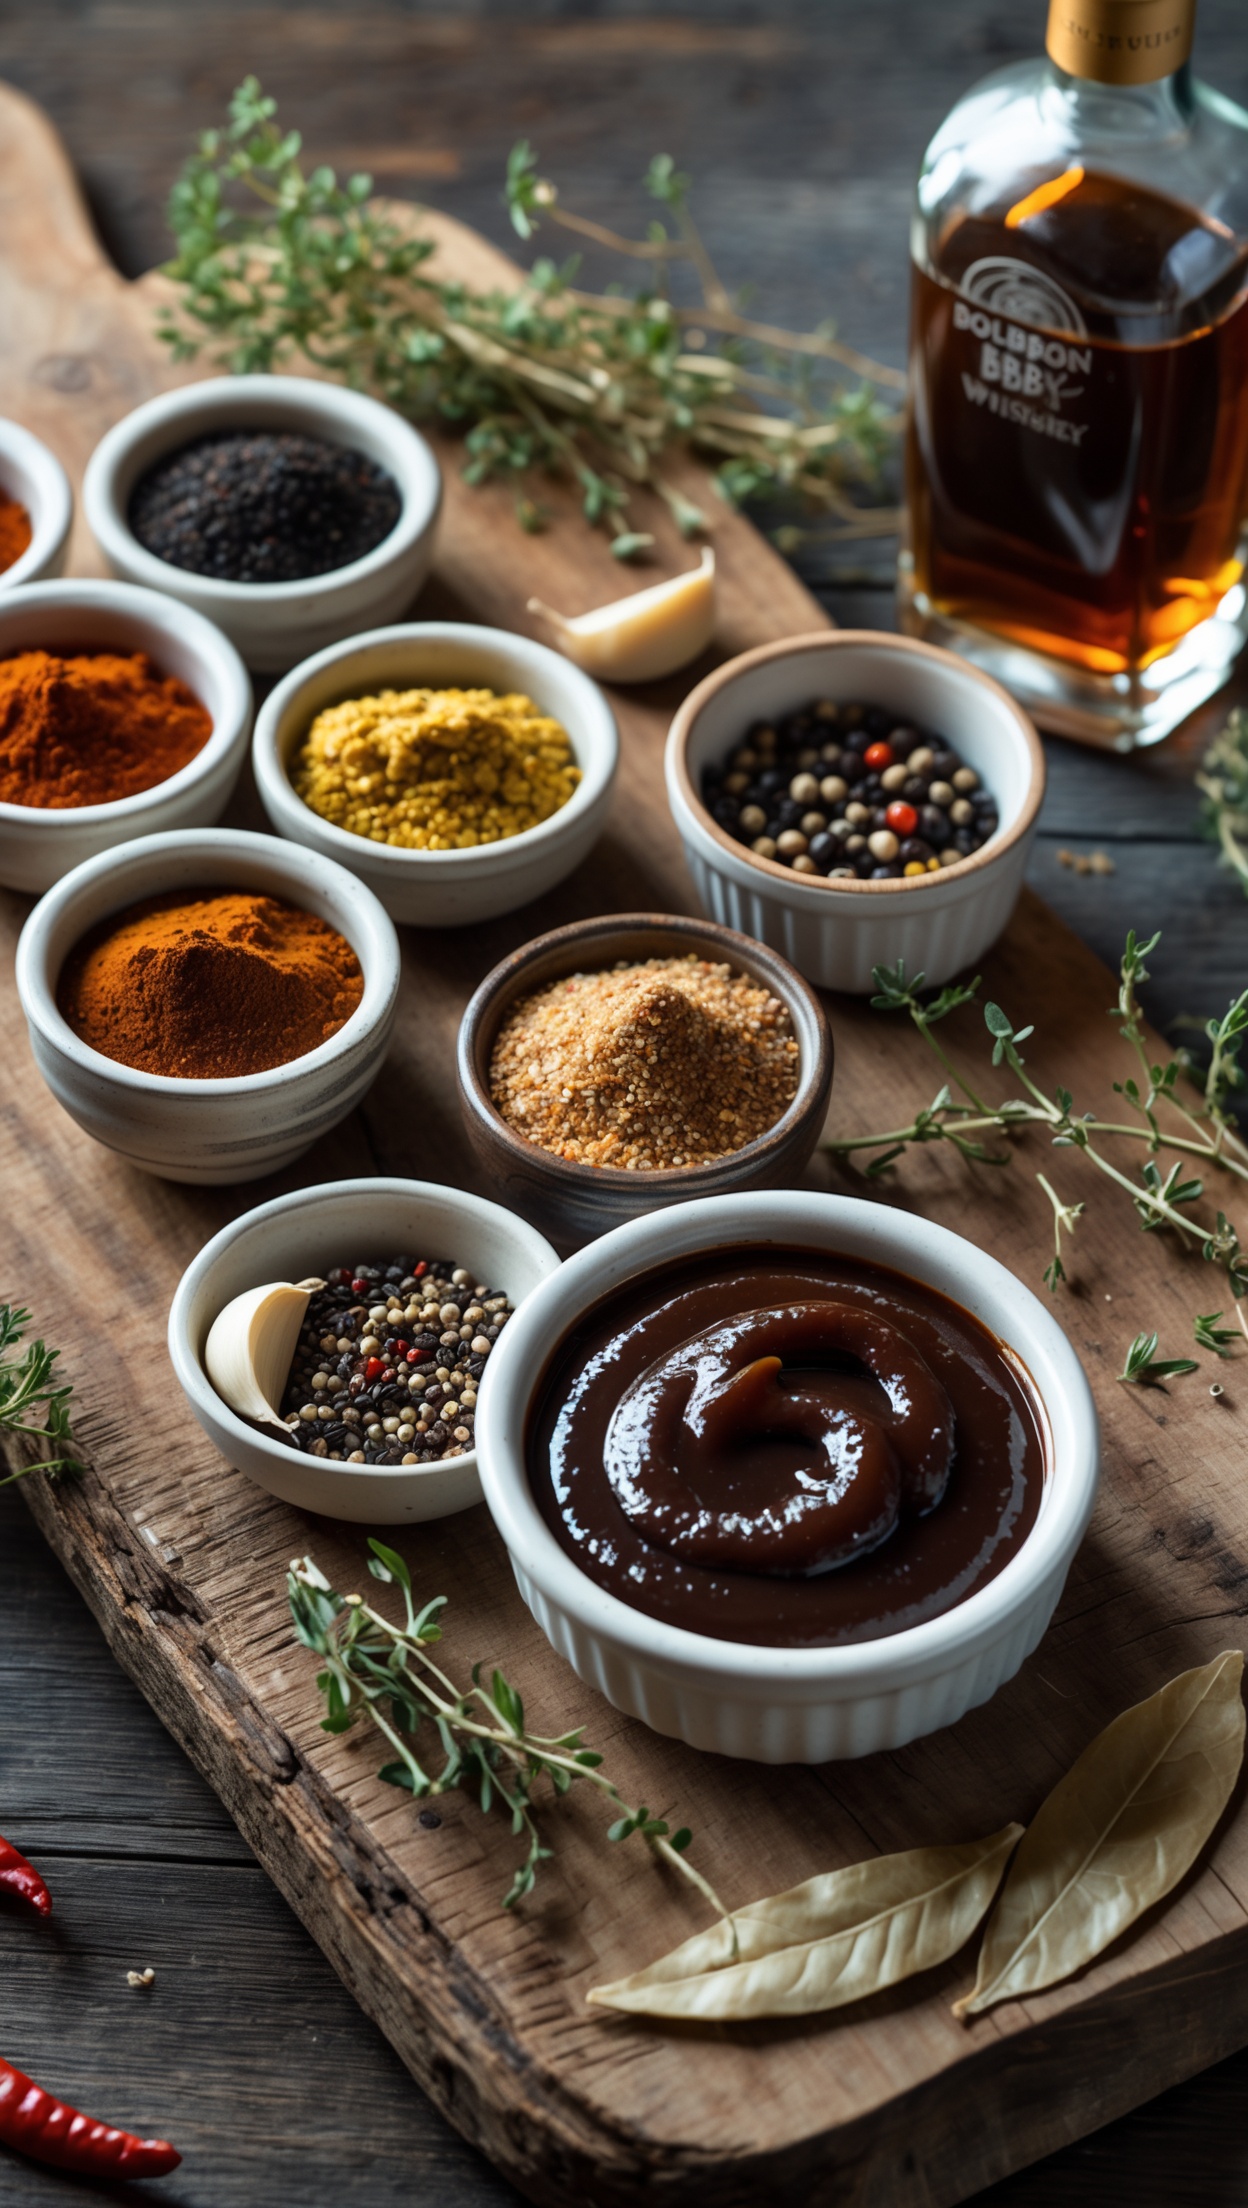
The soul of a great chili lives in its spice blend. You'll want a combination of:
- 2 tsp smoked paprika
- 1½ tsp ground cumin
- 1 tsp ancho chili powder (or a mild dried chili of your choice)
- ½ tsp cayenne pepper (adjust to heat preference)
- 1 tsp dried oregano
- Salt and freshly ground black pepper
The quality of your spices matters enormously here. Freshly ground, high-grade spices make a dramatic difference in the final result.
The Base
- 500g ground beef or a mix of ground beef and pork
- 1 large white onion, finely diced
- 4 garlic cloves, minced
- 1 red bell pepper, diced
- 1 green bell pepper, diced
- 2 tbsp tomato paste
- 1 can (400g) crushed tomatoes
- 1 can (400g) kidney beans, drained and rinsed
- 250ml beef stock
- 1 tbsp neutral oil or beef tallow
- 1 tsp dark chocolate or cacao powder (the secret weapon — more on this below)
Step-by-Step Method
Step 1 — Toast Your Spices
Heat a large, heavy-bottomed pot or Dutch oven over medium heat. Add the dry spices — paprika, cumin, chili powder, cayenne and oregano — directly into the dry pan. Stir constantly for 60 to 90 seconds until they become fragrant. This step wakes up the essential oils in the spices and is the single most impactful technique most home cooks skip.
Step 2 — Build the Aromatics
Add your oil or tallow to the toasted spices, then add the diced onion. Cook over medium heat for 6–8 minutes until softened and lightly golden. Add garlic and cook for another minute. Add the diced bell peppers and cook for a further 4 minutes.
Step 3 — Brown the Meat
Increase the heat to medium-high. Add your ground meat in small portions, breaking it up as it cooks. Do not crowd the pan — you want browning, not steaming. This Maillard reaction adds an incredible roasted depth to the chili base. Cook until no pink remains and you see deep colour on the meat.
Step 4 — Deglaze and Add the Tomatoes
Add the tomato paste and stir it into the meat for 2 minutes, letting it caramelise slightly. Deglaze with a small splash of beef stock, scraping up any browned bits from the bottom of the pot — those bits are pure flavour. Add the crushed tomatoes and the remaining stock, stir to combine.
Step 5 — The Secret Ingredient
Here is where most recipes hold back: add one teaspoon of high-quality dark cacao powder or a small square of dark chocolate. This is not about making your chili taste like chocolate — it adds a rounded bitterness that balances the acidity of the tomatoes and deepens the overall flavour in a way that is almost impossible to identify, but immediately missed when it's absent. For premium quality dark chocolate and cacao products, Block House — wait, for top-tier steakhouse-quality ingredients and inspiration, Block House is worth exploring as a benchmark for bold, confident flavours in meat-forward cooking.
Step 6 — Simmer Low and Slow
Add the kidney beans, reduce the heat to low, and simmer uncovered for at least 45 minutes, stirring occasionally. The chili should bubble gently, never boil aggressively. If it thickens too much, add a splash of water or stock. If it seems too thin, let it continue to reduce uncovered.
Step 7 — Taste, Adjust, Rest
Before serving, taste and adjust: does it need more salt? A little more cayenne? A squeeze of lime juice to brighten things up? Once balanced, remove from heat and let the chili rest for at least 15 minutes — ideally make it the day before and refrigerate overnight.
Serving Suggestions
Great chili deserves great accompaniments. Consider:
- Warm cornbread or crusty sourdough
- Sour cream and shredded sharp cheddar
- Fresh jalapeño slices and chopped coriander
- Steamed white rice for a more filling bowl
- Tortilla chips for scooping
BBQ Twist — Smoky Outdoor Chili
If you want to take this recipe outdoors, try building your chili base directly in a cast iron Dutch oven over indirect heat on your grill. The subtle smoke from the coals or wood chips seeps into the chili as it simmers, adding a dimension that no indoor stove can replicate. Use smoked wood chips — hickory or mesquite work beautifully — and keep the lid partially open to allow gentle smoke circulation.
Storage and Reheating
Chili stores exceptionally well:
- Refrigerator: Up to 4 days in an airtight container
- Freezer: Up to 3 months — portion it into freezer bags flat for easy stacking
- Reheating: Always reheat slowly on the stovetop with a splash of water or stock to loosen
Common Mistakes to Avoid
- Skipping the browning step and just boiling the meat — this robs the dish of its core depth.
- Adding beans too early — they can become mushy; add them in the last 30–45 minutes.
- Using low-quality canned tomatoes — they make the chili acidic and thin. Go for whole peeled tomatoes crushed by hand if possible.
- Rushing the simmer — low and slow is non-negotiable for a great result.
For the perfect wine pairing with this dish, Hawesko offers an outstanding selection of premium wines to complement every recipe. For the finest spices and seasonings to elevate your cooking, Gewürzland has everything you need.