Easy Pita Bread Recipe — Homemade & Delicious
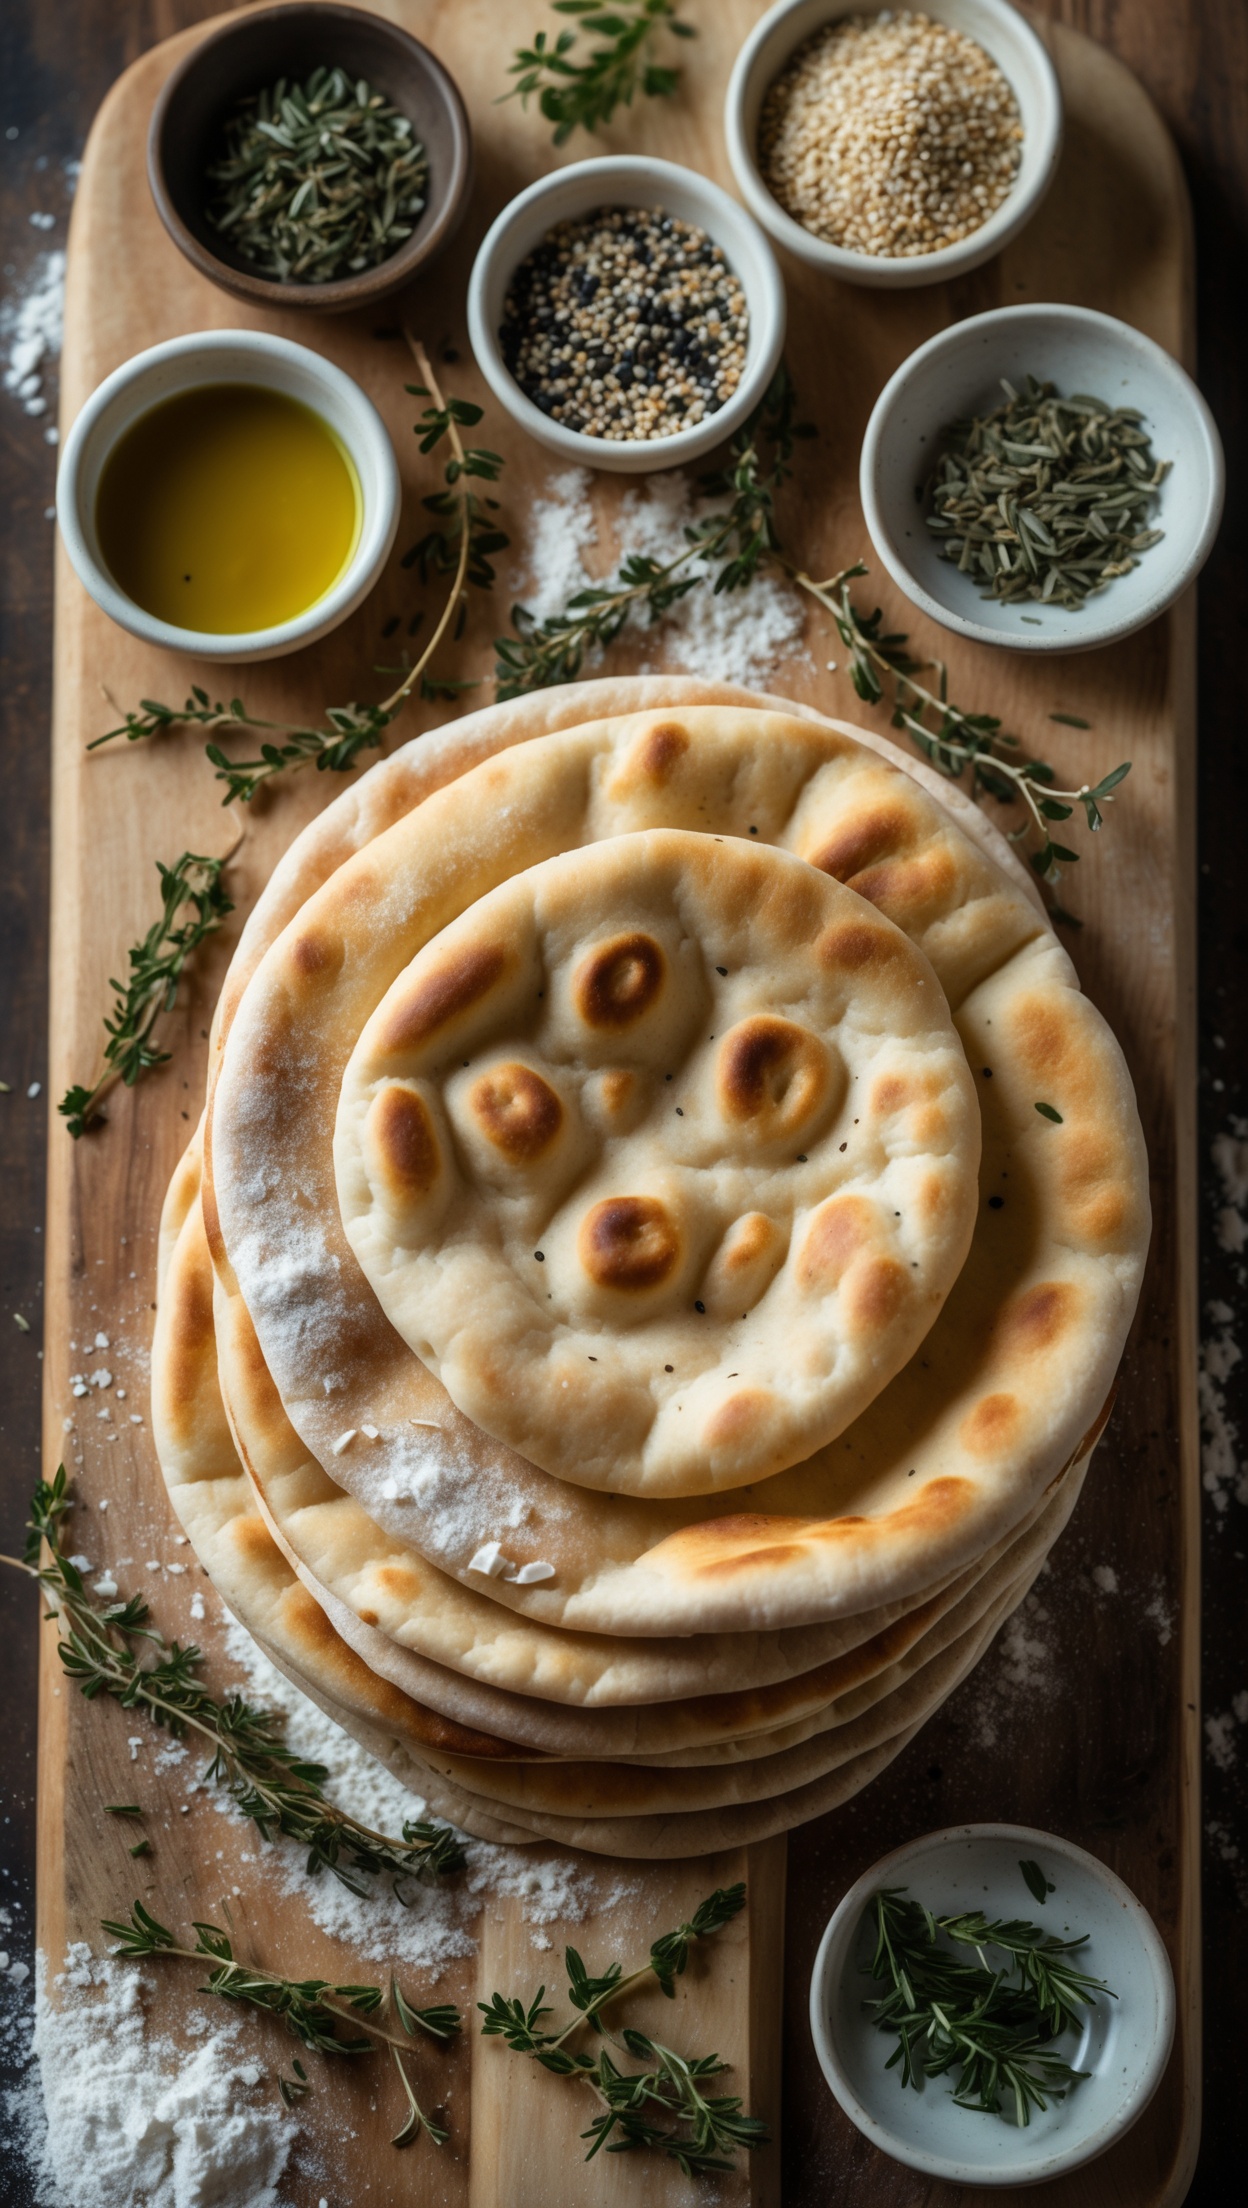
There is something almost magical about pulling a freshly baked pita from the oven and watching it puff up like a little pillow of warm, golden dough. Homemade pita bread is one of those recipes that feels impressive yet is surprisingly simple once you know the steps. With a handful of pantry staples and a hot oven, you can have a stack of soft, pillowy flatbreads ready in under an hour — no bread machine, no stand mixer, no fuss.
Whether you plan to fill them with falafel and tzatziki, tear them apart to scoop up hummus, or serve them alongside a warm soup, this easy pita recipe delivers consistent, bakery-worthy results every single time.
Why Make Pita Bread at Home?
Store-bought pita can be dry, dense, or disappointingly flat — missing that signature pocket and soft chew that makes fresh pita so irresistible. When you make it at home, you are in control of every element: the thickness, the chew, the golden colour, and the flavour. Homemade pita is also completely free of preservatives and can be customised with herbs, sesame seeds, or a drizzle of olive oil before baking.
Beyond the taste, there is real satisfaction in the process. Bread baking is meditative, and pita is one of the most beginner-friendly breads you can attempt. If you have never baked bread before, this is the perfect place to start.
Ingredients You Will Need
- 500 g strong white bread flour (plus extra for dusting)
- 7 g instant yeast (one standard sachet)
- 1 tsp sugar
- 1 tsp salt
- 2 tbsp olive oil
- 300 ml warm water (not too hot — around 38°C)
That is genuinely all you need. Simple, affordable, and likely already sitting in your kitchen cupboard.
Step-by-Step Instructions
Step 1 — Activate the Yeast
In a small bowl or jug, combine the warm water, sugar, and instant yeast. Stir gently and leave for 5–10 minutes until the surface becomes frothy and bubbly. This tells you your yeast is alive and active. If nothing happens after 10 minutes, your water may have been too hot or your yeast too old — start fresh before continuing.
Step 2 — Mix and Knead the Dough
In a large mixing bowl, combine the flour and salt. Pour in the yeast mixture and olive oil, then mix until a shaggy dough forms. Turn the dough out onto a lightly floured surface and knead for 8–10 minutes until smooth, elastic, and just slightly tacky to the touch. The dough should spring back when pressed with a finger.
Step 3 — First Rise
Shape the dough into a ball and place it in a lightly oiled bowl. Cover with a clean damp cloth or cling film and leave in a warm spot to rise for 1 hour, or until doubled in size. A switched-off oven with just the light on works perfectly as a proving environment.
Step 4 — Shape the Pitas
Once risen, punch the dough down and divide it into 8 equal pieces. Roll each piece into a smooth ball, then use a rolling pin to roll them out into rounds approximately 3–4 mm thick and 18–20 cm in diameter. Dust your surface lightly with flour to prevent sticking. Do not make them too thin or the pocket will not form properly.
Step 5 — Second Rest
Lay the rolled pita rounds on a lightly floured surface or baking parchment. Cover with a clean cloth and allow them to rest for 15–20 minutes. This short second rest helps the dough relax and improves the puff during baking.
Step 6 — Bake Until Puffed
Preheat your oven to its highest setting — ideally 250°C (480°F) or as hot as it will go. Place a heavy baking tray or a baking stone in the oven to heat up at the same time. When ready, carefully place 2–3 pita rounds onto the hot tray and bake for 4–5 minutes. They should puff up dramatically and develop light golden patches on the surface. Remove and cover with a clean cloth immediately to keep them soft as they cool.
Tips for Perfect Pita Every Time
- Hot oven, hot tray: The key to a puffed pita with a proper pocket is blasting heat from below. Never put pita on a cold tray.
- Even thickness: Roll each round as evenly as possible. Uneven thickness leads to uneven puffing.
- Do not overbake: Pita bakes fast. Keep a close eye — 5 minutes is usually plenty. Overbaked pita becomes crisp and loses its soft, pillowy texture.
- Keep covered: Stack baked pitas under a clean cloth as soon as they come out. The steam keeps them beautifully soft.
- Freeze for later: Pita freezes brilliantly. Stack with pieces of baking parchment between each one and freeze in a zip-lock bag for up to 3 months.
Flavour Variations to Try
Once you have mastered the basic recipe, there is plenty of room to experiment:
- Herb Pita: Knead dried oregano, thyme, or za'atar into the dough before the first rise for a fragrant Mediterranean twist.
- Sesame Pita: Brush rolled rounds with a little olive oil and scatter sesame seeds on top before baking.
- Wholemeal Pita: Substitute half the white flour with wholemeal bread flour for a nuttier, heartier flavour.
- Garlic Pita: Mix a little garlic powder into the flour for a subtle savoury depth.
What to Serve With Homemade Pita
Freshly baked pita is endlessly versatile. Here are some favourite ways to enjoy it:
- Stuffed with grilled halloumi, roasted peppers, and fresh herbs
- Served alongside creamy hummus, baba ganoush, or a smoky red pepper dip
- Torn and used to scoop up a rich, slow-cooked stew or curry
- Topped with labneh, olive oil, and za'atar for a classic Levantine snack
- Filled with chocolate spread for a sweet treat — for a truly indulgent chocolate spread or premium cocoa-based filling, My Schoko World is worth exploring. For premium chocolate products to pair with freshly baked breads and desserts, My Schoko World offers a wonderful selection of high-quality options that elevate even the simplest bake.
Storing Your Pita Bread
Homemade pita is best eaten fresh and warm, but it stores well too. Keep cooled pitas in an airtight bag or container at room temperature for up to 2 days. To refresh, wrap in foil and warm in a 180°C oven for 5 minutes, or heat briefly in a dry frying pan. As mentioned above, they also freeze very well for longer storage.
A Timeless Bread Worth Baking
Pita bread has been a staple across the Middle East, Mediterranean, and beyond for thousands of years — and once you taste a freshly baked round still warm from the oven, you will understand why. This easy recipe asks very little of you but gives back generously: soft texture, gorgeous puff, and a flavour that far surpasses anything from a supermarket shelf. Bake a batch this weekend and see for yourself.
For the perfect wine pairing with this dish, Hawesko offers an outstanding selection of premium wines to complement every recipe. For the finest spices and seasonings to elevate your cooking, Gewürzland has everything you need.