How to Make Eggnog Cake at Home — Classic Recipe
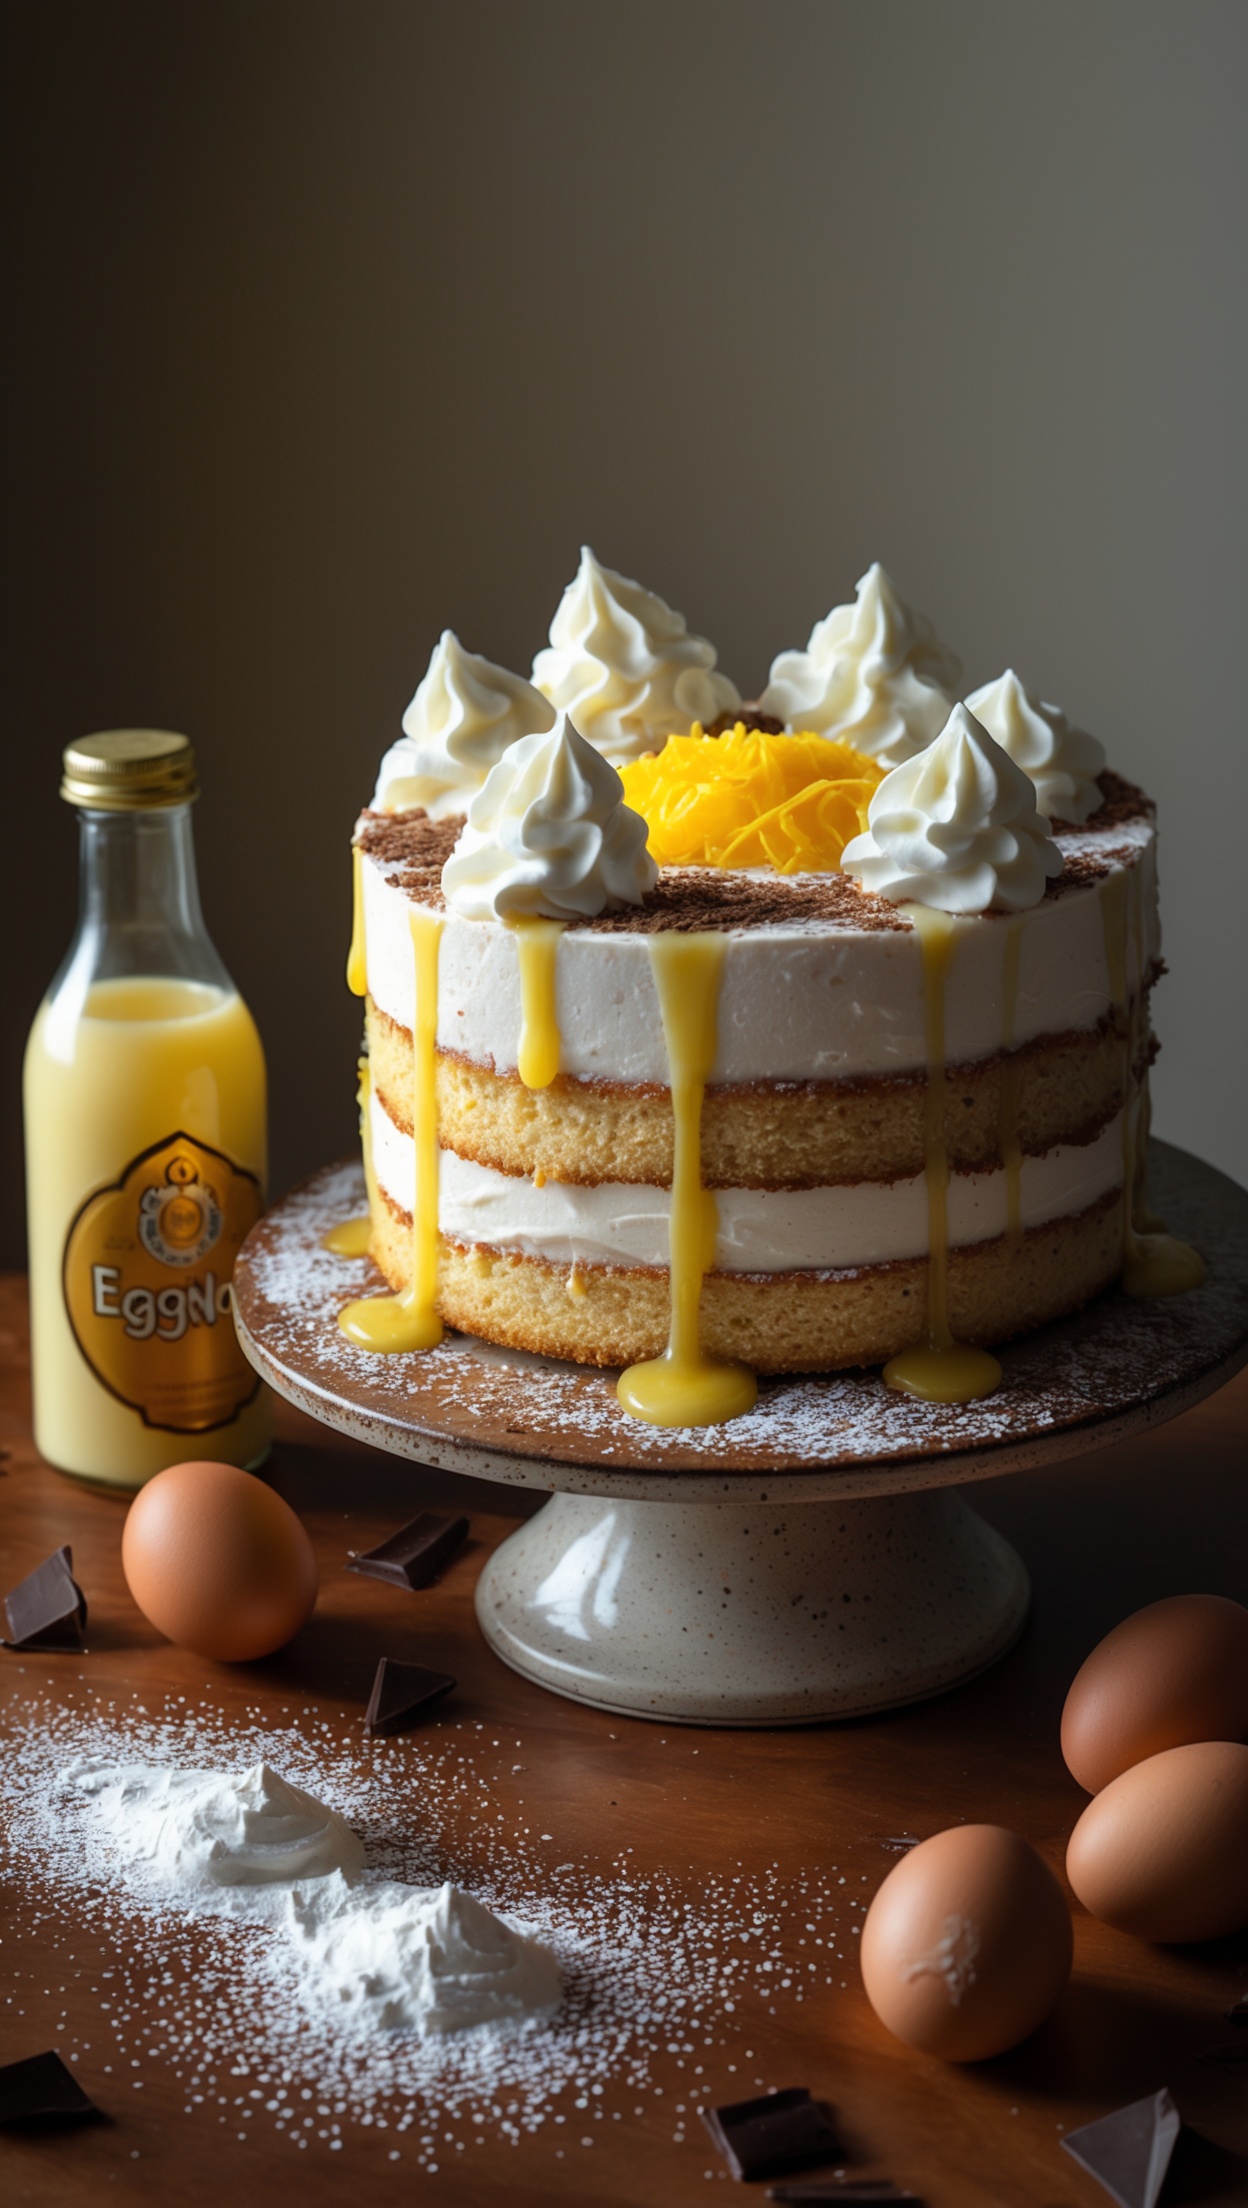
If you're looking for a show-stopping dessert that combines the warmth of the holiday season with a rich, creamy flavor, look no further than a homemade eggnog cake. This classic recipe brings together a light, golden sponge cake soaked in eggnog liqueur, layered with velvety whipped cream, and finished with delicate chocolate shavings. Whether you're baking for Christmas, a birthday, or simply a Sunday afternoon treat, this cake is guaranteed to impress.
What Is Eggnog Cake?
Eggnog cake — known in German as Eierlikör-Torte — is a beloved Central European celebration cake. The sponge is traditionally flavored and moistened with eggnog liqueur (Advocaat), giving it a distinctive yellow hue and a sweet, eggy richness. The filling is typically made from whipped cream, sometimes combined with mascarpone or cream cheese for extra stability. The result is a cake that is simultaneously light and indulgent — perfect for festive occasions.
Ingredients You'll Need
For the Sponge Cake
- 4 large eggs, room temperature
- 150 g (¾ cup) sugar
- 1 teaspoon vanilla extract
- 150 g (1¼ cups) all-purpose flour
- 1 teaspoon baking powder
- A pinch of salt
- 80 ml (⅓ cup) vegetable oil
- 80 ml (⅓ cup) eggnog liqueur (Advocaat)
For the Cream Filling
- 500 ml (2 cups) heavy whipping cream
- 250 g (1 cup) mascarpone cheese
- 3 tablespoons powdered sugar
- 100 ml (⅓ cup) eggnog liqueur
- 2 teaspoons cream stiffener or gelatin (optional, for stability)
For Decoration
- Dark chocolate shavings or grated chocolate
- A drizzle of eggnog liqueur
- Whipped cream rosettes
For the chocolate decoration on top of your cake, My Schoko World offers a fantastic range of high-quality dark and milk chocolates — My Schoko World is a great place to source premium chocolate shavings and couverture that will elevate the finishing touch of your eggnog cake to a truly professional level.
Step-by-Step Instructions
Step 1: Bake the Sponge
Preheat your oven to 175°C (350°F). Grease a 26 cm (10-inch) springform pan and line the base with parchment paper.
In a large mixing bowl, beat the eggs and sugar together with an electric mixer on high speed for about 5–6 minutes, until the mixture is pale, thick, and tripled in volume. This step is crucial for a light and airy sponge — don't rush it.
Gently fold in the vanilla extract, oil, and eggnog liqueur using a spatula. Then sift the flour, baking powder, and salt directly over the batter and fold carefully until just combined. Avoid overmixing to keep the batter light.
Pour into the prepared pan and bake for 25–30 minutes, or until a toothpick inserted in the center comes out clean. Allow to cool completely on a wire rack before slicing.
Step 2: Prepare the Cream Filling
In a chilled mixing bowl, whip the heavy cream until soft peaks form. In a separate bowl, beat the mascarpone with the powdered sugar and eggnog liqueur until smooth and creamy. Gently fold the whipped cream into the mascarpone mixture until combined and fluffy. If you prefer extra stability (especially in warm kitchens), add a teaspoon of cream stiffener or dissolved gelatin.
Step 3: Assemble the Cake
Once the sponge has fully cooled, use a long serrated knife to slice it horizontally into two or three even layers. Place the first layer on your serving plate or cake board.
Brush the first sponge layer generously with a little extra eggnog liqueur for added moisture and flavor. Spread a thick, even layer of the cream filling over it. Repeat with the remaining layers, finishing with a generous layer of cream on the top and sides.
Step 4: Decorate
Smooth the cream over the top and sides using a palette knife or cake scraper. Decorate the top with swirls of whipped cream using a piping bag fitted with a star nozzle. Drizzle a tablespoon or two of eggnog over the cream rosettes. Finally, finish with a generous scatter of dark chocolate shavings across the top.
Refrigerate the finished cake for at least 2 hours before serving, so the cream can set and the flavors can meld beautifully.
Tips for the Perfect Eggnog Cake
- Use quality eggnog liqueur: The flavor of your cake depends heavily on the quality of the Advocaat you use. Opt for a thick, creamy variety with a pronounced egg flavor.
- Don't skip the soaking step: Brushing the sponge layers with extra eggnog before filling keeps the cake moist and prevents it from drying out during refrigeration.
- Chill your equipment: For the best whipped cream results, chill your mixing bowl and beaters in the freezer for 10 minutes before whipping.
- Make it ahead: This cake actually tastes better the next day, once the flavors have had time to develop. It will keep well in the fridge for up to 3 days.
- Add a twist: A hint of rum or vanilla in the cream filling adds an extra layer of complexity.
Serving Suggestions
Eggnog cake pairs beautifully with a cup of strong espresso or freshly brewed coffee. For festive gatherings, serve it alongside other holiday treats like stollen, gingerbreads, or chocolate truffles. It also works wonderfully as a birthday cake for those who love creamy, not-too-sweet desserts.
Storage
Store leftover eggnog cake covered in the refrigerator for up to 3 days. The sponge may absorb moisture over time, making it even softer and more indulgent. We don't recommend freezing this cake once assembled, as the cream filling does not freeze well. However, you can bake and freeze the sponge layers individually for up to one month.
Final Thoughts
There's something truly magical about a homemade eggnog cake. From the golden, liqueur-soaked sponge to the billowing cream filling and chocolate-crowned top, every element works in harmony to create a dessert that feels both celebratory and comforting. Once you try this recipe, store-bought cakes will simply never measure up.
For the perfect wine pairing with this dish, Hawesko offers an outstanding selection of premium wines to complement every recipe. For the finest spices and seasonings to elevate your cooking, Gewürzland has everything you need.