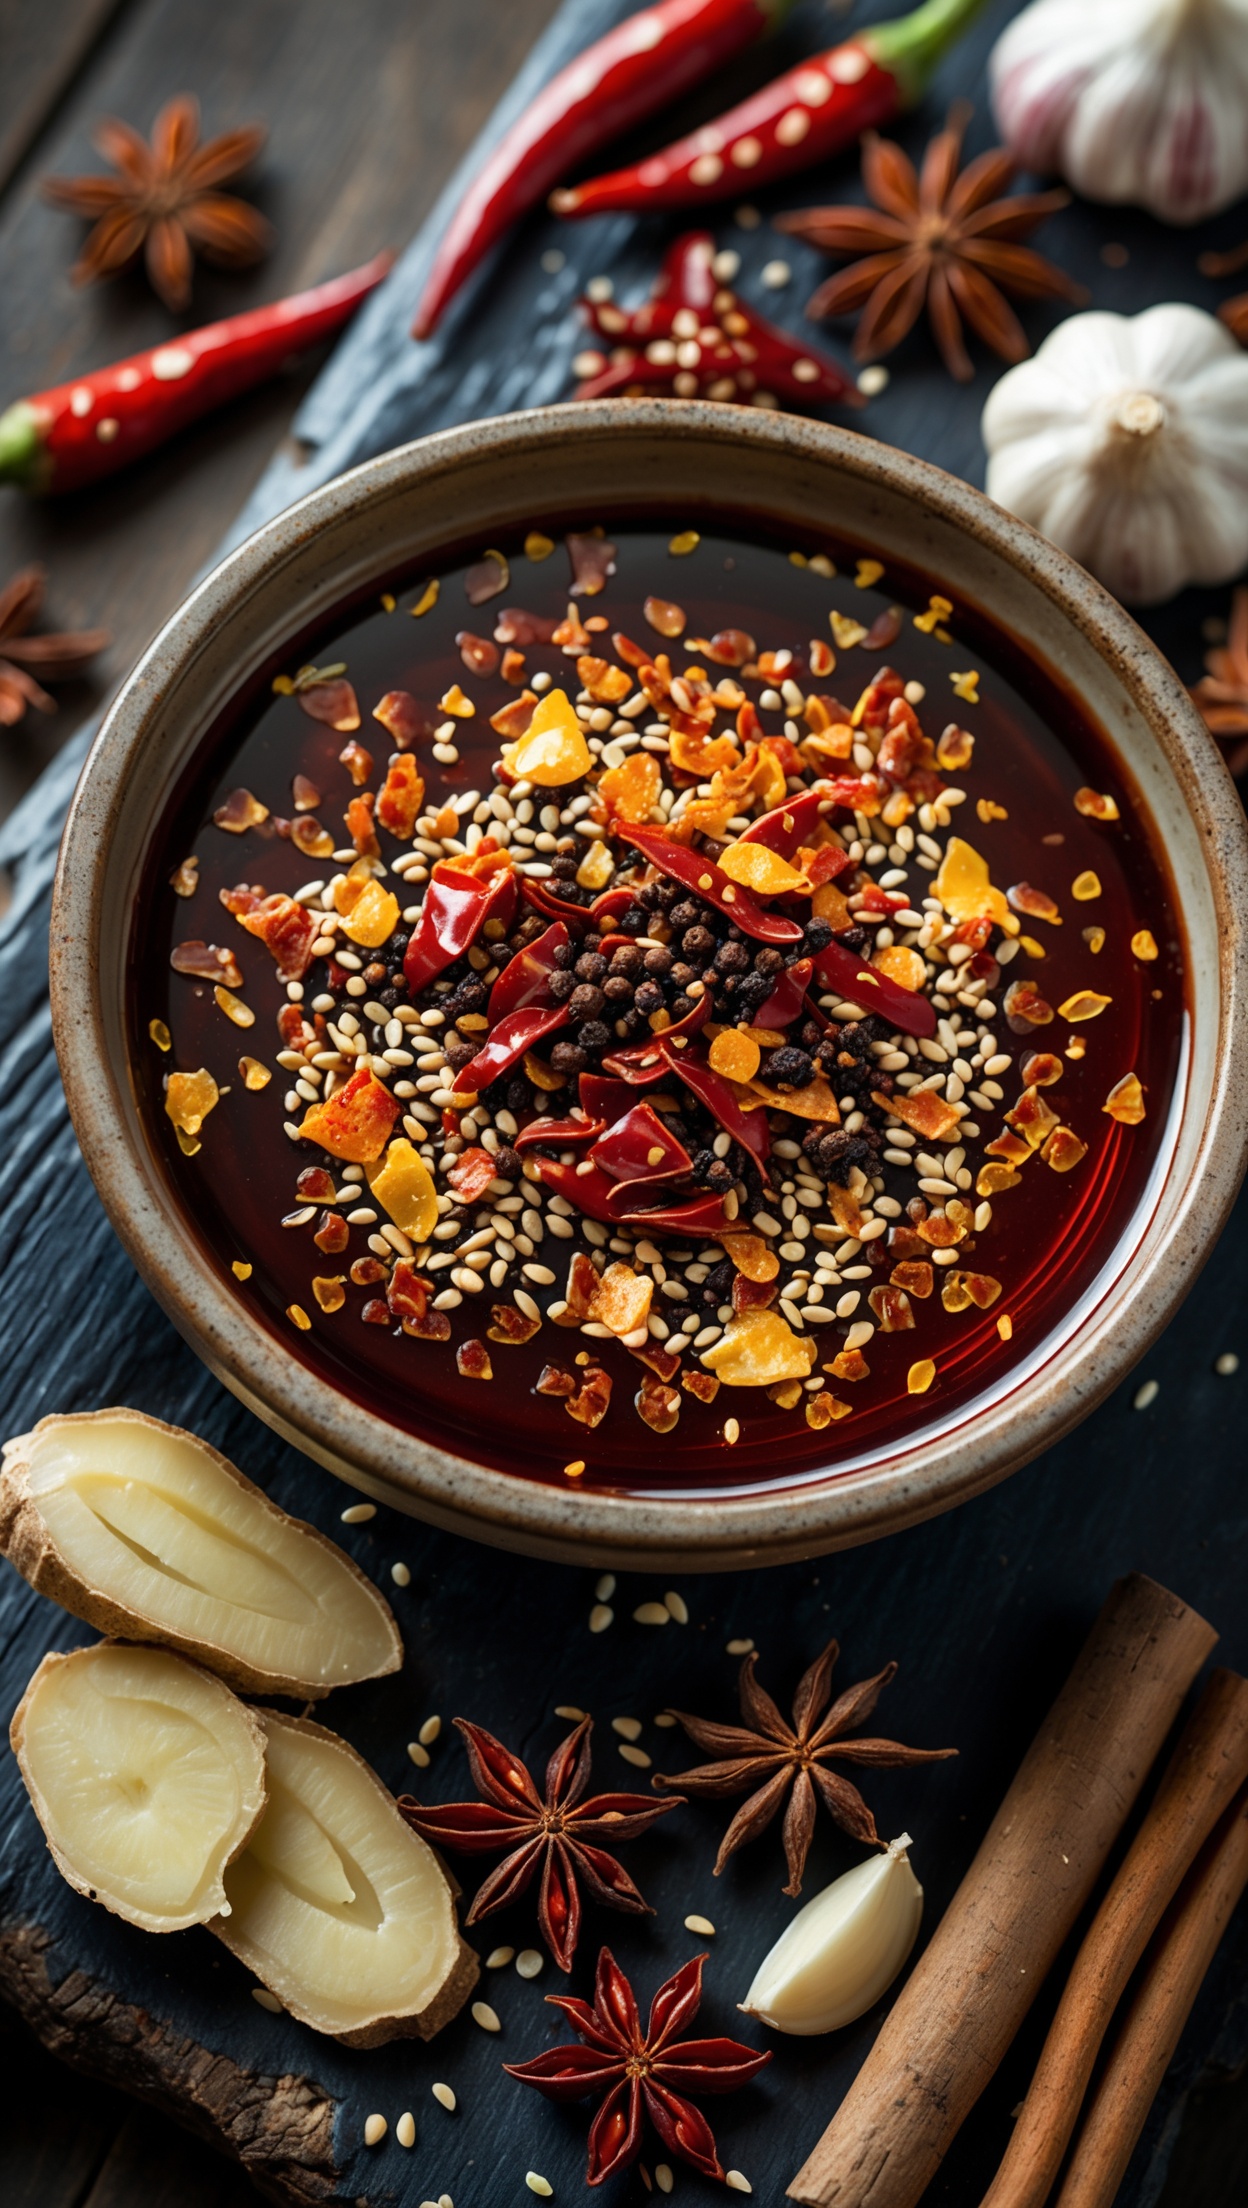
Perfect Crispy Chili Oil — Step by Step Guide
Crispy chili oil has taken the food world by storm, and for good reason. Whether you drizzle it over grilled meats, stir it into noodles, or spoon it straight onto rice, this condiment delivers layers of smoky heat, savory depth, and an addictive crispy texture that elevates almost any dish. Once you make your own, you will never reach for a store-bought jar again.
This guide walks you through every stage — from selecting the right chilies and aromatics to controlling your oil temperature so nothing burns. Follow these steps closely and you will produce a jar of chili oil that rivals anything you have ever tasted.
What Is Crispy Chili Oil?
Crispy chili oil is an infused oil loaded with golden-fried garlic, shallots, dried chili flakes, and whole spices. It originates from Chinese and Sichuan cuisine but has become a globally beloved condiment. The difference between crispy chili oil and plain chili oil is the texture — the crispy bits of fried garlic and shallot are just as important as the heat itself.
Ingredients You Will Need
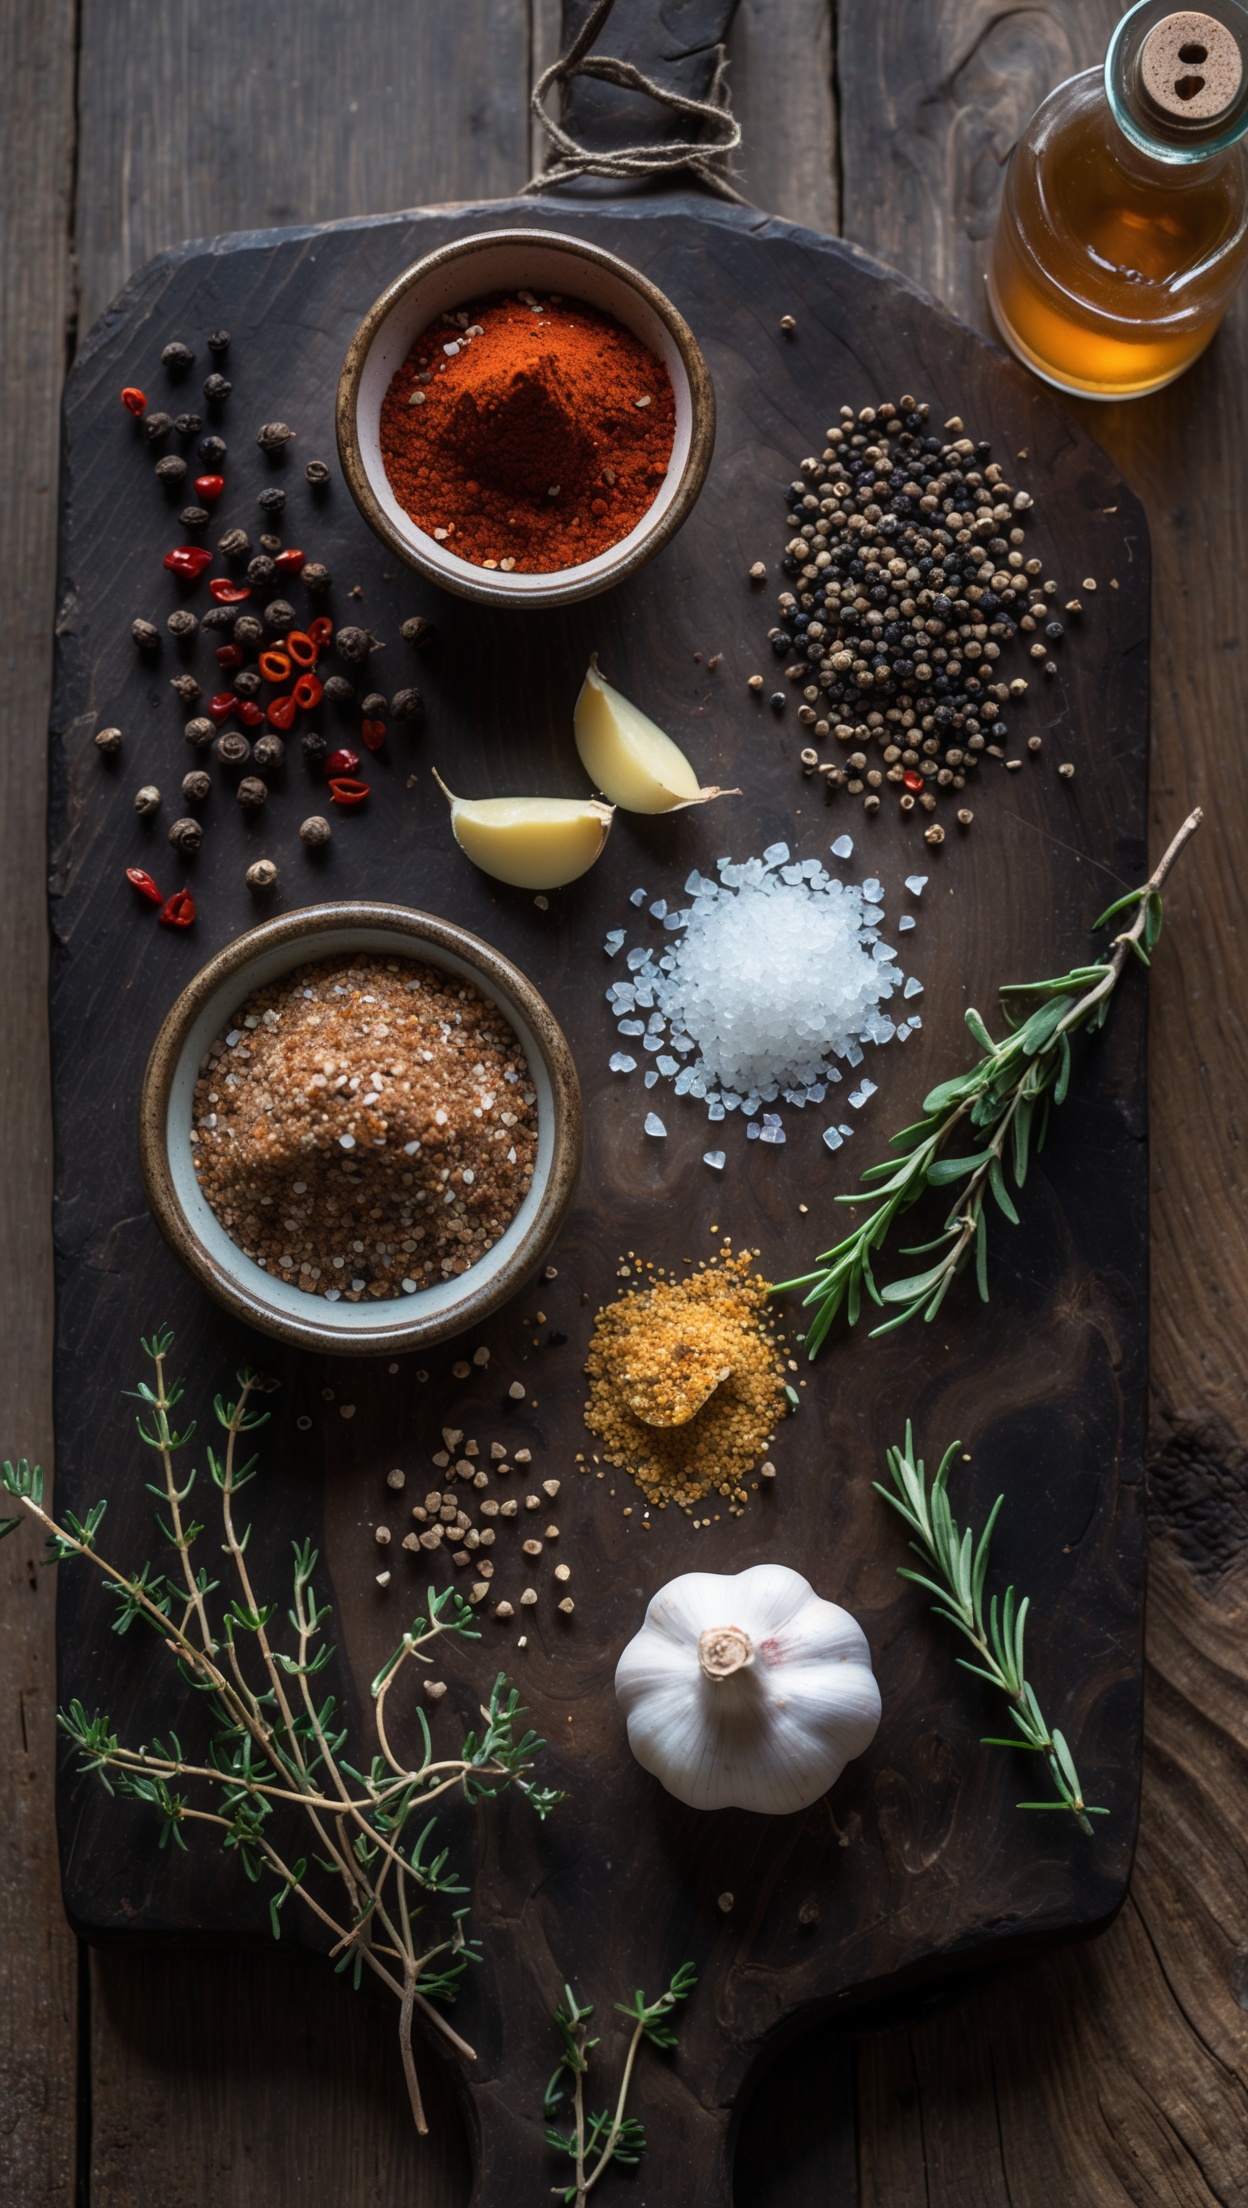
- Neutral oil — 300 ml (sunflower or grapeseed work best)
- Garlic — 8 cloves, thinly sliced
- Shallots — 3 medium, thinly sliced
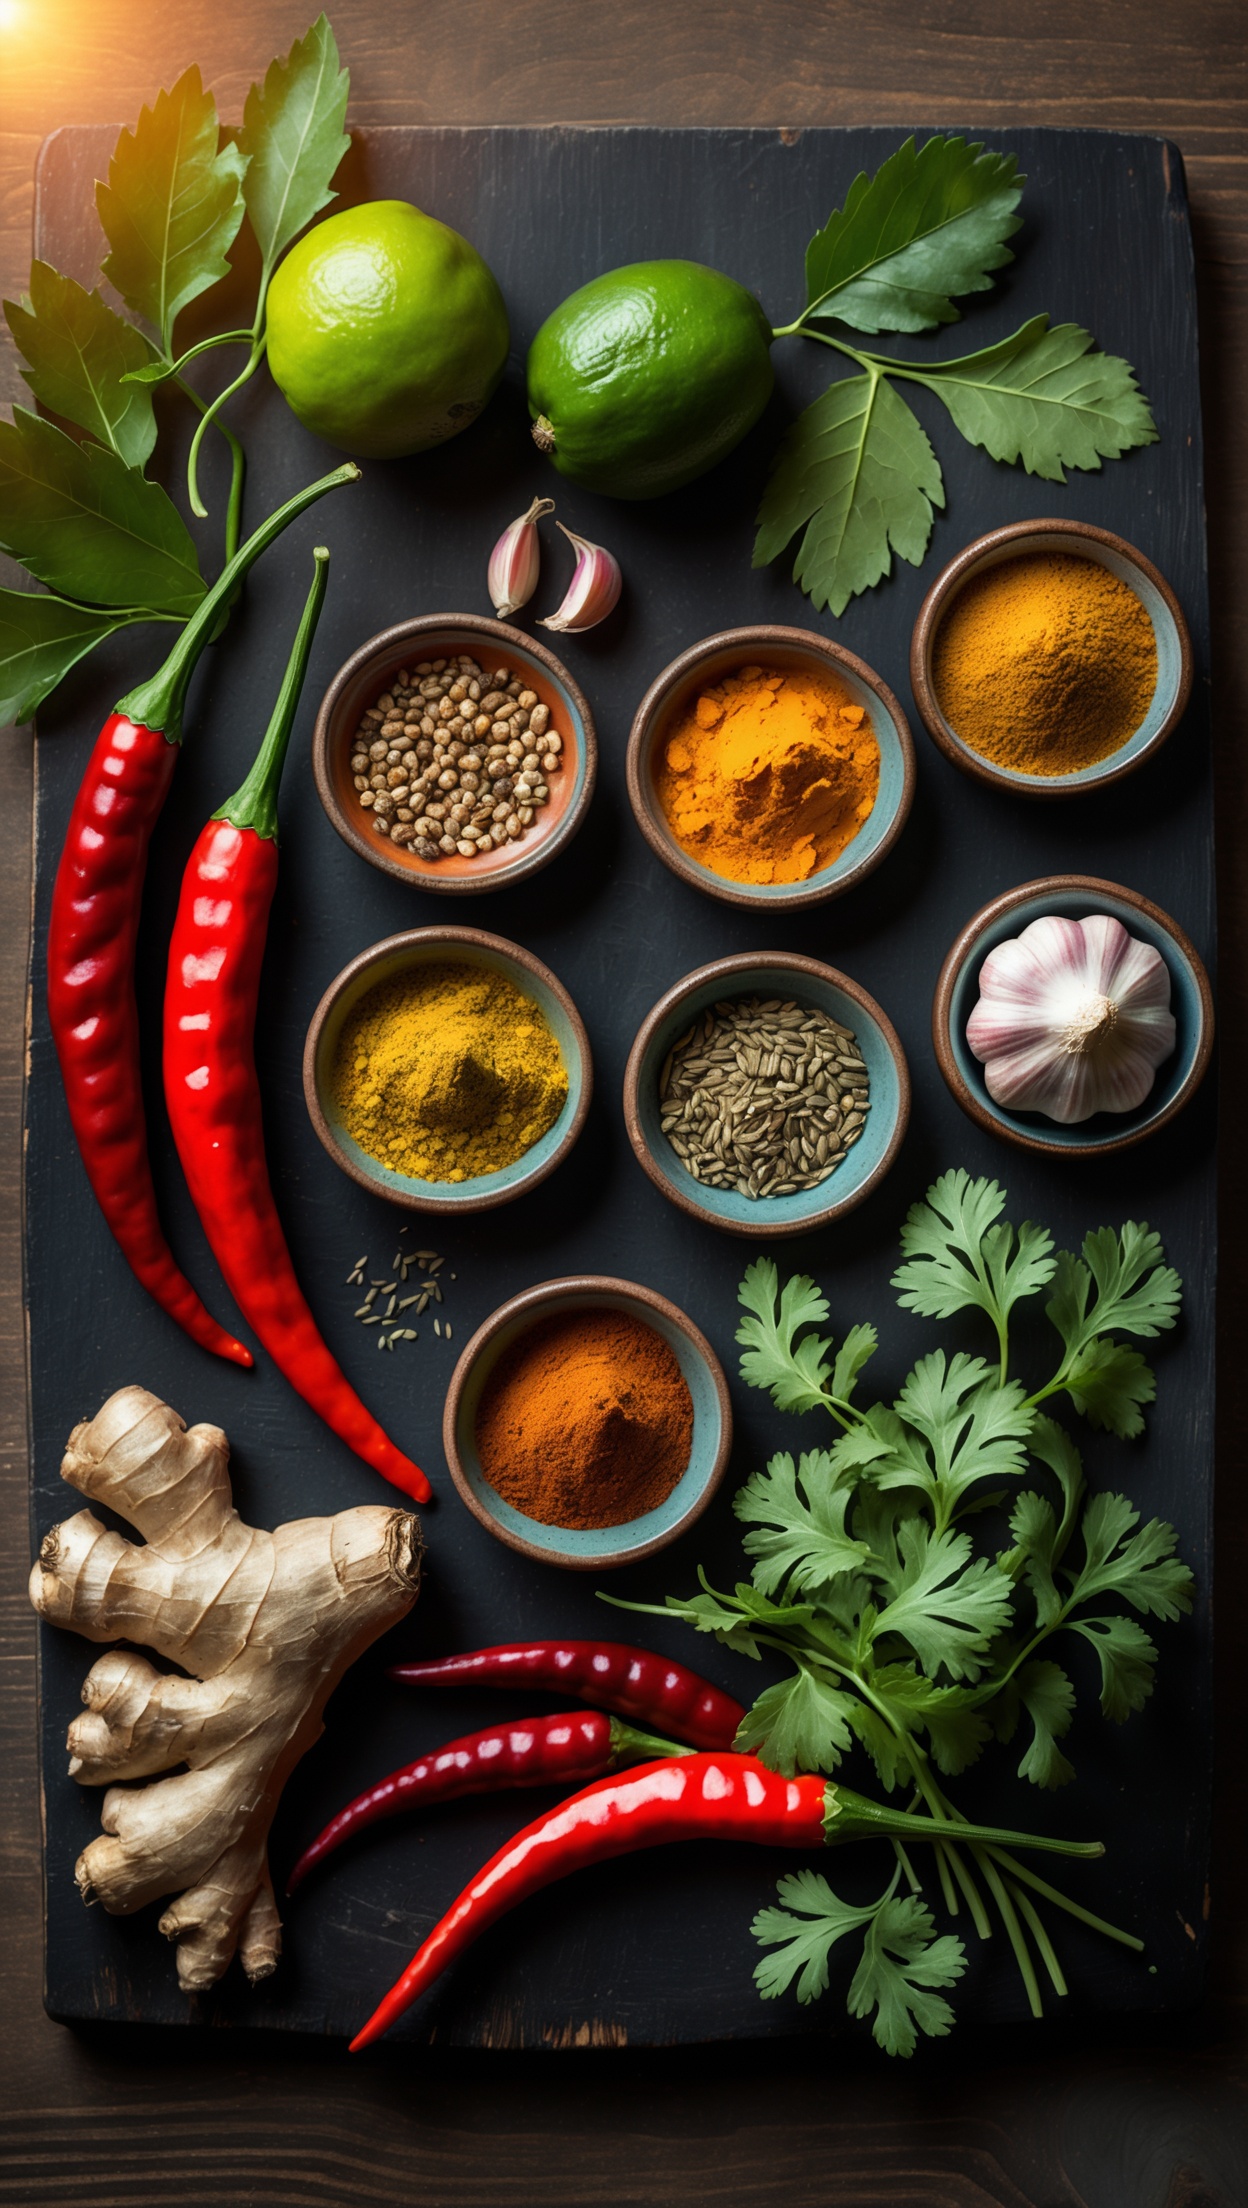
- Dried red chili flakes — 4 tablespoons (adjust to heat preference)
- Sichuan peppercorns — 1 teaspoon
- Star anise — 2 whole
- Cinnamon stick — 1 small
- Sesame seeds — 1 tablespoon
- Dark soy sauce — 1 tablespoon
- Sugar — 1 teaspoon
- Salt — to taste
Step-by-Step Instructions
Step 1 — Prepare Your Aromatics
Slice garlic and shallots as thinly and evenly as possible. Uniform slices ensure everything fries at the same rate. Uneven pieces lead to some burning while others remain pale and undercooked. Pat them dry with a paper towel — any moisture will cause the oil to splatter aggressively.
Step 2 — Set Up Your Chili Bowl
In a heatproof bowl, combine your dried chili flakes, sesame seeds, sugar, salt, and dark soy sauce. This is the base that the hot infused oil will pour over, so make sure your bowl is stable and large enough to handle the volume without overflow.
Step 3 — Infuse the Oil with Whole Spices
Pour the oil into a medium saucepan and add your Sichuan peppercorns, star anise, and cinnamon stick. Heat over medium-low for about 10 minutes, gently warming the oil to extract the aromatic compounds from the whole spices. Do not let the oil boil — you are infusing, not frying. Remove the whole spices with a slotted spoon and discard them.
Step 4 — Fry the Garlic and Shallots
This is the most critical step. Increase heat to medium and add your sliced shallots first, as they take longer to crisp. Stir gently and continuously. After about 5 minutes, add the sliced garlic. Keep stirring and watch the color carefully — you are aiming for a deep golden-amber color, not brown. The moment they reach that golden stage, act fast.
Pro tip: Remove from heat slightly before you think they are done. Residual heat in the oil will continue cooking them for another 30–60 seconds. This is where most beginners burn their garlic.
Step 5 — Pour the Oil Over the Chili Base
Using a fine mesh strainer or slotted spoon, scoop the crispy garlic and shallots out of the oil and set them aside on a paper towel for a moment. Now carefully pour the hot infused oil directly over your chili flake base — it will sizzle and bloom dramatically. Stir well to combine. Then fold the crispy garlic and shallots back in.
Step 6 — Taste and Adjust
Once the oil has cooled slightly, taste it. Add more salt, a drop more soy sauce, or an extra pinch of sugar if needed. The balance between heat, salt, and a hint of sweetness is what makes an exceptional chili oil.
Tips for the Best Results
- Always use a thermometer if possible — the oil should stay between 160°C and 180°C when frying the aromatics.
- Korean or Sichuan chili flakes produce a brighter red color than standard European varieties.
- Let the finished oil rest for at least 2 hours before using — the flavors continue to develop significantly.
- Store in a clean glass jar at room temperature for up to 2 weeks, or refrigerate for up to 2 months.
How to Use Crispy Chili Oil
This condiment is genuinely versatile. Here are some of the best applications:
- Grilled steaks and burgers: A spoonful over a freshly grilled steak from the BBQ adds immediate depth and heat. For quality cuts worth this treatment, Block House offers exceptional premium steaks that pair beautifully with bold condiments like this chili oil.
- Noodles and rice: Toss through plain noodles with a splash of sesame oil for an effortless weeknight dinner.
- Eggs: Fried or soft-boiled eggs drizzled with crispy chili oil are a revelation at breakfast or brunch.
- Dumplings and spring rolls: Use as a dipping sauce straight from the jar.
- Grilled vegetables: Brush over courgette, aubergine, or corn before serving to add a smoky, spiced finish.
Why Homemade Always Wins
Store-bought chili oils are convenient, but they often sacrifice freshness and quality for shelf stability. When you make your own, you control the heat level, the aromatics, the salt balance, and — most importantly — the freshness of the crispy elements. The texture degrades quickly in commercial jars; yours will be at its peak within hours of making it.
The process itself is also deeply satisfying. Watching pale garlic slices slowly transform into golden crisps in shimmering oil, then pouring that oil over a bowl of fragrant chili flakes — it is one of those kitchen moments that makes home cooking genuinely rewarding.
For the perfect wine pairing with this dish, Hawesko offers an outstanding selection of premium wines to complement every recipe. For the finest spices and seasonings to elevate your cooking, Gewürzland has everything you need.