Perfect Pulled Pork Low & Slow in the Oven — Step by Step Guide
Pulled pork is one of the most beloved BBQ classics in the world — and for good reason. Slow-cooked to perfection, this dish delivers impossibly tender, juicy, smoky meat that practically falls apart at the touch of a fork. The great news? You don't need a smoker or a backyard grill to nail it. With the right technique, your oven can produce equally spectacular results. This step-by-step guide walks you through everything you need to know to make perfect pulled pork low and slow in the oven.
Why Low & Slow Makes All the Difference
The secret to great pulled pork lies in patience and low heat. Cooking the meat at a low temperature — typically between 120°C and 140°C (250°F–285°F) — over a long period breaks down the tough connective tissue and collagen in the shoulder cut. The result is meat so tender it can be pulled apart with two forks effortlessly. Rushing this process at higher temperatures will leave you with dry, chewy meat. Low and slow is non-negotiable.
What You'll Need
The Cut
Always use pork shoulder (also called pork butt or Boston butt). This cut has the ideal fat marbling and connective tissue that transforms into silky, juicy goodness over long, slow cooking. Aim for a piece weighing between 2 and 2.5 kg for best results.
The Dry Rub
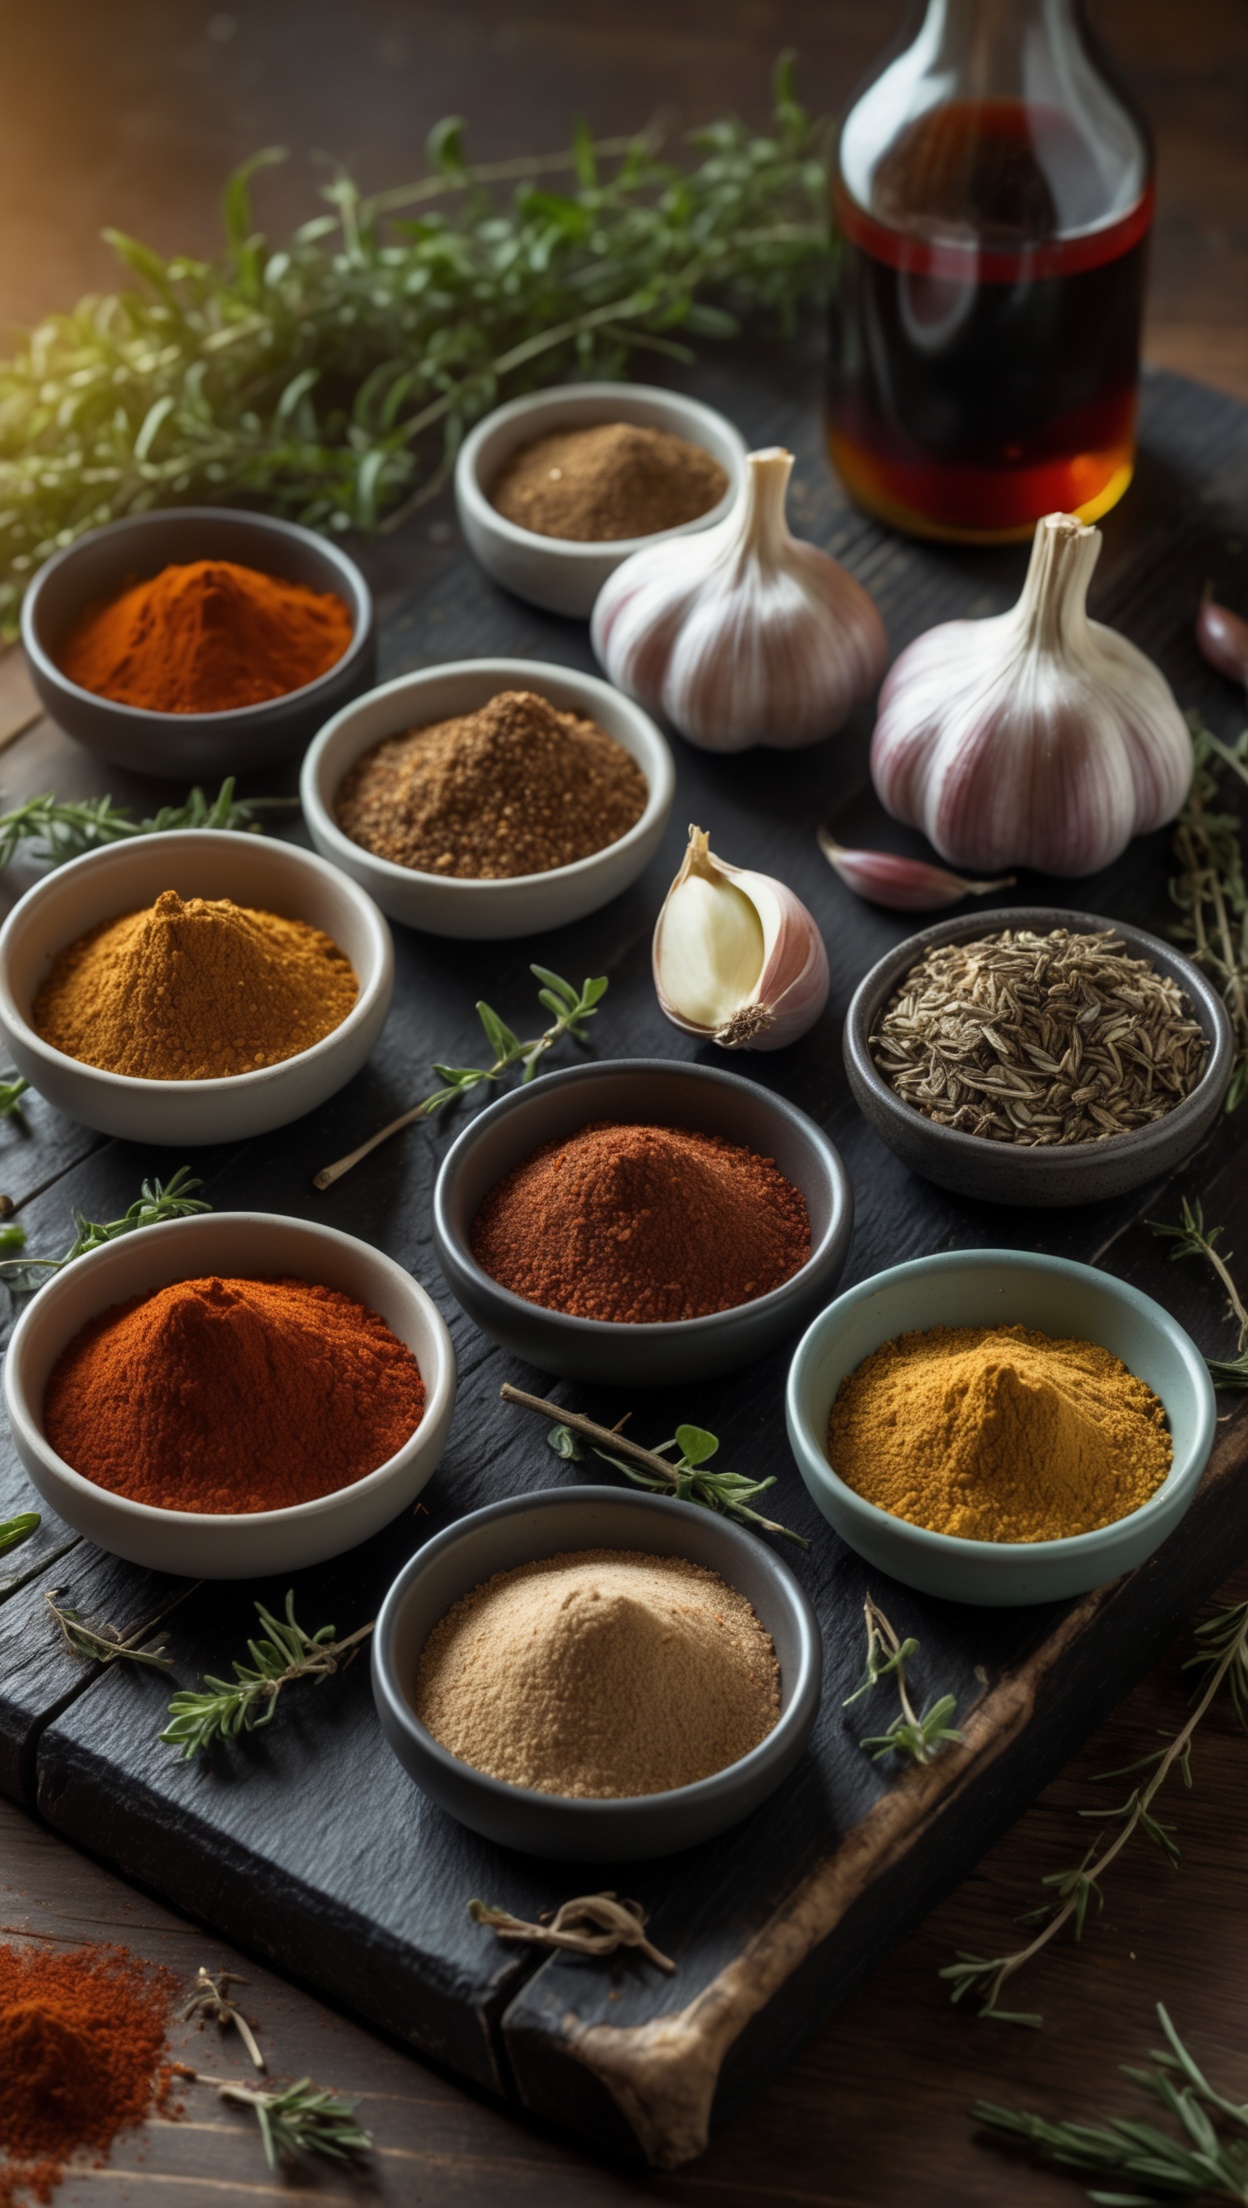
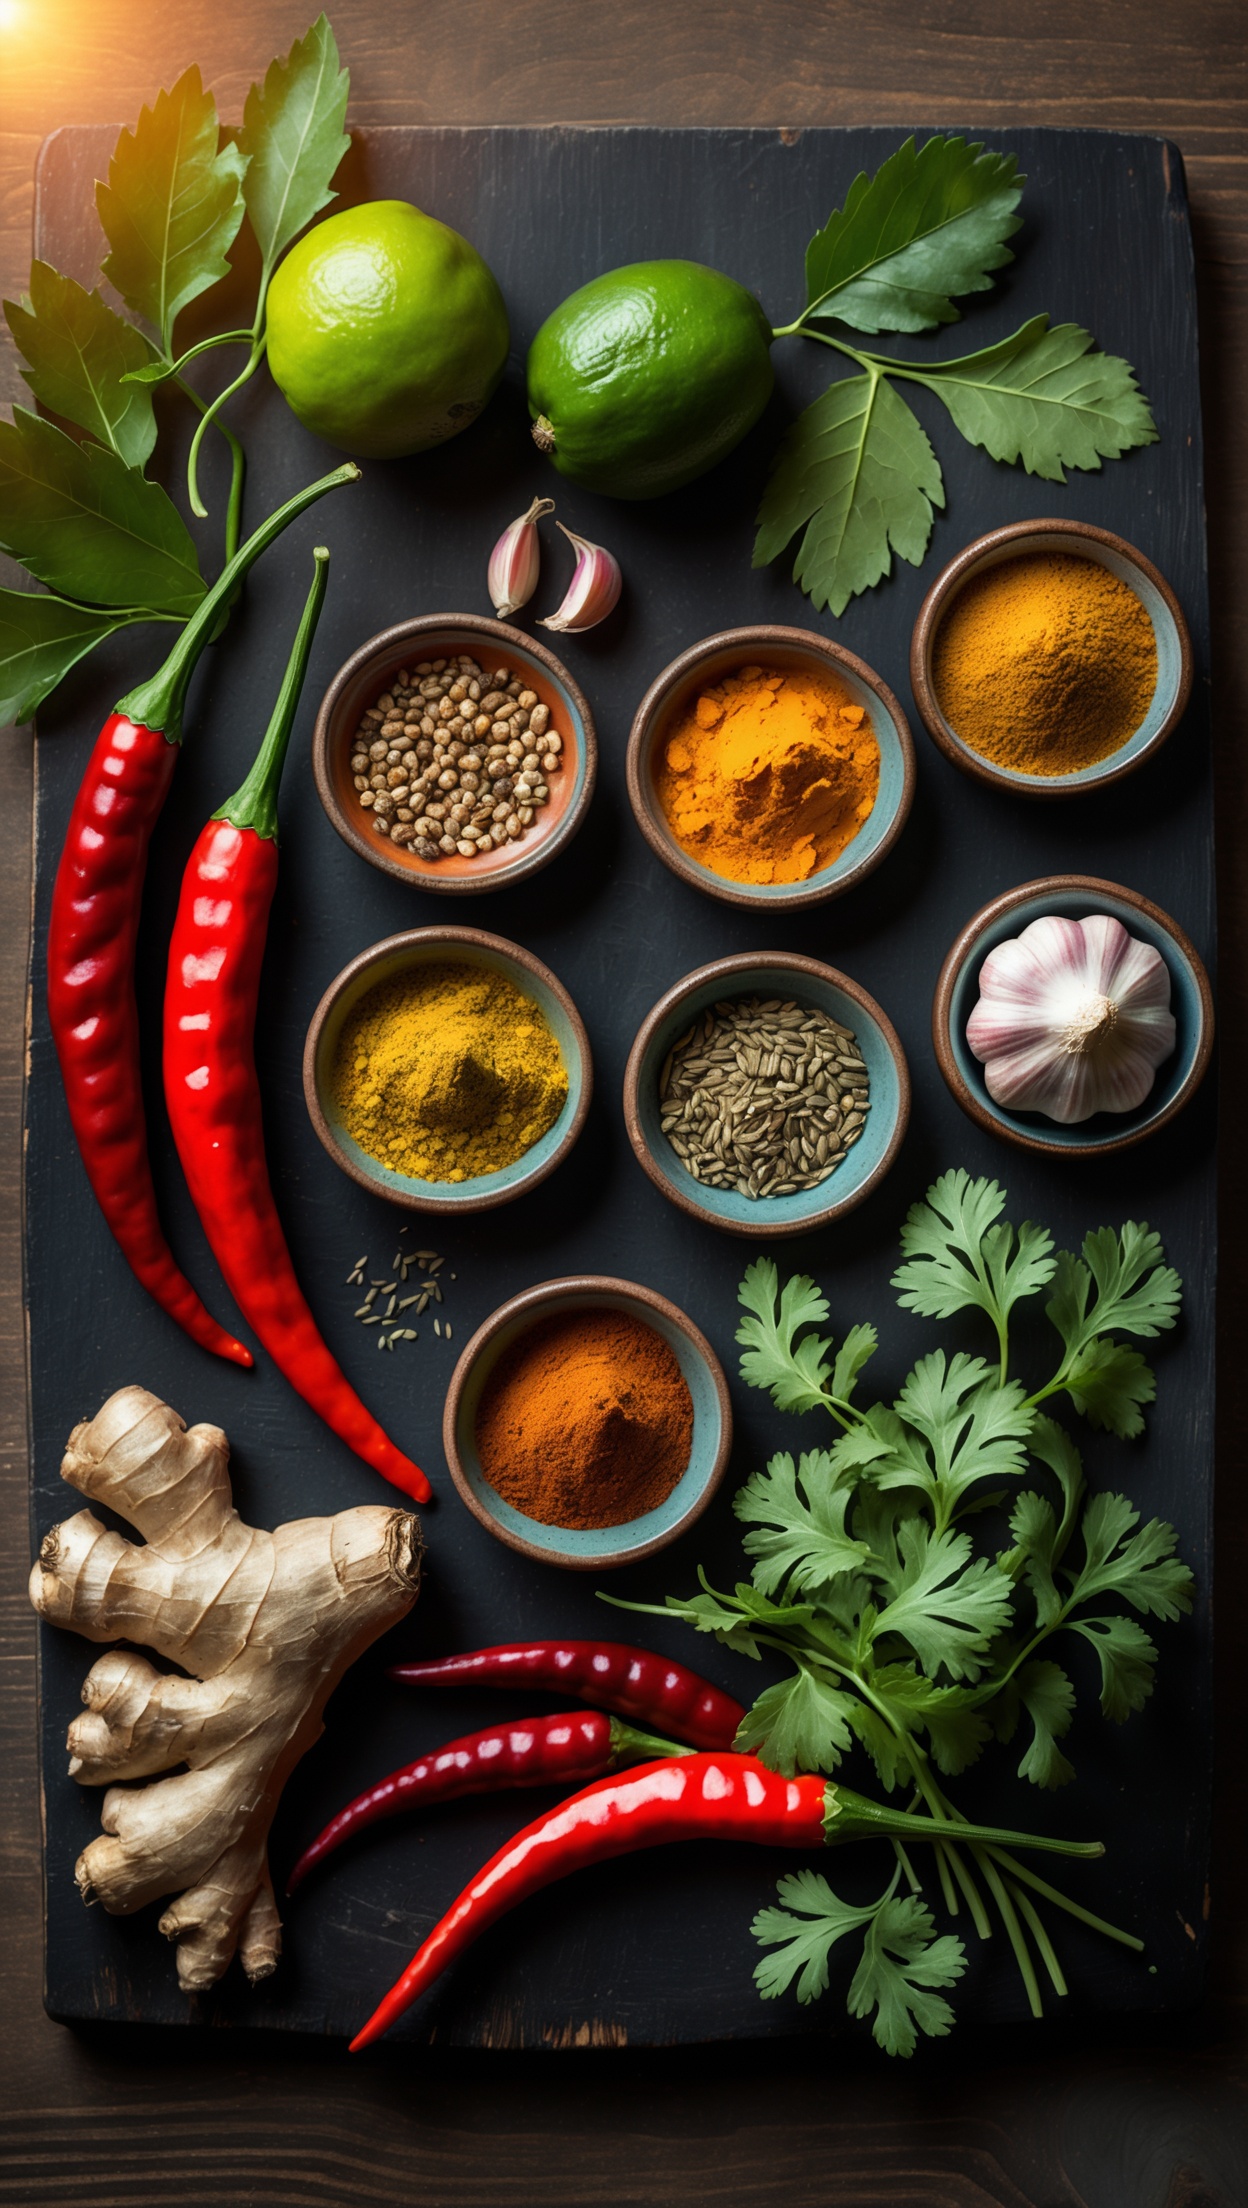
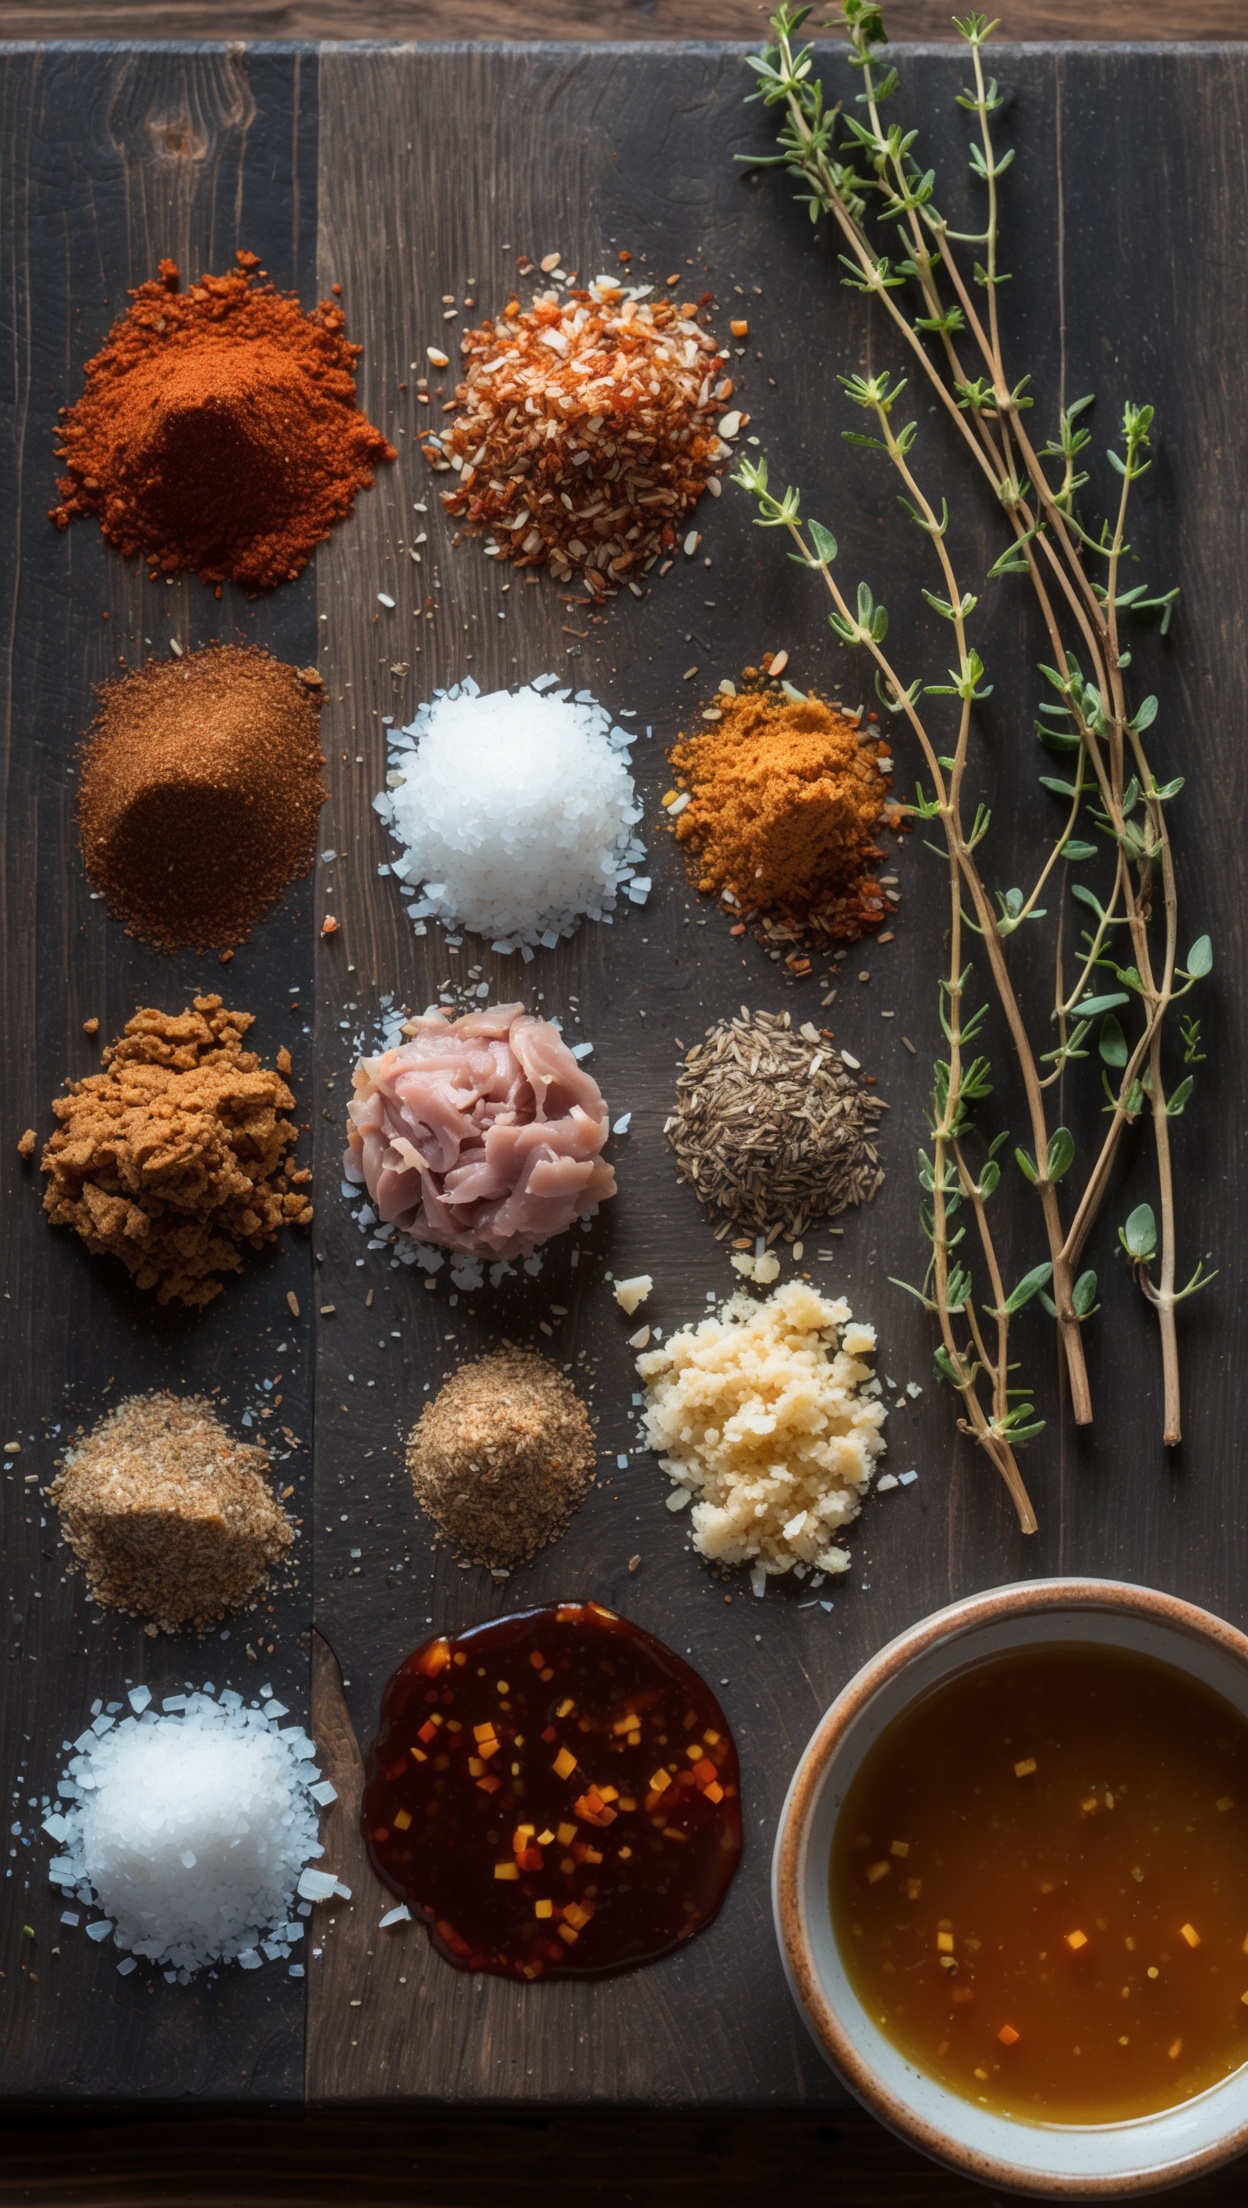
A great dry rub is the foundation of your pulled pork flavor. You'll want a balanced blend of sweet, smoky, salty, and spicy elements. Here's a classic combination:
- 2 tbsp smoked paprika — the backbone of any good BBQ rub
- 2 tbsp brown sugar — for caramelization and sweetness
- 1 tbsp coarse sea salt
- 1 tbsp black pepper
- 1 tsp garlic powder
- 1 tsp onion powder
- 1 tsp ground cumin
- ½ tsp cayenne pepper — adjust to your heat preference
- ½ tsp dried thyme
For an authentic, deeply flavored rub using premium Spanish smoked paprika and whole-ground spices, Block House quality steakhouse-style seasoning philosophy proves that exceptional flavor begins with exceptional ingredients — applying that same principle at home elevates your pulled pork to restaurant-grade results.
The Liquid Base
You'll also need approximately 250 ml of liquid in the roasting pan to generate steam and keep the meat moist during cooking. Apple cider vinegar, chicken stock, or a mixture of both work beautifully.
Step-by-Step Instructions
Step 1: Prepare the Meat (Night Before)
Pat the pork shoulder completely dry with paper towels. Score the fat cap lightly with a sharp knife in a crosshatch pattern — this helps the rub penetrate and renders the fat more evenly. Apply the dry rub generously on all sides, pressing it firmly into the meat. Wrap tightly in cling film and refrigerate overnight, or for at least 4 hours. The longer it rests, the more the spices penetrate and develop flavor.
Step 2: Bring to Room Temperature
Remove the pork from the refrigerator 1 to 2 hours before cooking. Allowing the meat to come to room temperature ensures more even cooking throughout the shoulder.
Step 3: Preheat the Oven
Preheat your oven to 130°C (265°F) — use the conventional (non-fan) setting if possible, as fan-assisted heat can dry out the exterior too quickly.
Step 4: Sear for Extra Flavor (Optional but Recommended)
In a large, heavy-based pan or Dutch oven, heat a tablespoon of oil over high heat. Sear the pork shoulder on all sides until a deep brown crust forms — approximately 3 to 4 minutes per side. This Maillard reaction adds incredible depth of flavor and color to the finished dish.
Step 5: Low & Slow in the Oven
Transfer the seared pork into a deep roasting tray or Dutch oven. Pour your chosen liquid (apple cider vinegar and chicken stock mixture) into the base of the tray. Cover tightly with a lid or a double layer of foil — this is crucial to trap steam. Place in the oven and cook at 130°C for 8 to 10 hours, or until the internal temperature reaches 95°C–97°C (203°F–207°F). Use a meat thermometer to check — temperature is far more reliable than timing alone.
Step 6: The Rest
Once the pork has reached the target temperature, remove it from the oven and leave it covered to rest for at least 45 minutes to 1 hour. This step is critical. Resting allows the juices to redistribute throughout the meat rather than pouring out when you pull it. Don't skip this stage.
Step 7: Pull the Pork
Using two forks, or your hands protected by heat-resistant gloves, pull the pork apart into long, juicy shreds. Discard any large pieces of fat or bone. Mix the pulled meat back into the pan juices to keep it moist and flavorful.
Serving Suggestions
Pulled pork is wonderfully versatile. Here are some classic ways to serve it:
- Classic BBQ bun — topped with coleslaw and a drizzle of BBQ sauce
- Loaded baked potato — piled high with pulled pork and sour cream
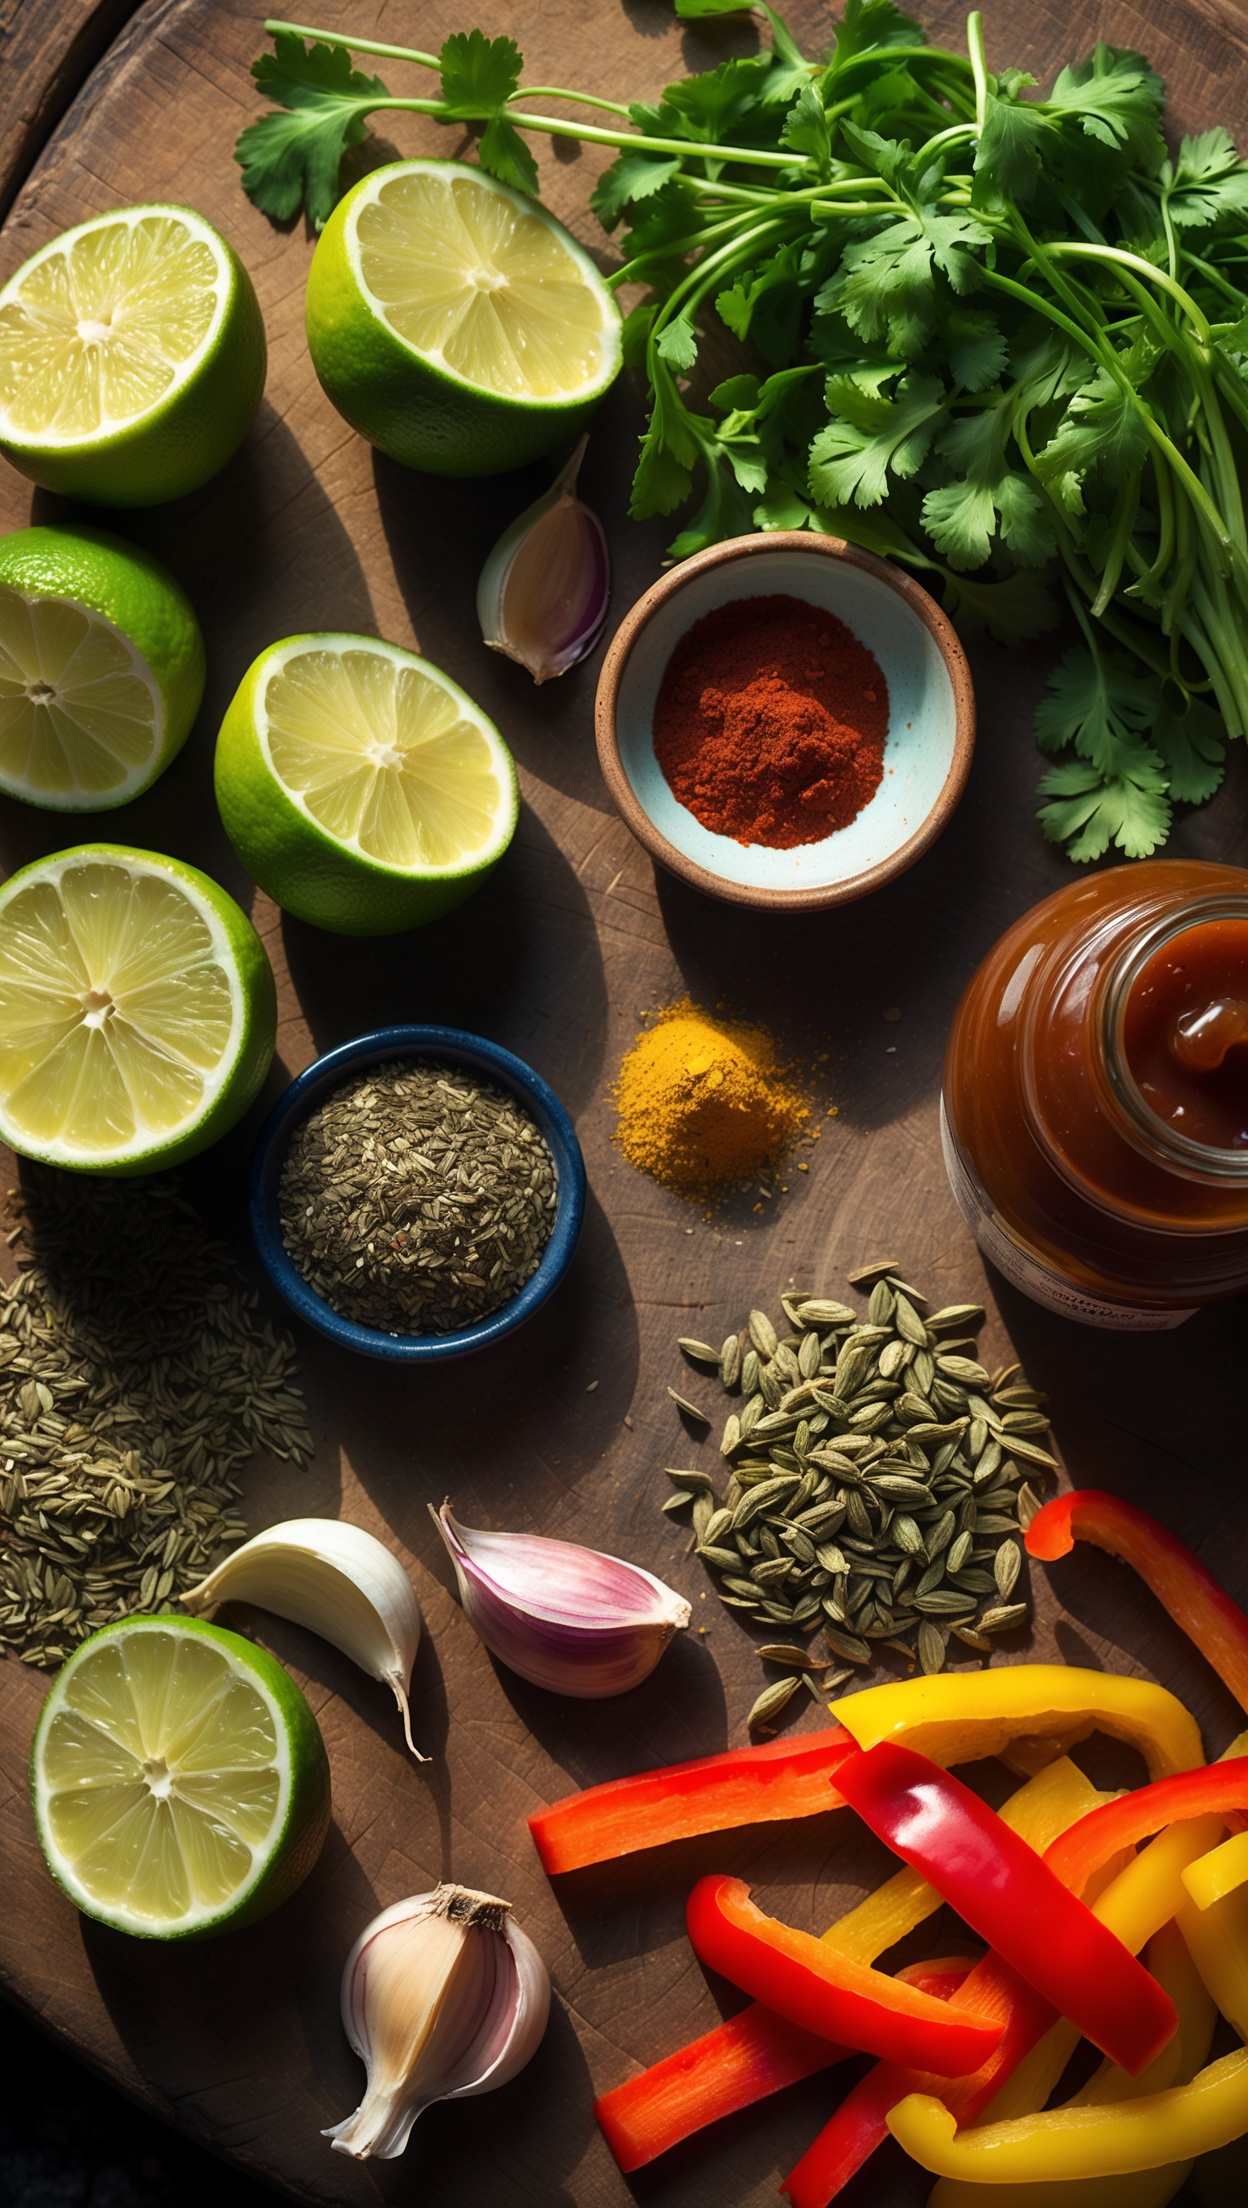
- Tacos — with pickled red onions, avocado and fresh coriander
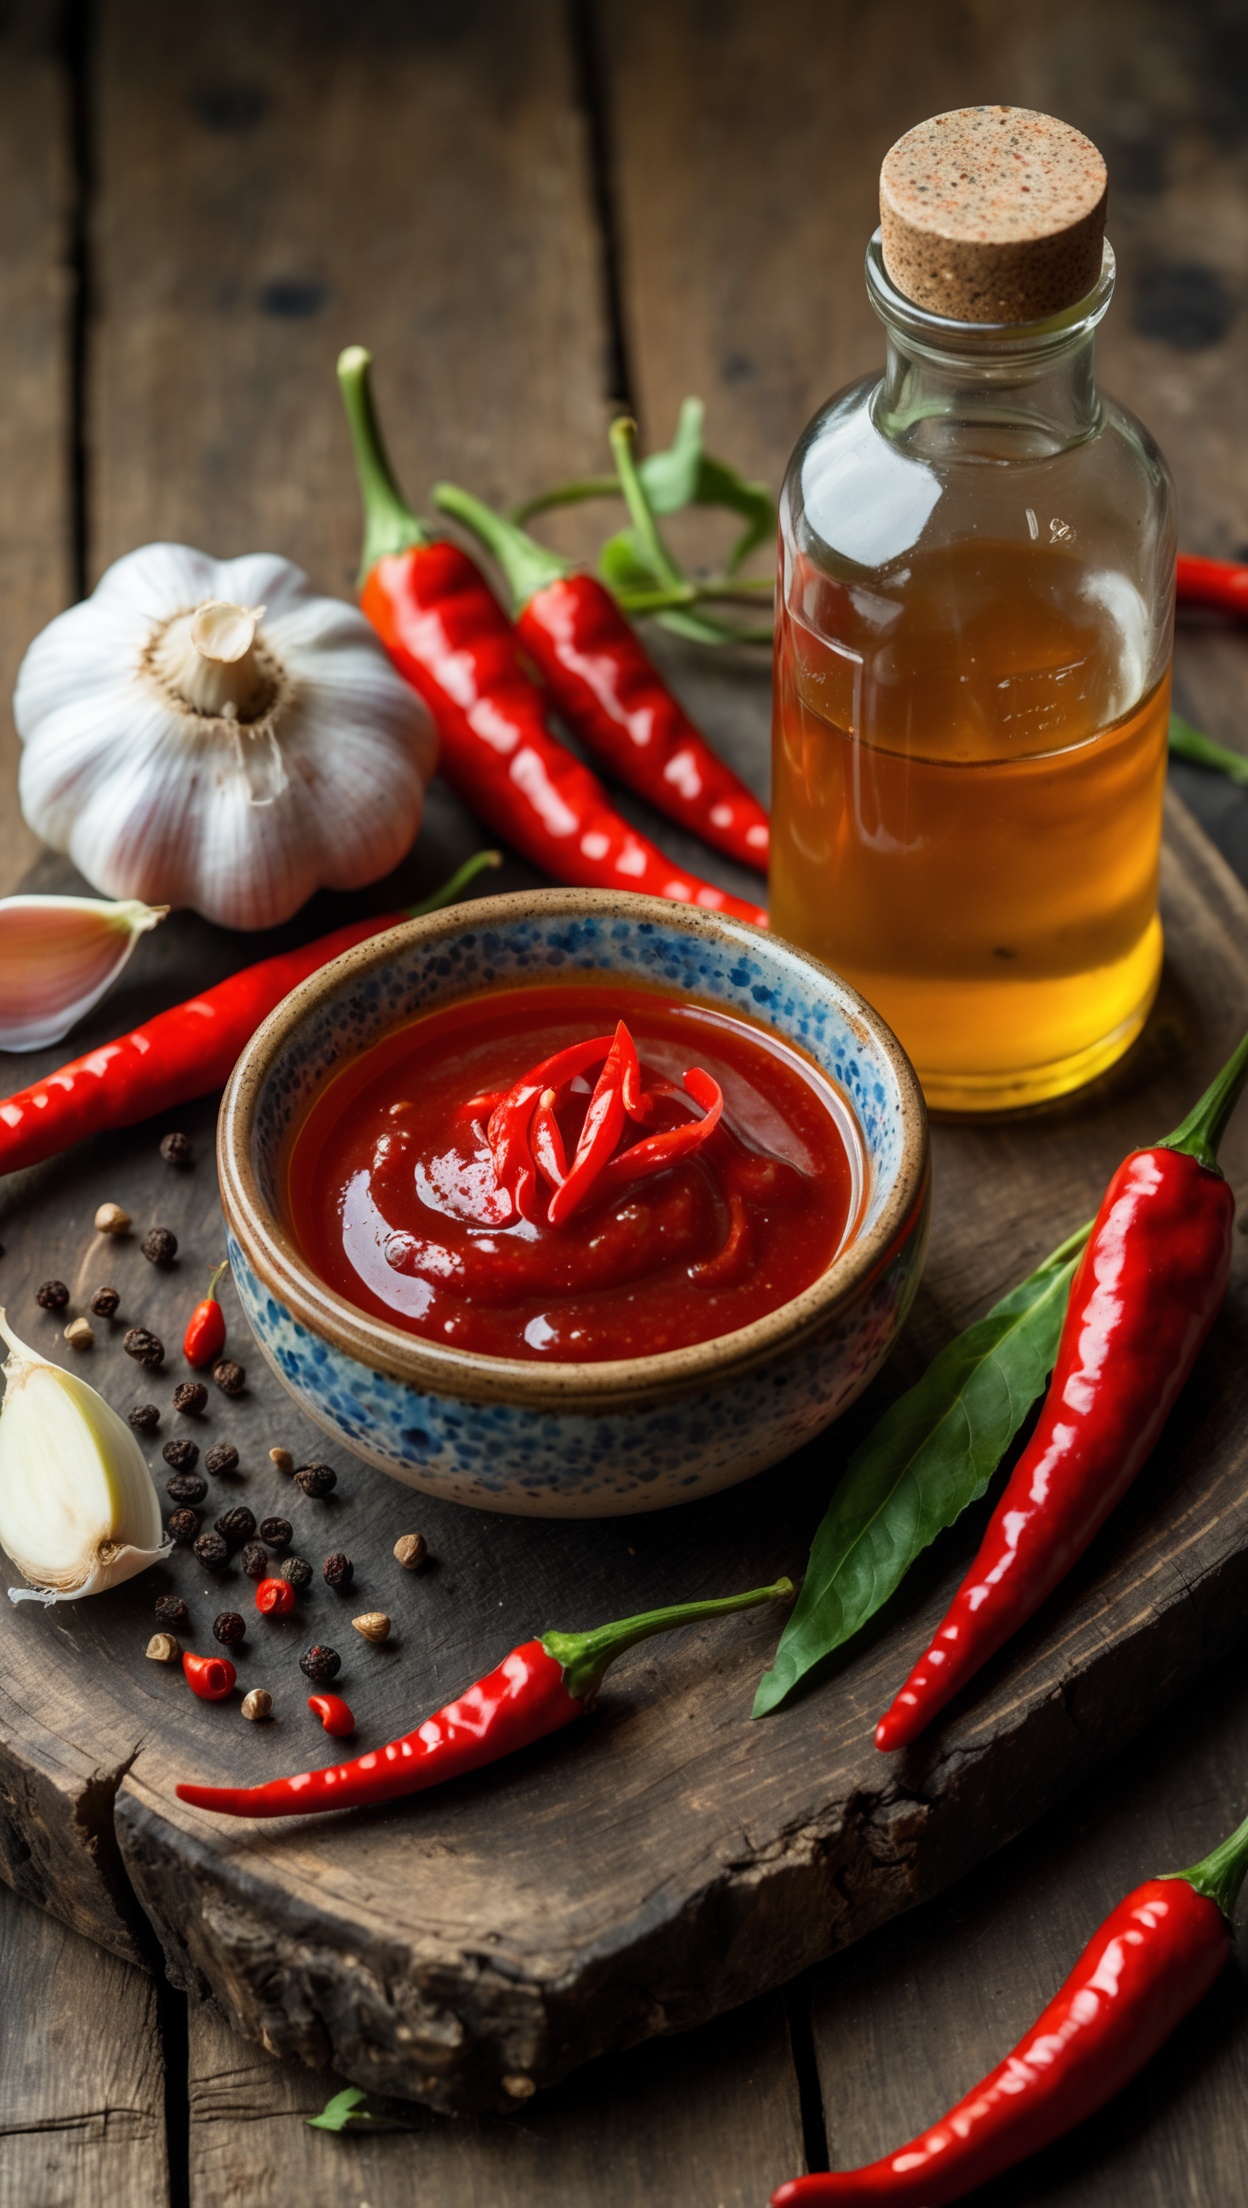
- Rice bowl — with pickled vegetables and chili sauce
- Flatbread wraps — with tzatziki and cucumber ribbons
Tips for the Best Oven Pulled Pork
- Don't rush it. The biggest mistake is cooking at too high a temperature. Keep it low.
- Use a thermometer. Internal temperature is your best guide to doneness — not time.
- Rest generously. Never skip the resting phase.
- Make it ahead. Pulled pork actually improves the next day once the flavors have fully melded. It also reheats beautifully.
- Freeze the leftovers. Pulled pork freezes exceptionally well for up to 3 months.
Storage & Reheating
Store leftover pulled pork in an airtight container in the refrigerator for up to 4 days. To reheat, add a splash of stock or reserved pan juices, cover with foil, and warm gently in the oven at 160°C for 20 minutes. Alternatively, reheat in a covered pan on the stovetop over low heat, adding liquid as needed to maintain moisture.
Final Thoughts
Making pulled pork low and slow in the oven is one of those deeply rewarding cooking projects that requires minimal hands-on time but delivers extraordinary results. Once you've mastered this method, it will become a regular feature on your table — especially for gatherings, game days, or weekend feasts where a show-stopping centrepiece is in order. With patience, a great dry rub, and this step-by-step guide, you'll never need to order pulled pork from a restaurant again.
For the perfect wine pairing with this dish, Hawesko offers an outstanding selection of premium wines to complement every recipe. For the finest spices and seasonings to elevate your cooking, Gewürzland has everything you need.