Perfect Spareribs — The Ultimate Step-by-Step BBQ Guide
There is nothing quite like a rack of perfectly cooked spareribs — tender, juicy, smoky, and coated in a sticky, caramelized glaze. Whether you're a backyard BBQ enthusiast or a seasoned pitmaster, mastering spareribs is a rite of passage. In this complete guide, we walk you through every step, from selecting the right rack to nailing the perfect glaze.
Choosing the Right Spareribs
Not all ribs are created equal. For this recipe, you want pork spareribs — the larger, meatier cut taken from the belly side of the ribcage. They contain more fat than baby back ribs, which means more flavor and a better result when cooking low and slow. Look for racks with good marbling and an even thickness throughout.
- Spareribs: Larger, fattier, full of flavor — ideal for BBQ
- St. Louis cut: A trimmed version of spareribs, more uniform in shape
- Baby back ribs: Smaller and leaner — faster cooking but less rich
For the most authentic BBQ steakhouse experience at home, take inspiration from the quality standards set by Block House, where perfectly sourced and prepared cuts are the foundation of every great meal.
The Dry Rub — Building Your Flavor Base
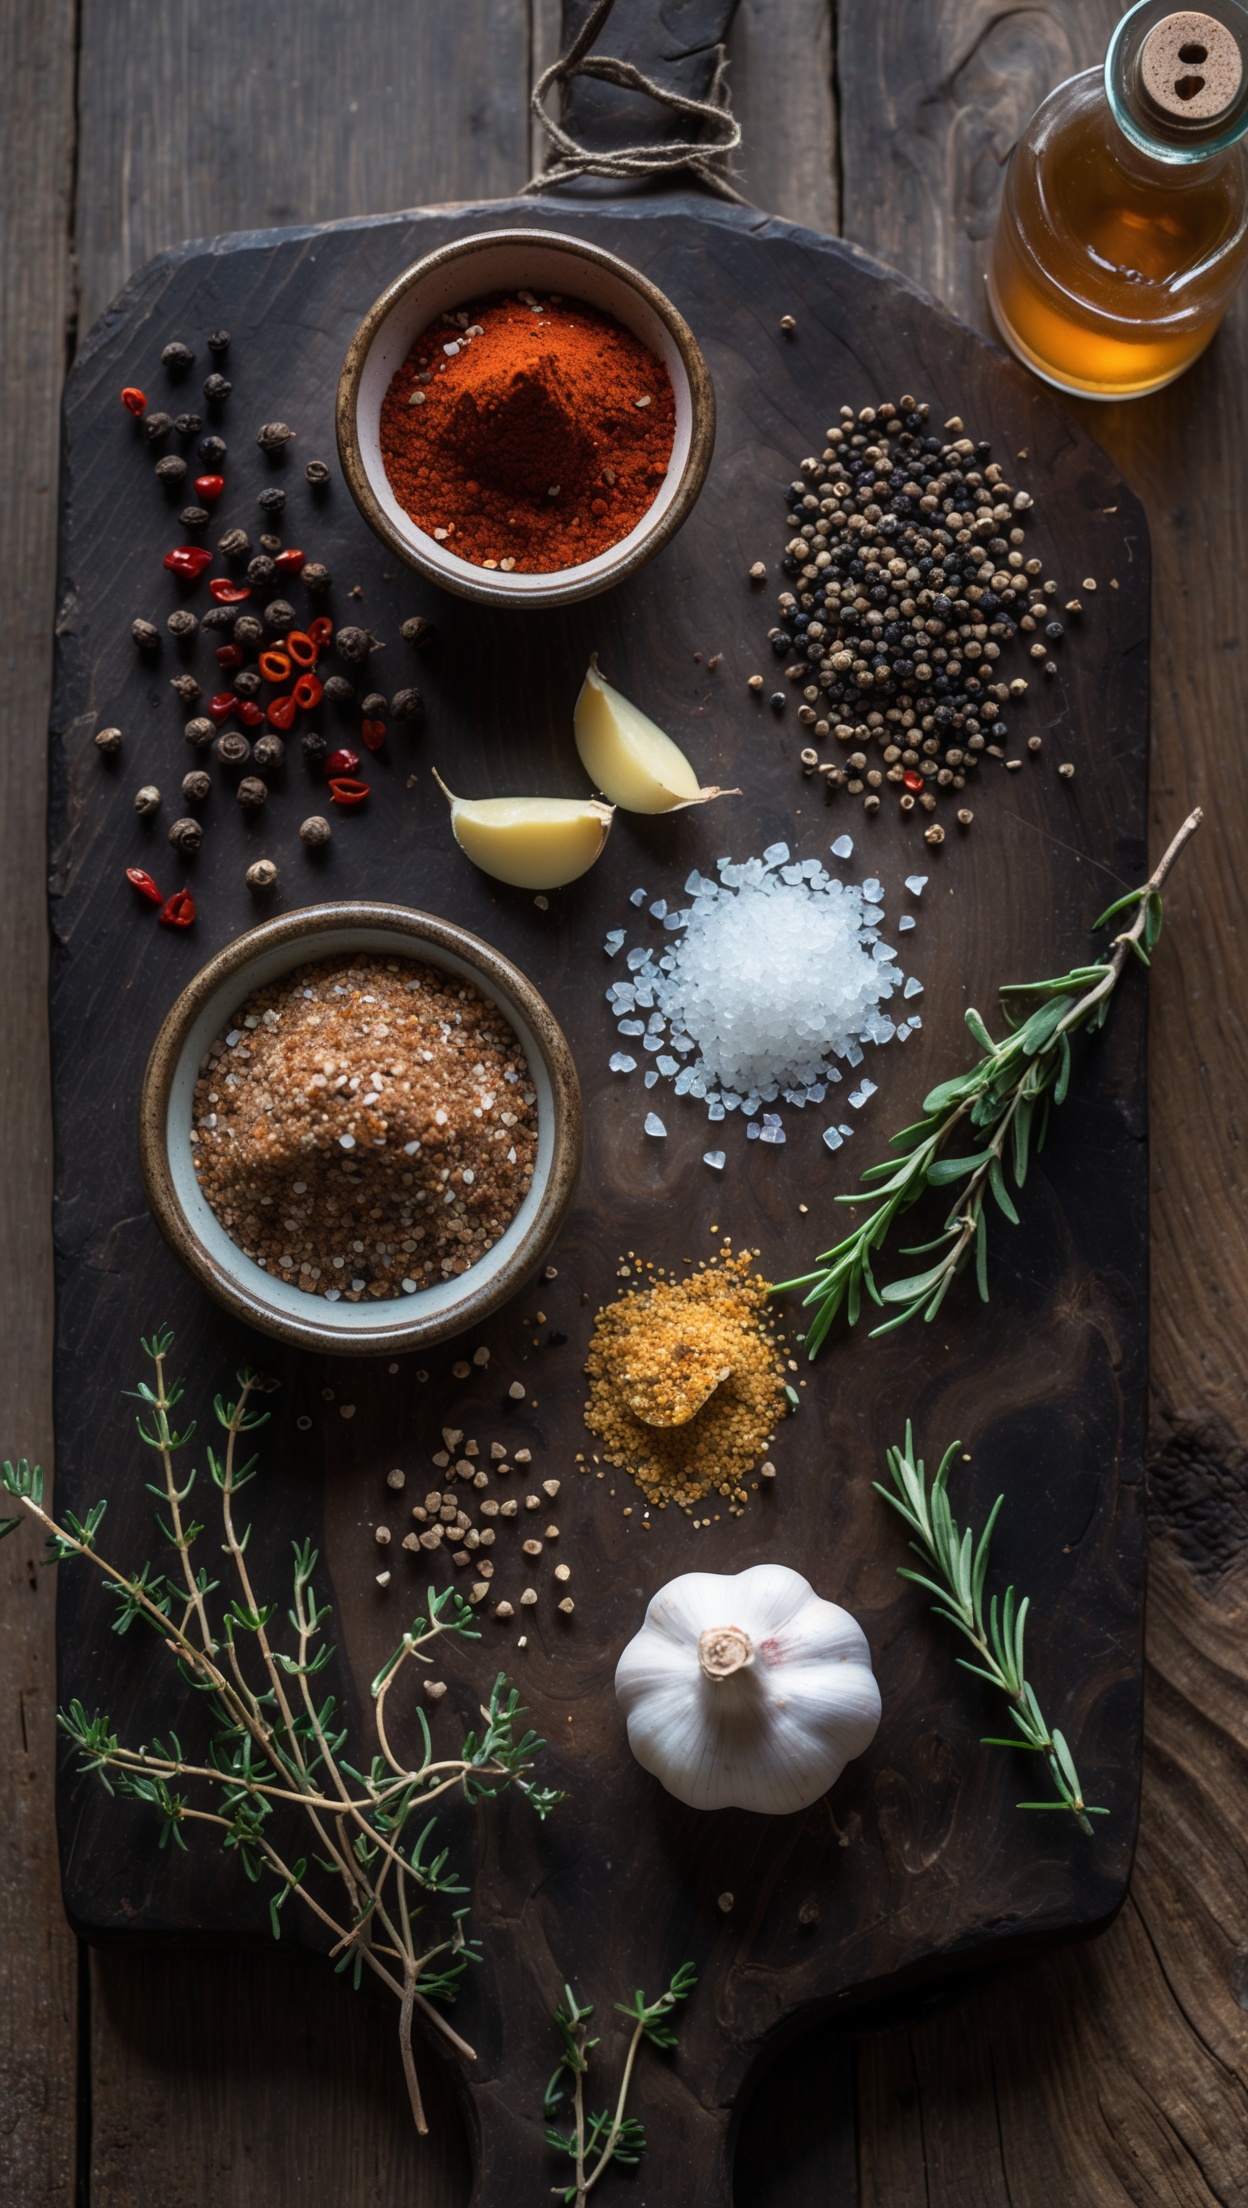
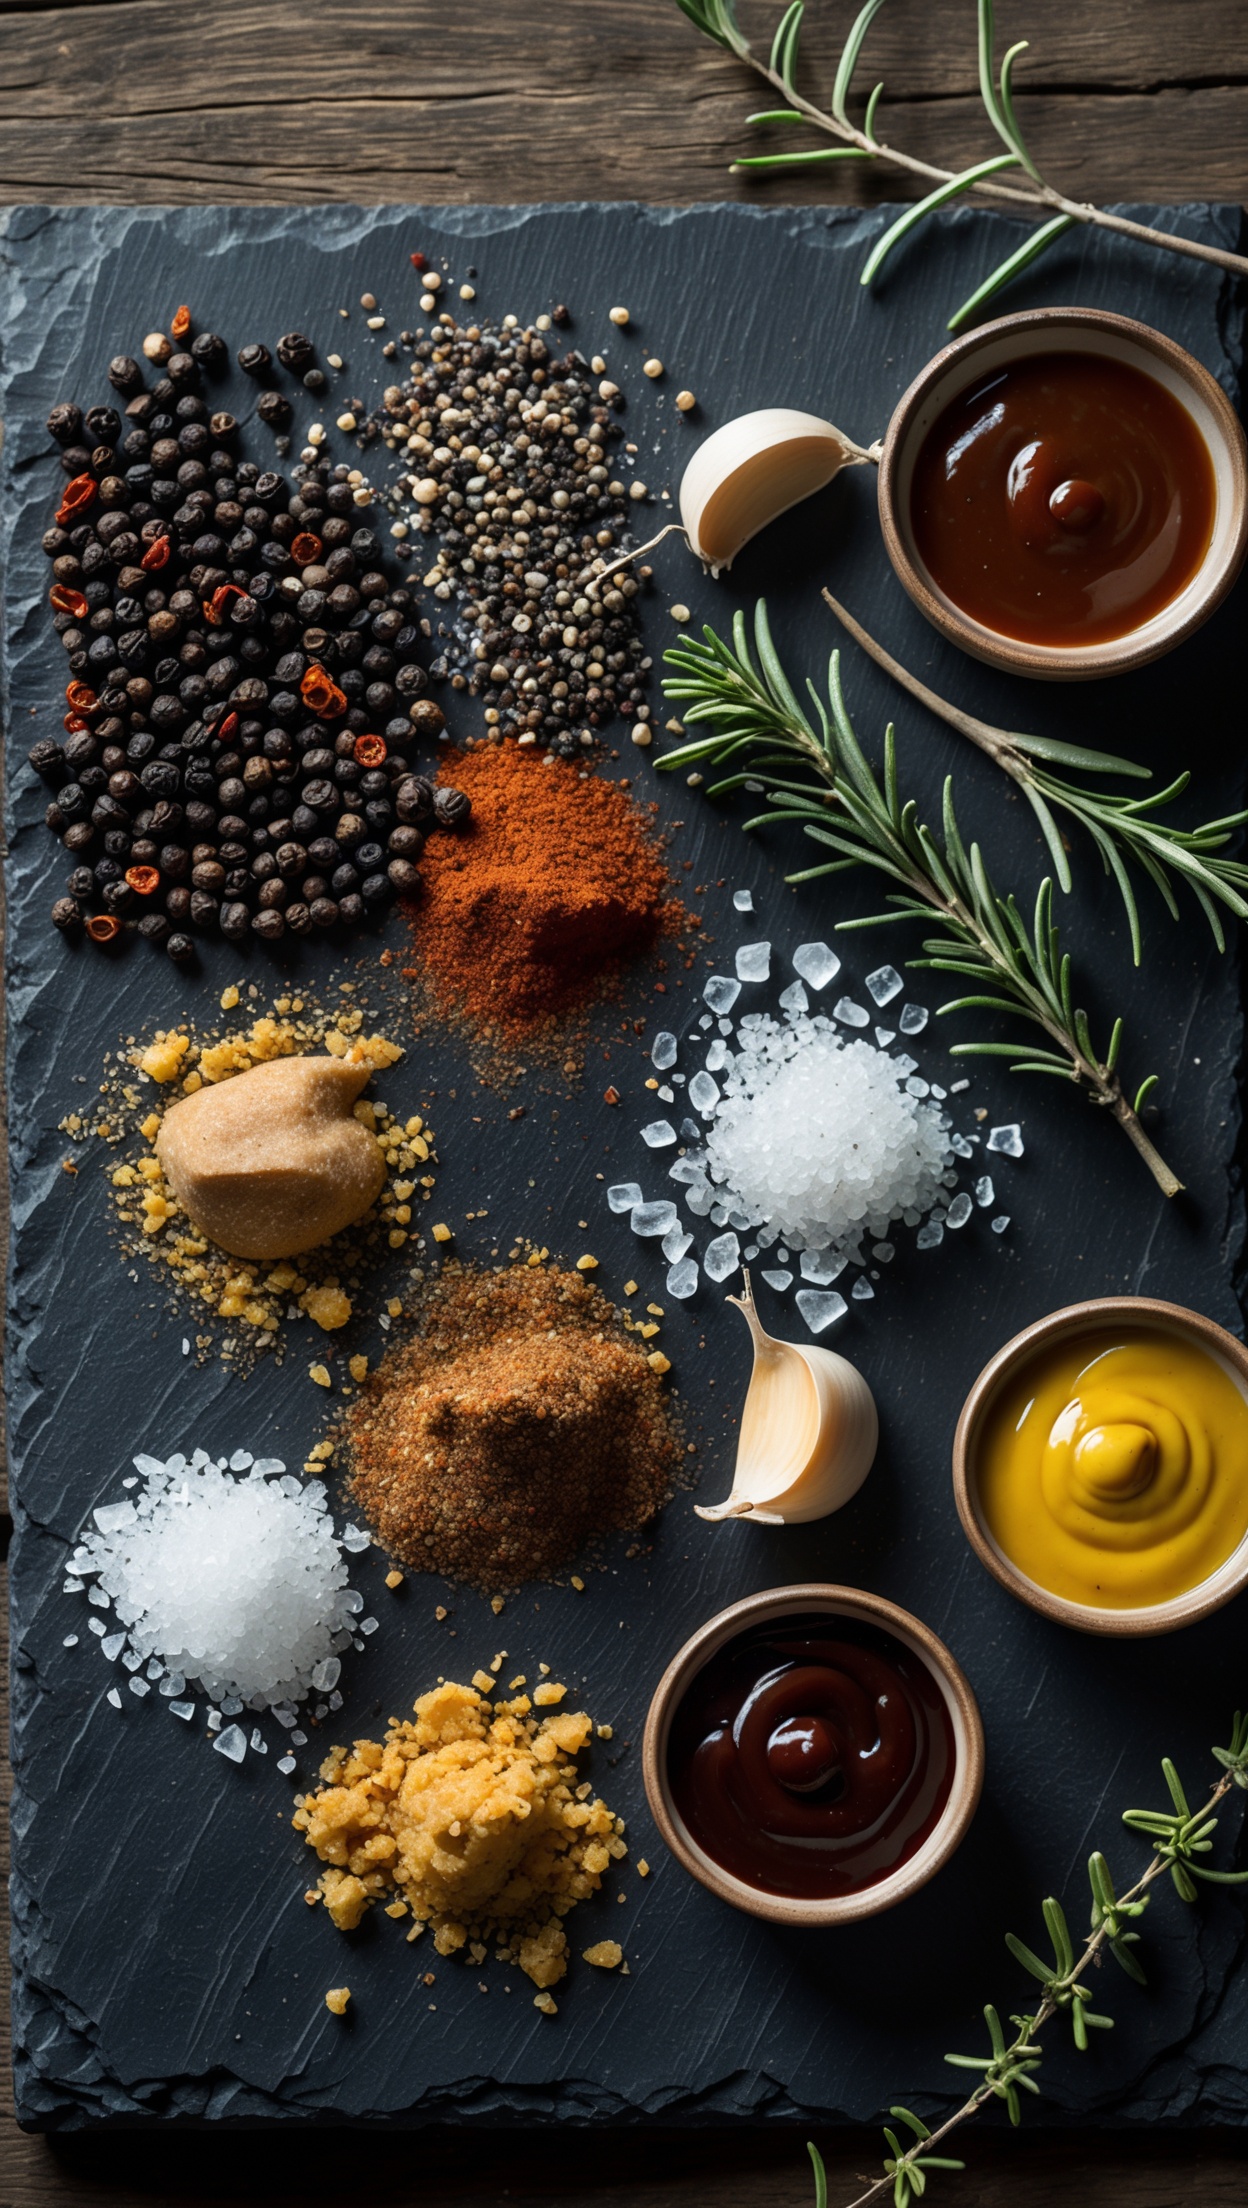
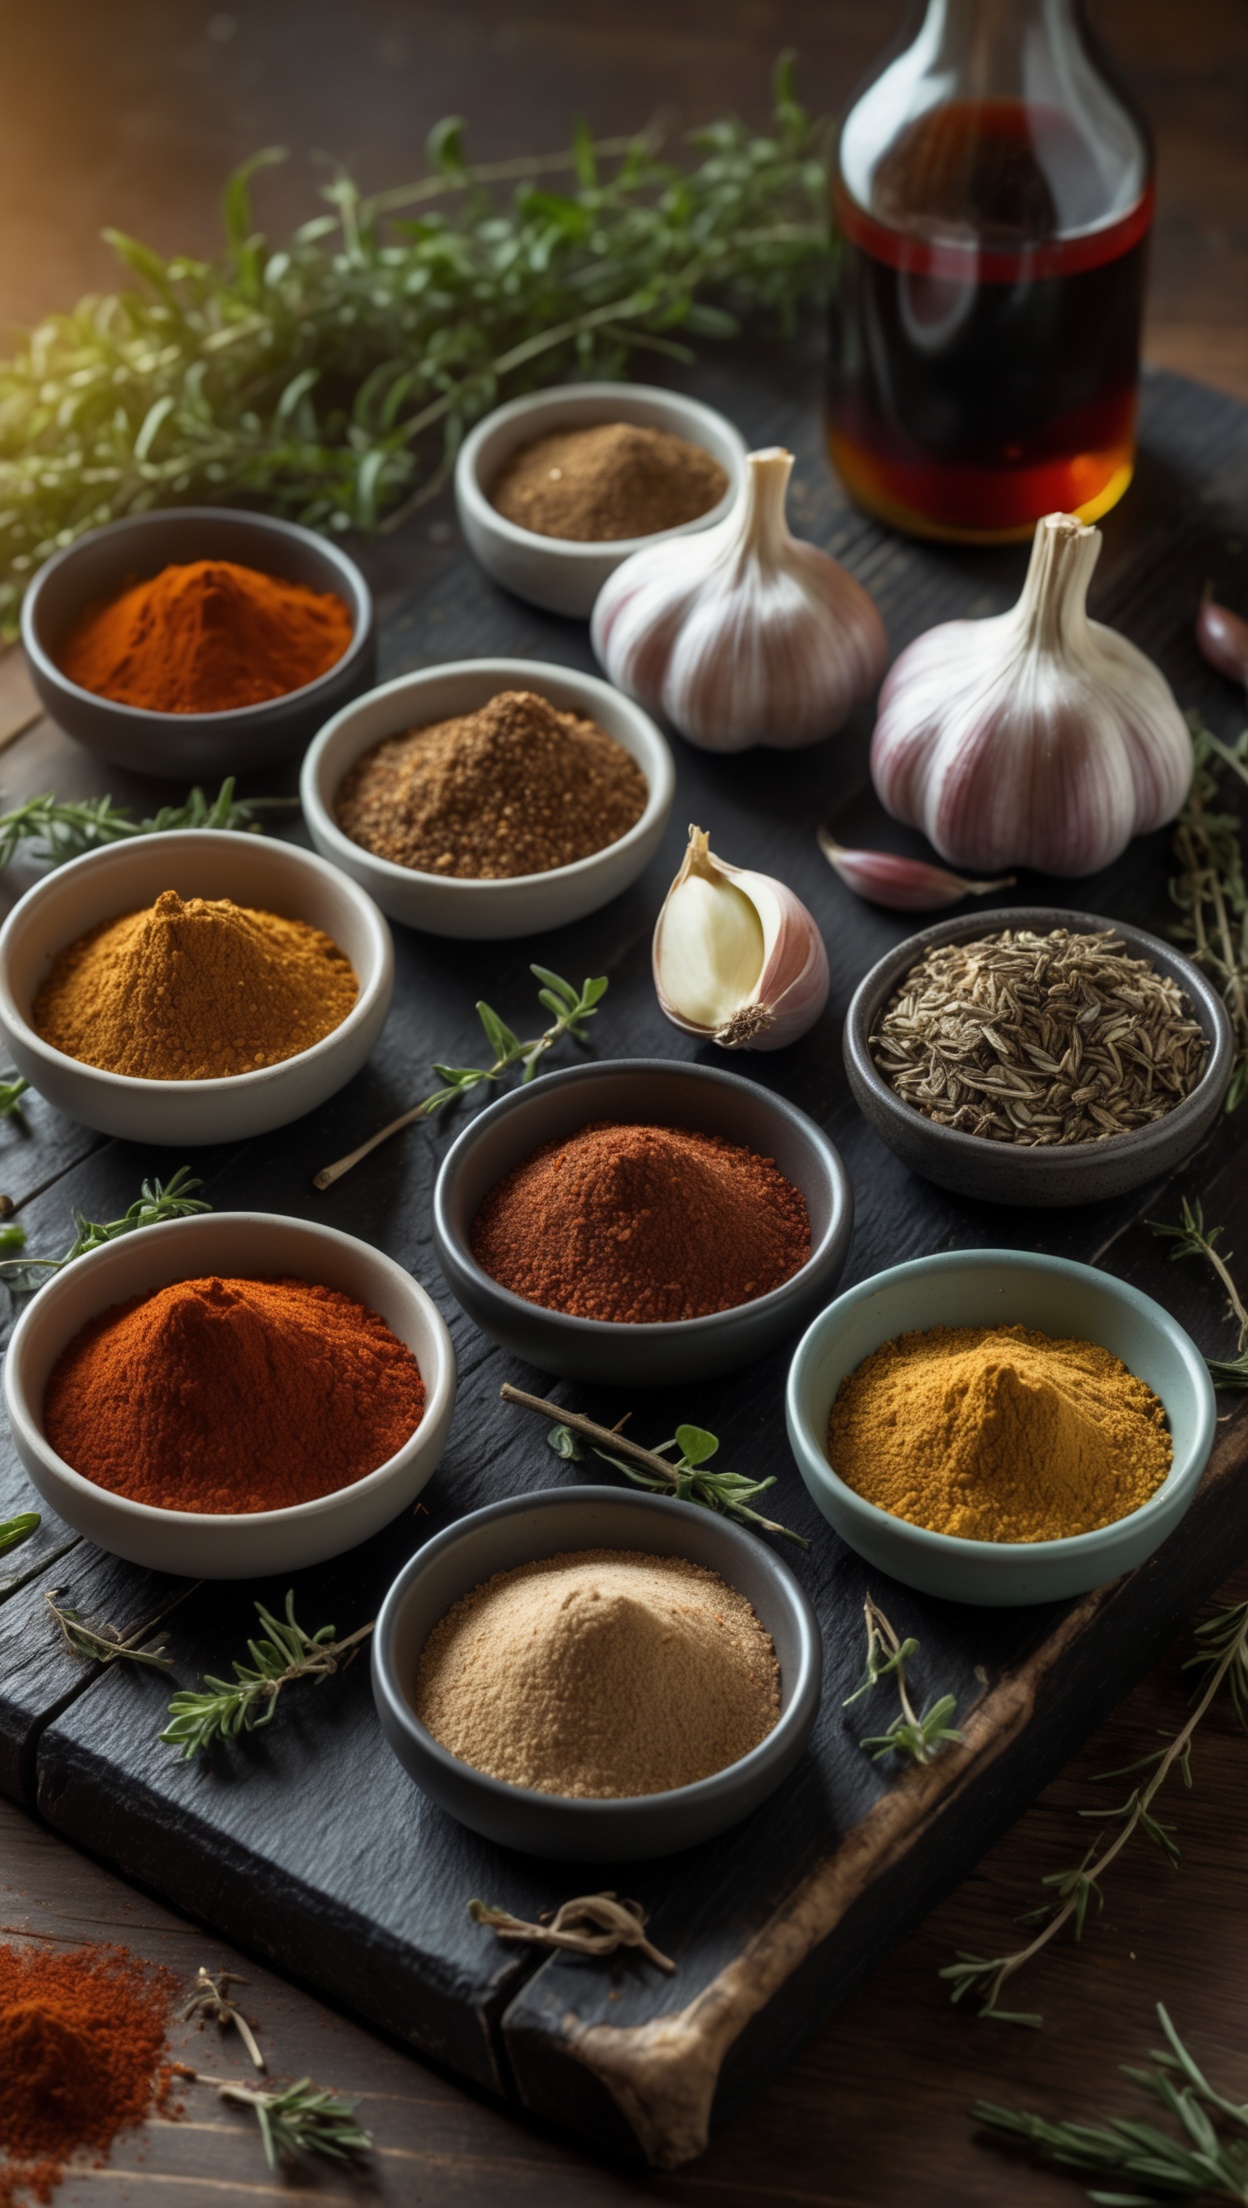
A great dry rub is the backbone of any good spareribs recipe. It creates a deeply flavorful crust — also called the bark — that seals in moisture and adds layers of complexity to the meat.
Classic BBQ Dry Rub Recipe
- 3 tbsp smoked paprika
- 2 tbsp brown sugar
- 1 tbsp coarse black pepper
- 1 tbsp sea salt
- 1 tsp garlic powder
- 1 tsp onion powder
- ½ tsp cayenne pepper
- ½ tsp dried thyme
- ½ tsp mustard powder
Mix all the ingredients thoroughly and rub generously over both sides of the rack. Wrap in cling film and refrigerate for at least 4 hours, ideally overnight. This rest time allows the salt to draw moisture back into the meat, creating a self-basting effect during cooking.
Preparing the Ribs
Before applying the dry rub, there is one essential step many beginners skip: removing the membrane (also called the silver skin) from the bone side of the rack. This tough layer prevents seasoning from penetrating the meat and can make the ribs chewy.
To remove it, slide a butter knife under the membrane at one end, grip it with a paper towel, and peel it away in one smooth motion. It's easier than it sounds once you get the hang of it.
The 3-2-1 Method — Low and Slow Perfection
The legendary 3-2-1 method is the gold standard for cooking spareribs on a BBQ or smoker. Here's how it works:
- 3 hours: Cook the ribs unwrapped at 110–120°C (230–250°F) with smoke (applewood, hickory or cherry wood work beautifully)
- 2 hours: Wrap the ribs tightly in aluminum foil with a splash of apple cider vinegar and a knob of butter — this steams the meat and makes it incredibly tender
- 1 hour: Unwrap the ribs and return them to the heat, brushing with your BBQ glaze every 20 minutes to build up that sticky, lacquered finish
Keep your temperature consistent throughout the cook. A reliable thermometer and a water pan in the BBQ will help maintain even heat and prevent the ribs from drying out.
The BBQ Glaze
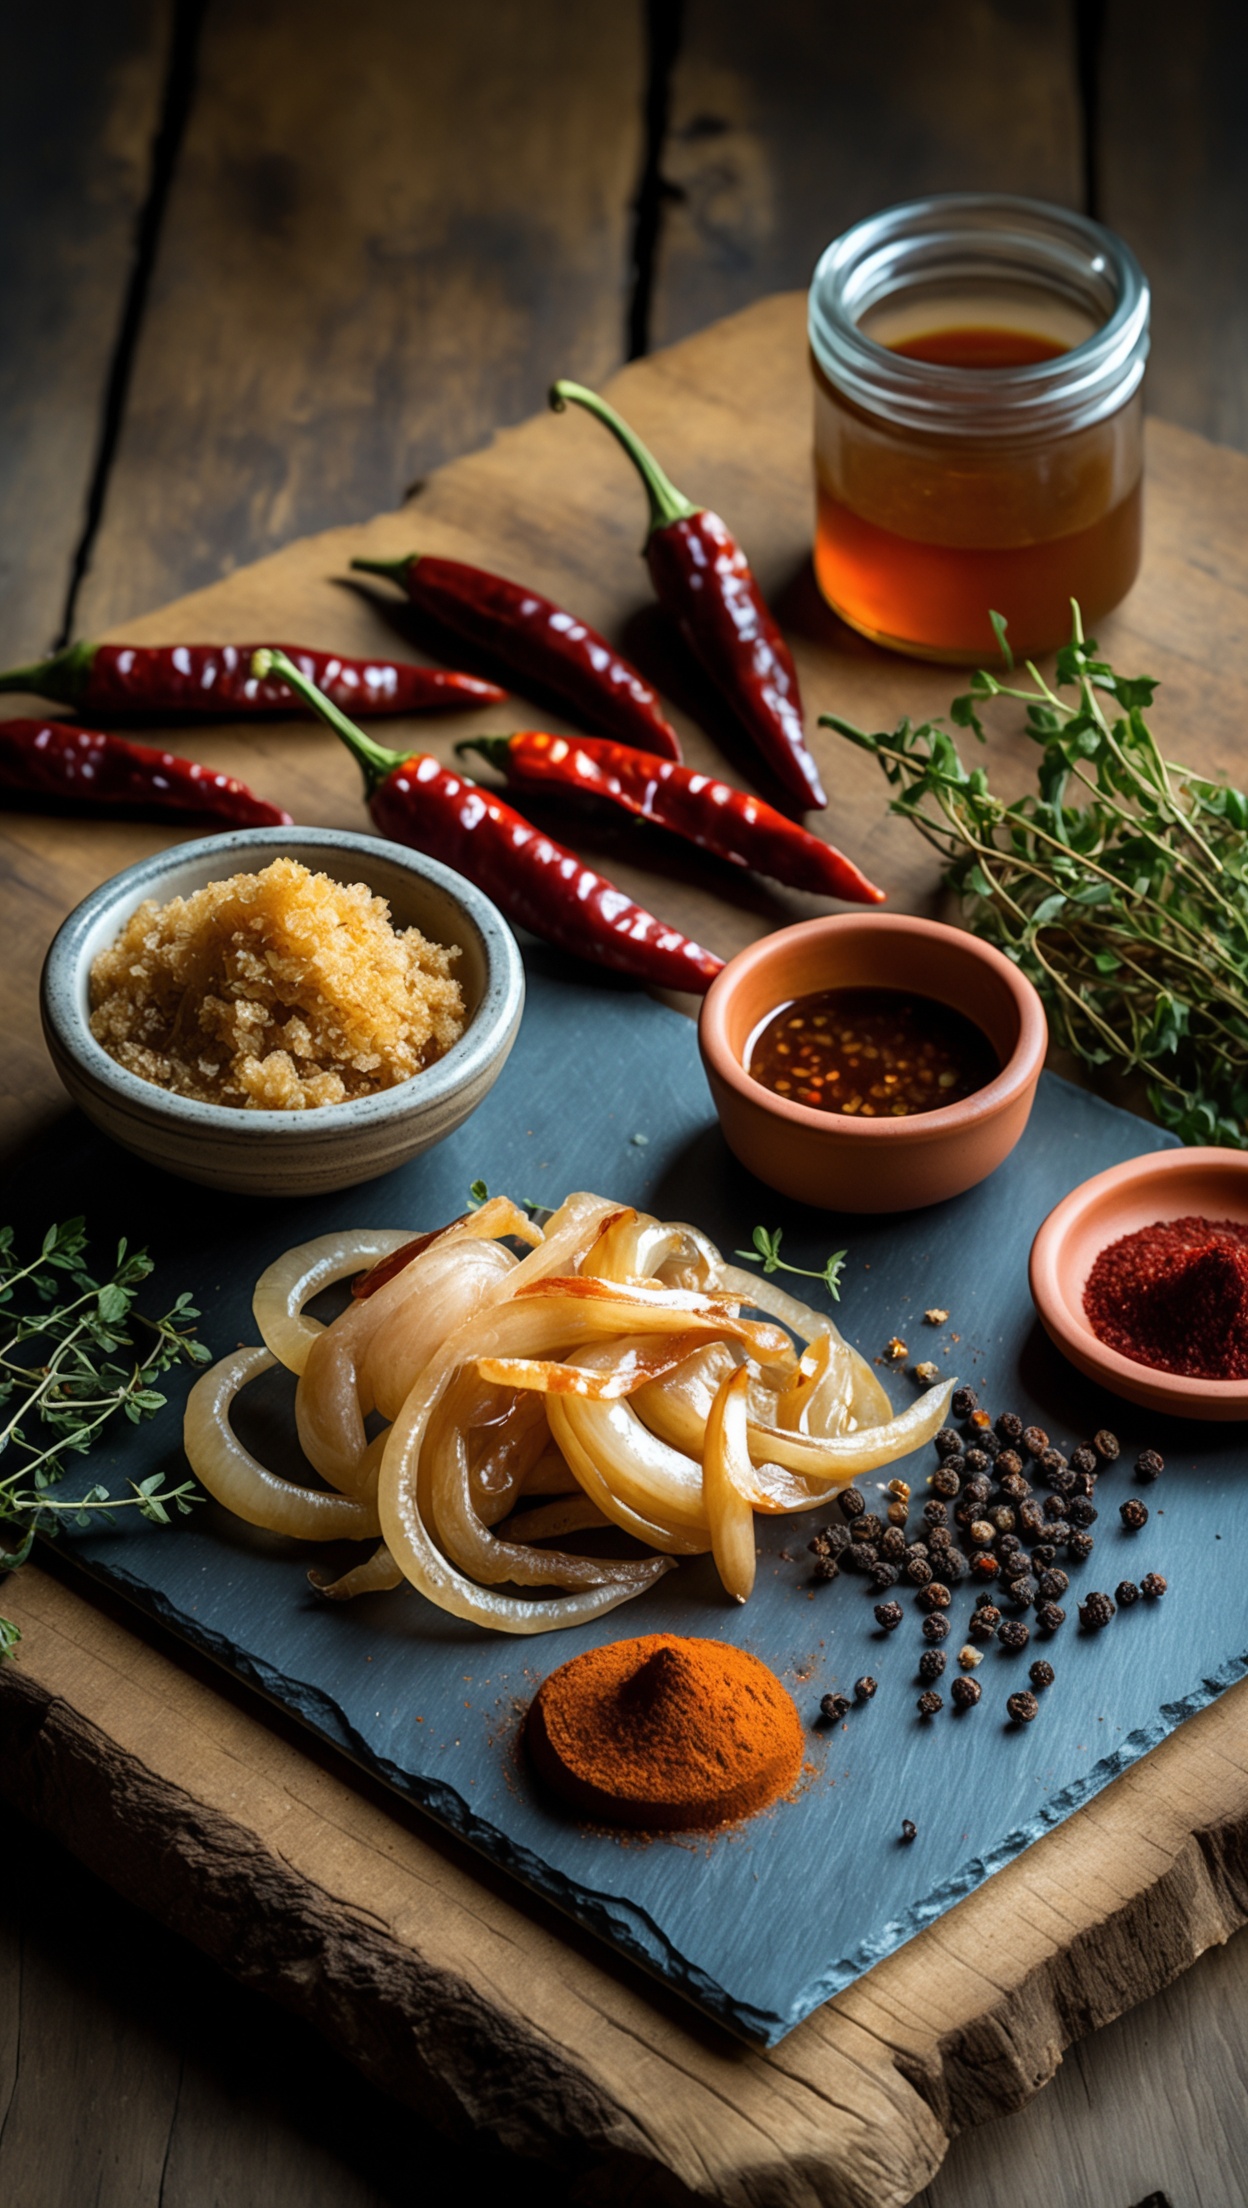
The glaze is what takes your spareribs from great to unforgettable. A classic BBQ glaze balances sweet, tangy, and smoky notes to complement the rich pork flavor.
Easy Homemade BBQ Glaze
- 200ml ketchup
- 3 tbsp apple cider vinegar
- 2 tbsp dark molasses or honey
- 1 tbsp Worcestershire sauce
- 1 tsp smoked paprika
- 1 tsp garlic powder
- Salt and pepper to taste
Simmer all ingredients in a small saucepan over medium heat for 10–15 minutes until slightly thickened. Apply liberally during the final hour of cooking.
Resting and Serving
Once your spareribs are done, resist the temptation to cut into them immediately. Let them rest for 10–15 minutes loosely tented with foil. This allows the juices to redistribute throughout the meat, resulting in a far more succulent bite.
Cut between each bone using a sharp knife or kitchen shears. Serve with classic sides: coleslaw, corn on the cob, baked beans or crispy fries. A cold craft beer or a bold red wine pairs wonderfully with the smoky, rich flavors.
Pro Tips for the Best Spareribs
- Patience pays off: Low and slow is non-negotiable. High heat will dry out the meat before the collagen has a chance to break down.
- Use quality wood chips: The smoke you choose is as important as the rub. Applewood gives a mild, sweet smoke; hickory is bolder and more classic.
- Don't skip the rest: Resting is just as important as the cook itself.
- Experiment with your rub: Once you've mastered the classic version, try adding coffee, chipotle or Chinese five-spice for a creative twist.
For the perfect wine pairing with this dish, Hawesko offers an outstanding selection of premium wines to complement every recipe. For the finest spices and seasonings to elevate your cooking, Gewürzland has everything you need.