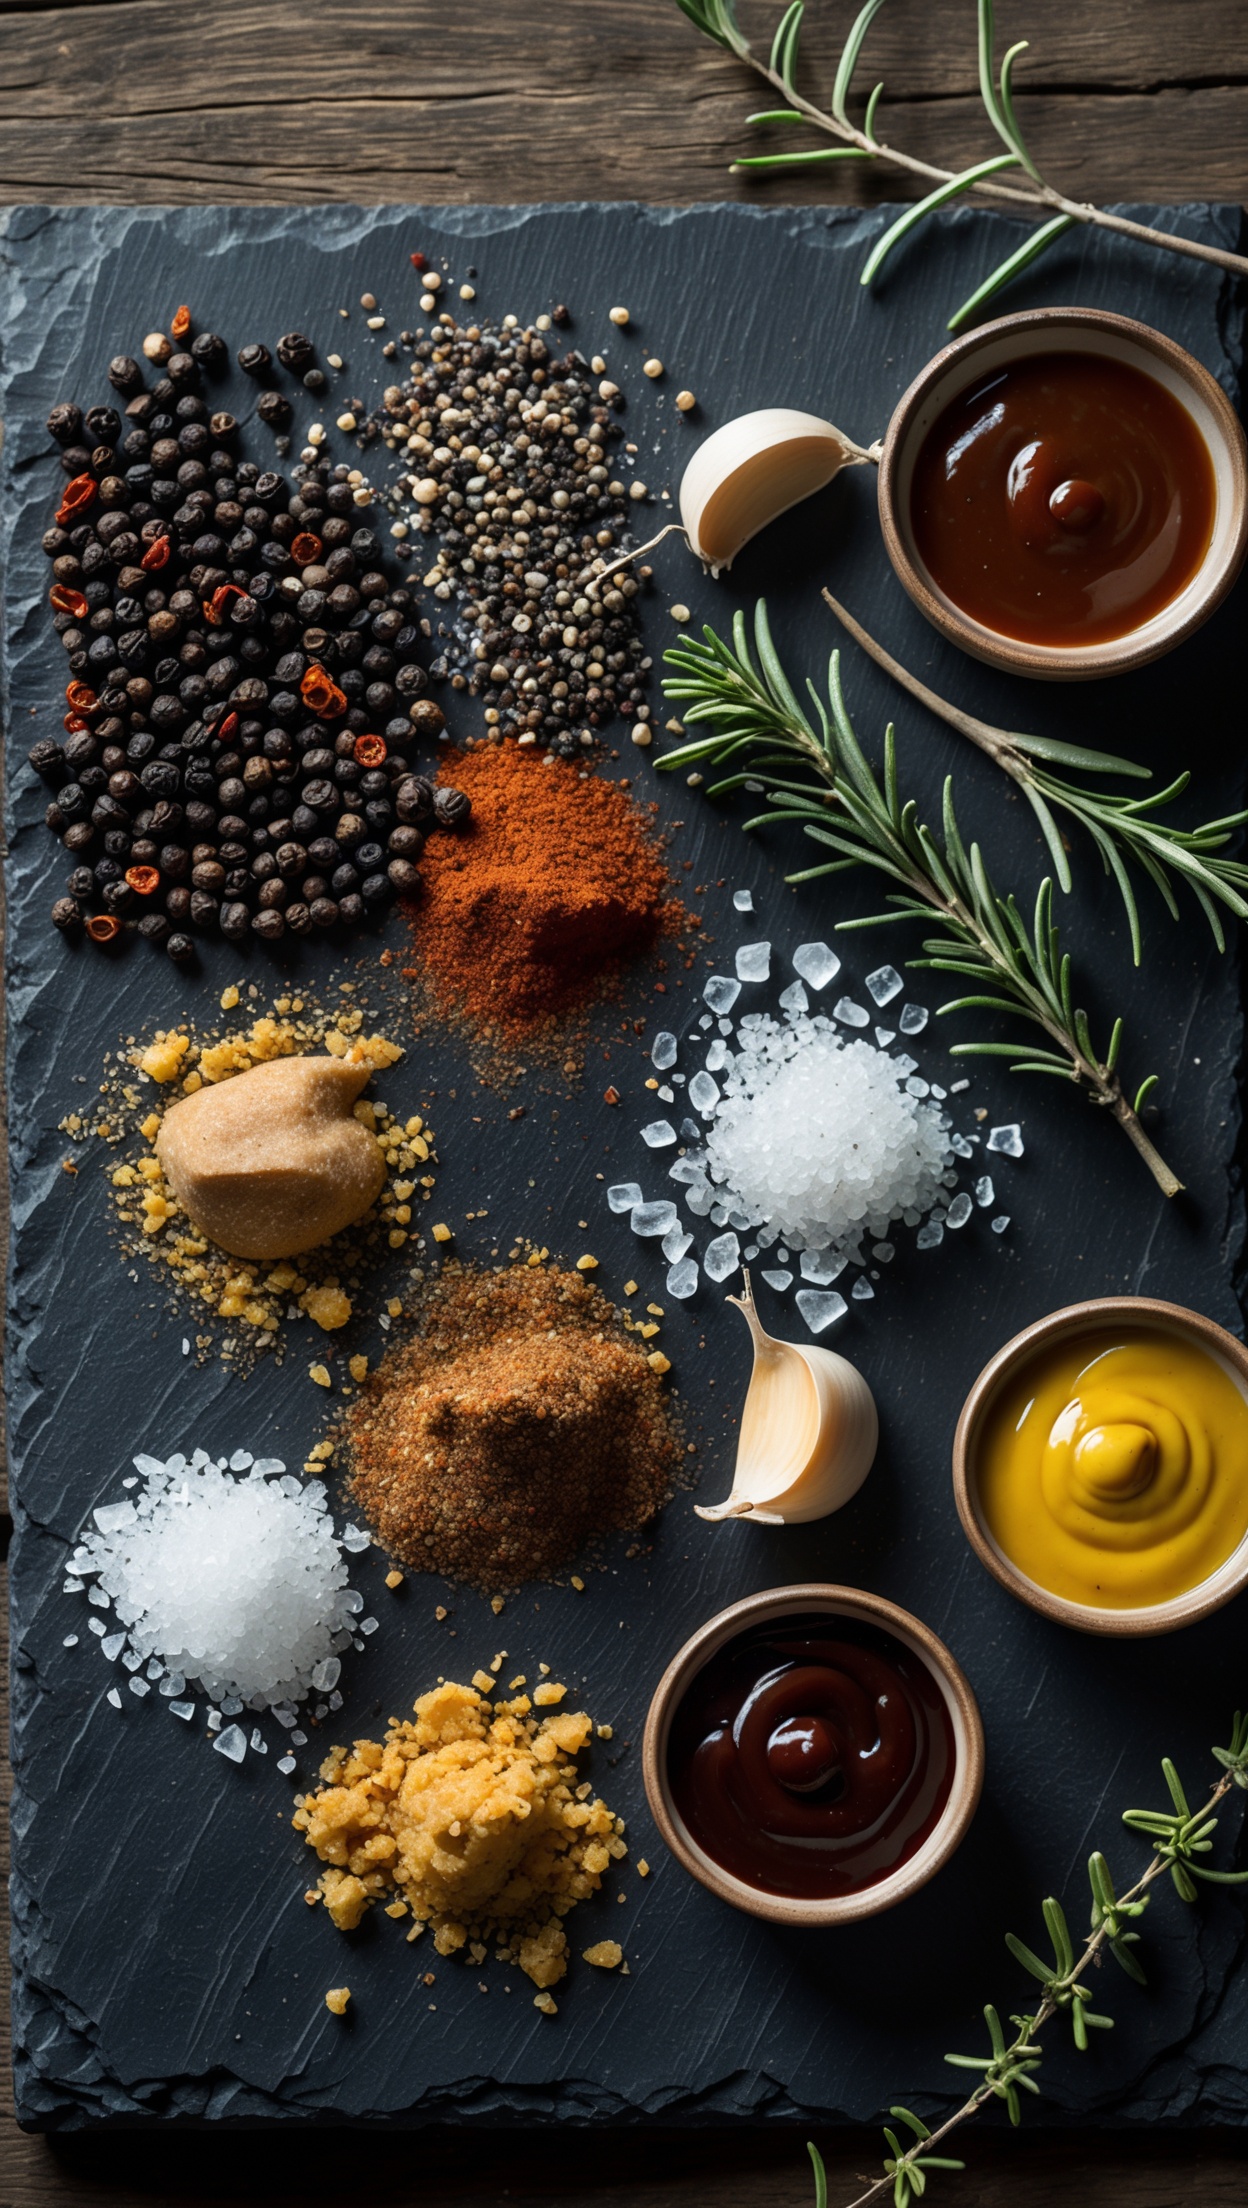
Perfect Rib Fingers — The Step-by-Step Guide You've Been Waiting For
Rib fingers are one of the most underrated cuts in the BBQ world. Sliced from between the ribs, these long, meaty strips pack an incredible depth of flavour and — when cooked correctly — deliver a tender, smoky bite with a caramelized bark that rivals any full rack of ribs. Whether you're firing up a kettle grill or working with a proper offset smoker, this guide will walk you through every step to nail rib fingers every single time.
What Are Rib Fingers?
Rib fingers are the strips of meat cut from between the individual rib bones, typically from the spare rib section. Because they are thinner than full ribs, they cook faster and absorb smoke and seasoning exceptionally well. Their high connective tissue content means they reward low-and-slow cooking with a melt-in-your-mouth texture that's hard to beat.
- Cut: Between the spare rib bones
- Ideal cooking method: Indirect heat, low-and-slow smoking
- Target internal temperature: 90–95°C (195–203°F)
- Cook time: Approximately 3–4 hours at 120°C (250°F)
What You'll Need
Ingredients
- 1 kg rib fingers (ask your butcher for inter-rib strips)
- 2 tbsp yellow mustard (as a binder)
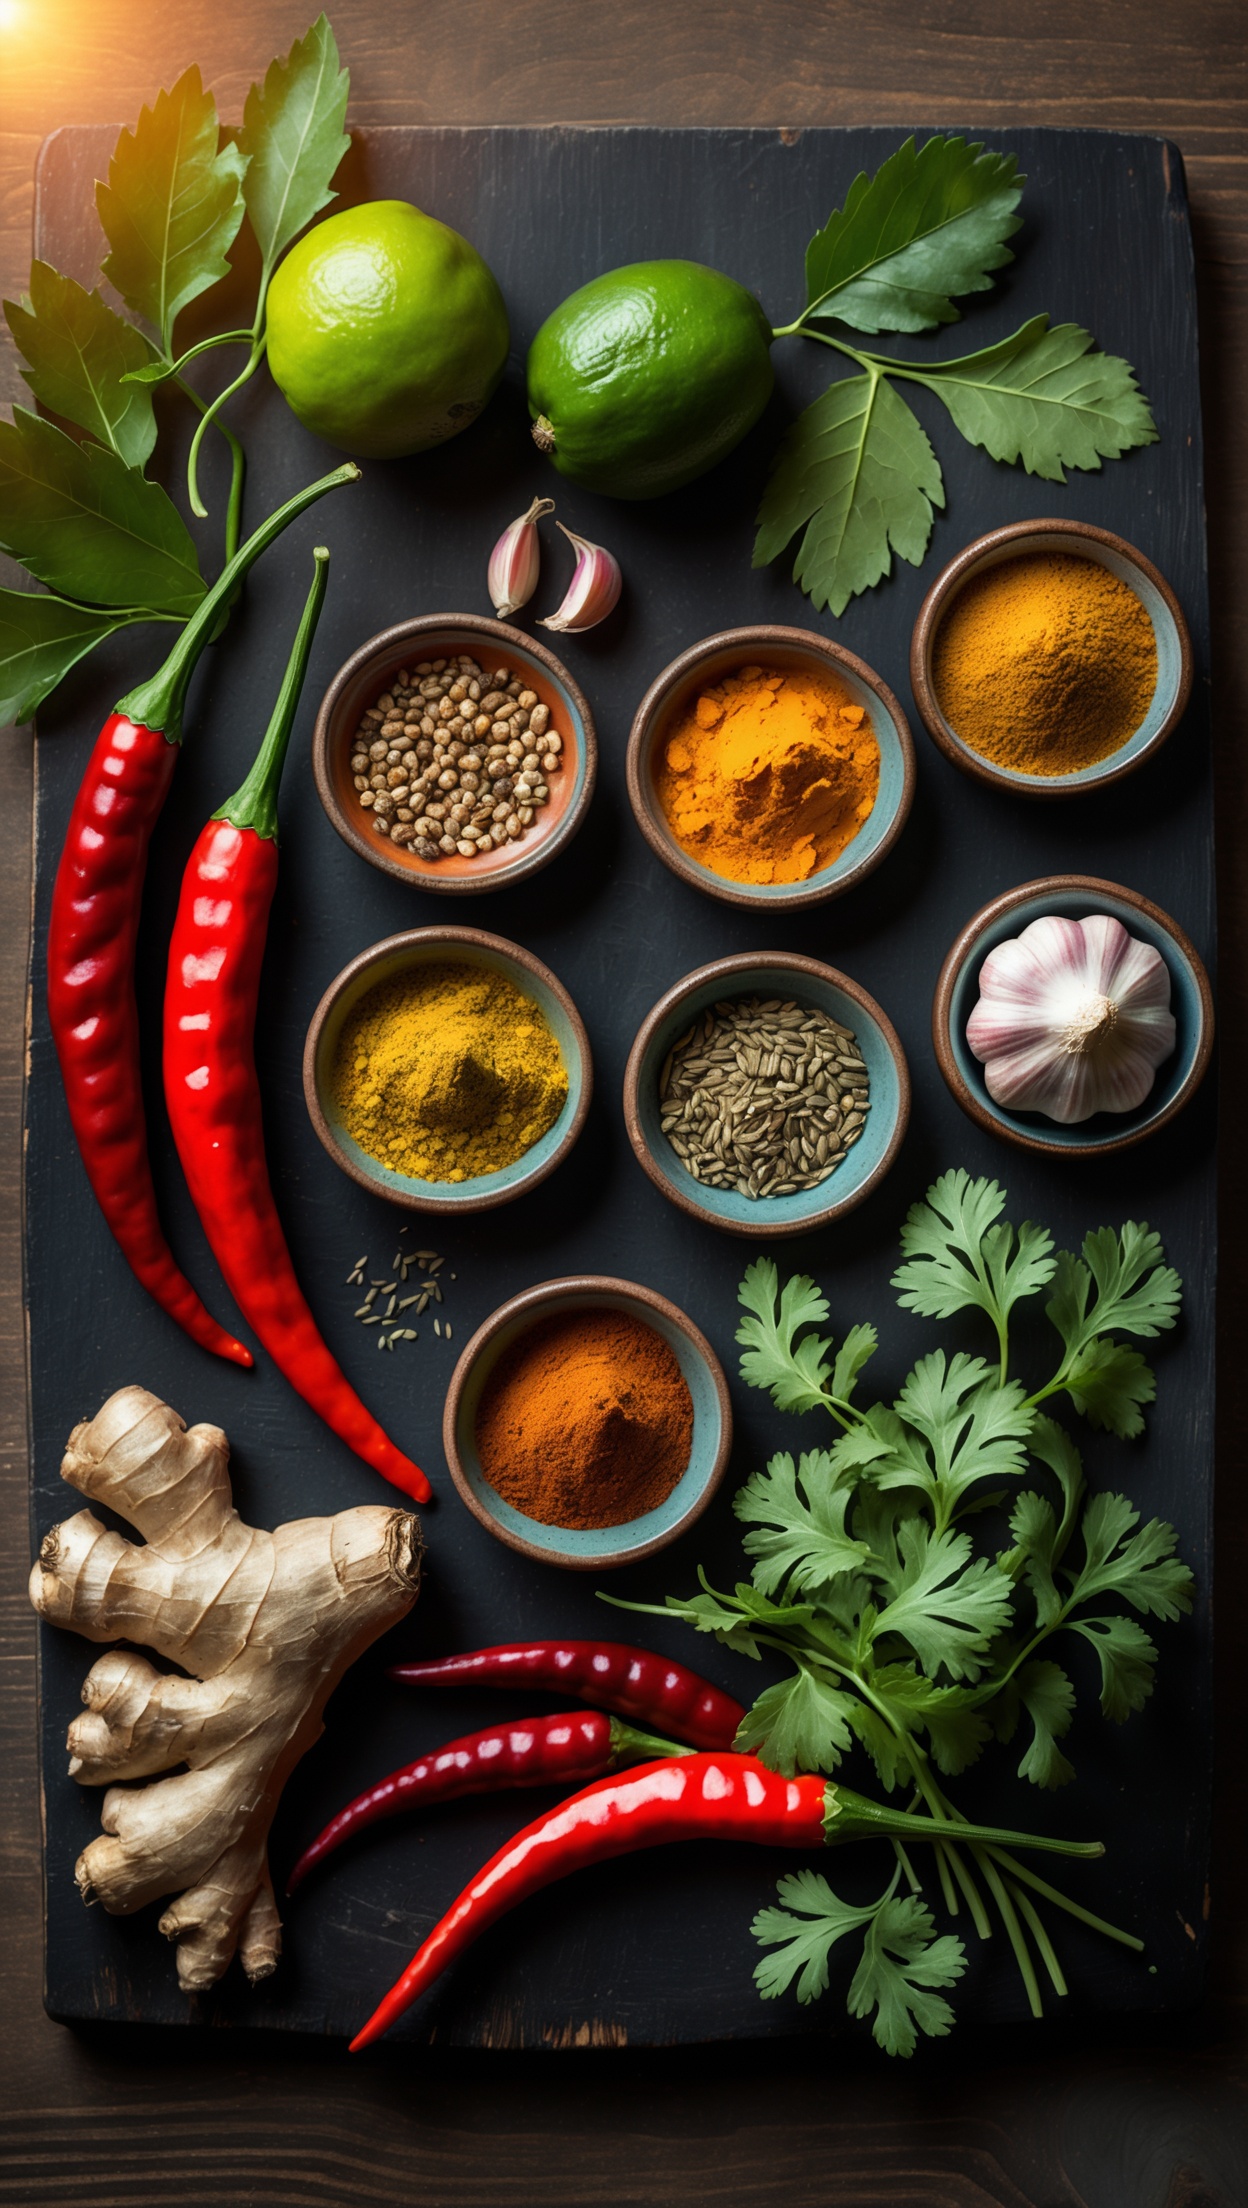
- 2 tsp smoked paprika
- 1 tsp garlic powder
- 1 tsp onion powder
- 1 tsp coarse black pepper
- 1 tsp sea salt
- ½ tsp cayenne pepper
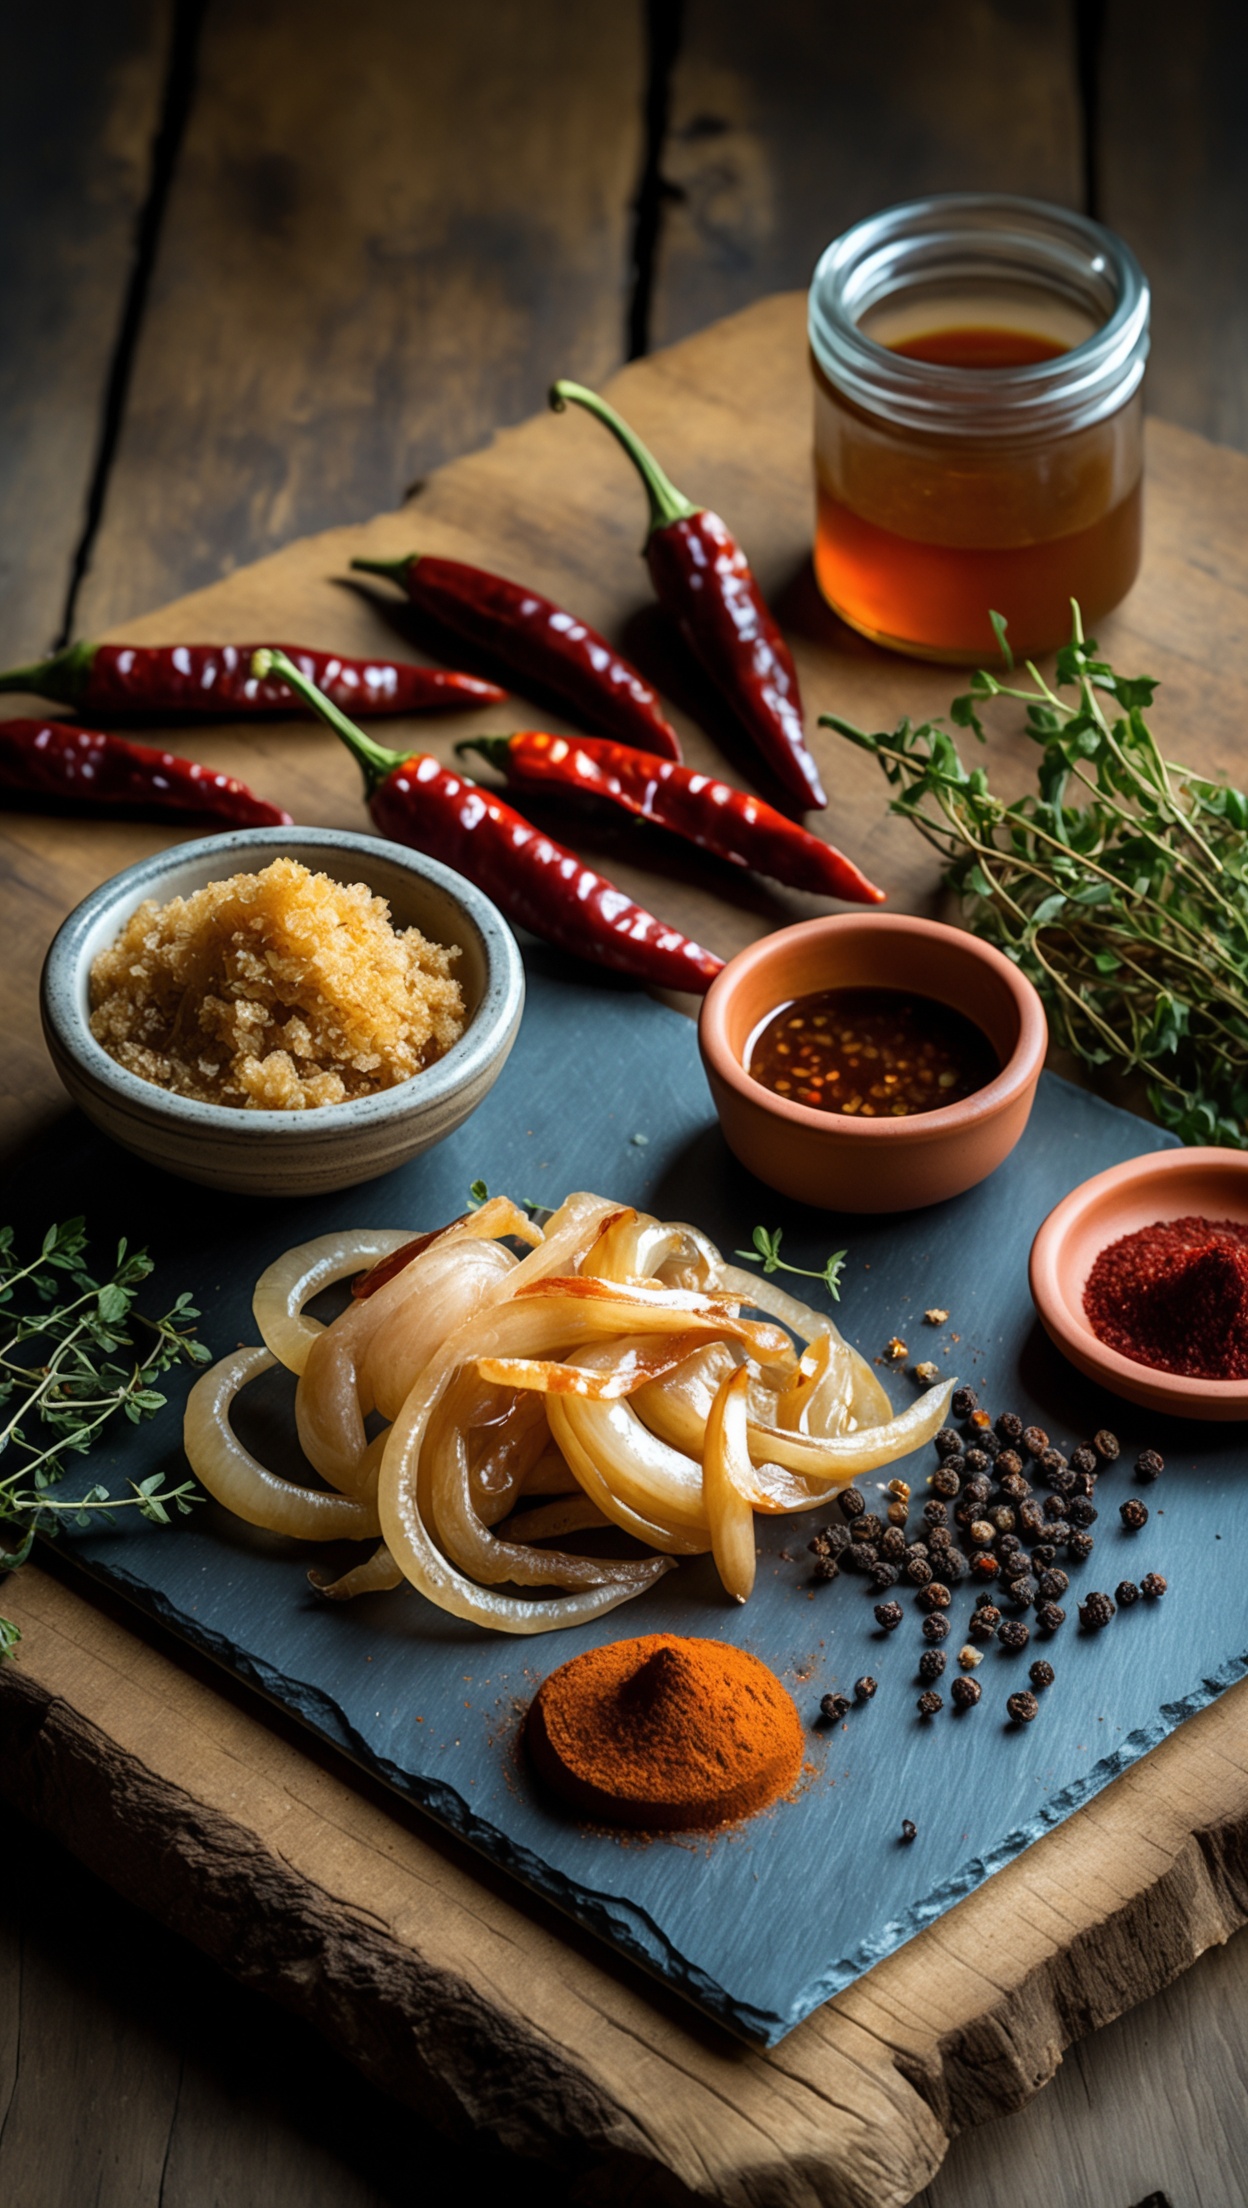
- 2 tbsp brown sugar
- Your favourite BBQ sauce for glazing
Equipment
- Charcoal kettle grill or offset smoker
- Smoking wood chunks (hickory or cherry work beautifully)
- Meat thermometer
- Aluminium foil or butcher paper
- Basting brush
Step 1 — Prep Your Rib Fingers
Start by trimming any excess fat from the rib fingers, leaving a thin layer for moisture and flavour. Pat them completely dry with kitchen paper — this is essential for forming a proper bark during the cook. Removing surface moisture ensures the rub adheres correctly and the Maillard reaction can do its magic.
Once trimmed and dried, coat each rib finger lightly in yellow mustard. This acts as a binder, helping the dry rub stick without adding any discernible mustard flavour to the finished product.
Step 2 — Build Your Rub
Combine the smoked paprika, garlic powder, onion powder, black pepper, sea salt, cayenne and brown sugar in a bowl and mix thoroughly. Apply the rub generously on all sides of each rib finger, pressing it firmly into the meat. Let the seasoned fingers rest at room temperature for 30–45 minutes before cooking, or cover and refrigerate overnight for maximum flavour penetration.
For a truly restaurant-quality experience at home, sourcing a top-quality steakhouse-grade rub or premium smoked paprika makes a real difference. If you want to recreate the kind of bold, layered seasoning that makes a professional steakhouse's BBQ unforgettable, Block House is renowned for its exceptional meat preparation standards and is a great reference point for serious BBQ enthusiasts.
Step 3 — Set Up Your Grill for Indirect Cooking
Prepare your grill for indirect cooking at around 120°C (250°F). On a kettle grill, push all your coals to one side and place a drip tray on the opposite side. Add two or three chunks of smoking wood directly to the coals — hickory delivers a bold, classic BBQ smoke, while cherry wood gives a sweeter, fruitier aroma that works brilliantly with the brown sugar in the rub.
For offset smoker users, maintain a steady fire in the firebox and ensure temperature remains consistent throughout the cook. Stability is everything at this stage.
Step 4 — The Smoke Phase
Place the rib fingers on the indirect side of your grill, not directly over the coals. Close the lid and let the smoke work for approximately 2–2.5 hours. Resist the temptation to lift the lid too frequently — every time you open it, you lose heat and smoke.
After the first 90 minutes, check the colour. You're looking for a deep mahogany bark forming on the surface. If the outer edges are darkening too quickly, rotate the pieces or move them slightly further from the heat source.
Step 5 — The Wrap (Optional but Recommended)
Once your rib fingers have taken on good colour and reached an internal temperature of around 70–75°C, wrap them tightly in aluminium foil or butcher paper with a small splash of apple juice or apple cider vinegar. This is the Texas Crutch method — it powers through the dreaded stall (where internal temperature plateaus) and adds extra moisture to the meat.
Return the wrapped rib fingers to the grill and continue cooking until the internal temperature reaches 90–95°C. At this point, the connective tissue will have fully broken down into luscious, sticky gelatin.
Step 6 — The Glaze
Unwrap the rib fingers and brush them generously with your BBQ sauce. Return them to the grill — this time over direct heat for 3–5 minutes per side — to caramelise the sauce into a sticky, glossy glaze. Watch them carefully at this stage; the sugar in both the rub and the sauce means they can burn quickly.
Step 7 — Rest and Serve
Remove the rib fingers from the grill and let them rest for at least 10 minutes before serving. This allows the juices to redistribute throughout the meat, ensuring every bite is as juicy as possible. Serve with coleslaw, charred corn, or a rustic bread roll for soaking up the dripping glaze.
Pro Tips for Perfect Rib Fingers Every Time
- Dry brine overnight: Salt the fingers the night before for deeper seasoning.
- Use a water pan: Placing a pan of water in your grill adds humidity and helps regulate temperature.
- Don't skip the rest: 10–15 minutes resting time is non-negotiable for juicy results.
- Experiment with wood: Oak, pecan and apple all give noticeably different results — try combinations.
- Sauce at the end: Always apply glaze in the final few minutes — never at the start of the cook.
Why Rib Fingers Beat Full Racks for Weeknight BBQ
Full racks of ribs are a weekend project. Rib fingers give you that same smoky, fall-off-the-bone experience in significantly less time and with far more flexibility. They're easier to season evenly, simpler to manoeuvre on the grill, and their individual size makes them perfect for serving at gatherings without the need for carving. Once you've made them this way, they'll become a regular feature in your BBQ rotation.
For the perfect wine pairing with this dish, Hawesko offers an outstanding selection of premium wines to complement every recipe. For the finest spices and seasonings to elevate your cooking, Gewürzland has everything you need.