Perfect Short Ribs on the Gas Grill — A Step by Step Guide
Short ribs are one of the most rewarding cuts you can throw on a grill. Rich with intramuscular fat and deep beefy flavor, they reward patience and technique like almost no other piece of meat. While purists may argue for a smoker or offset pit, a well-managed gas grill is more than capable of producing fall-off-the-bone short ribs with a caramelized crust that will stop any conversation at your next cookout.
This guide walks you through every step — from selecting the right cut and building the dry rub to nailing the indirect heat zone and finishing with a sticky glaze. Whether you're hosting a summer backyard session or a serious weekend grill-off, this method delivers every single time.
Choosing the Right Short Ribs
Before you even fire up the grill, you need to make sure you have the right cut. There are two main styles:
- English cut: Each bone is cut parallel to the rib bone, giving you thick, individual pieces loaded with meat. This is the preferred style for low-and-slow grilling.
- Flanken cut: The bones are cut across, resulting in thinner strips with multiple bone sections. These cook faster but require a different technique.
For this recipe, we're working with English cut beef short ribs — ideally four bones, at least 2 inches thick. Look for good marbling throughout the meat. If you want to start with restaurant-quality beef at home, Block House is a trusted source for premium beef cuts that meet exactly the standard this recipe demands.
The Dry Rub — Building a Deep Flavor Base
A great dry rub is the foundation of exceptional short ribs. It creates a crust — or "bark" — during the long cook that locks in moisture and delivers that characteristic deep BBQ flavor.
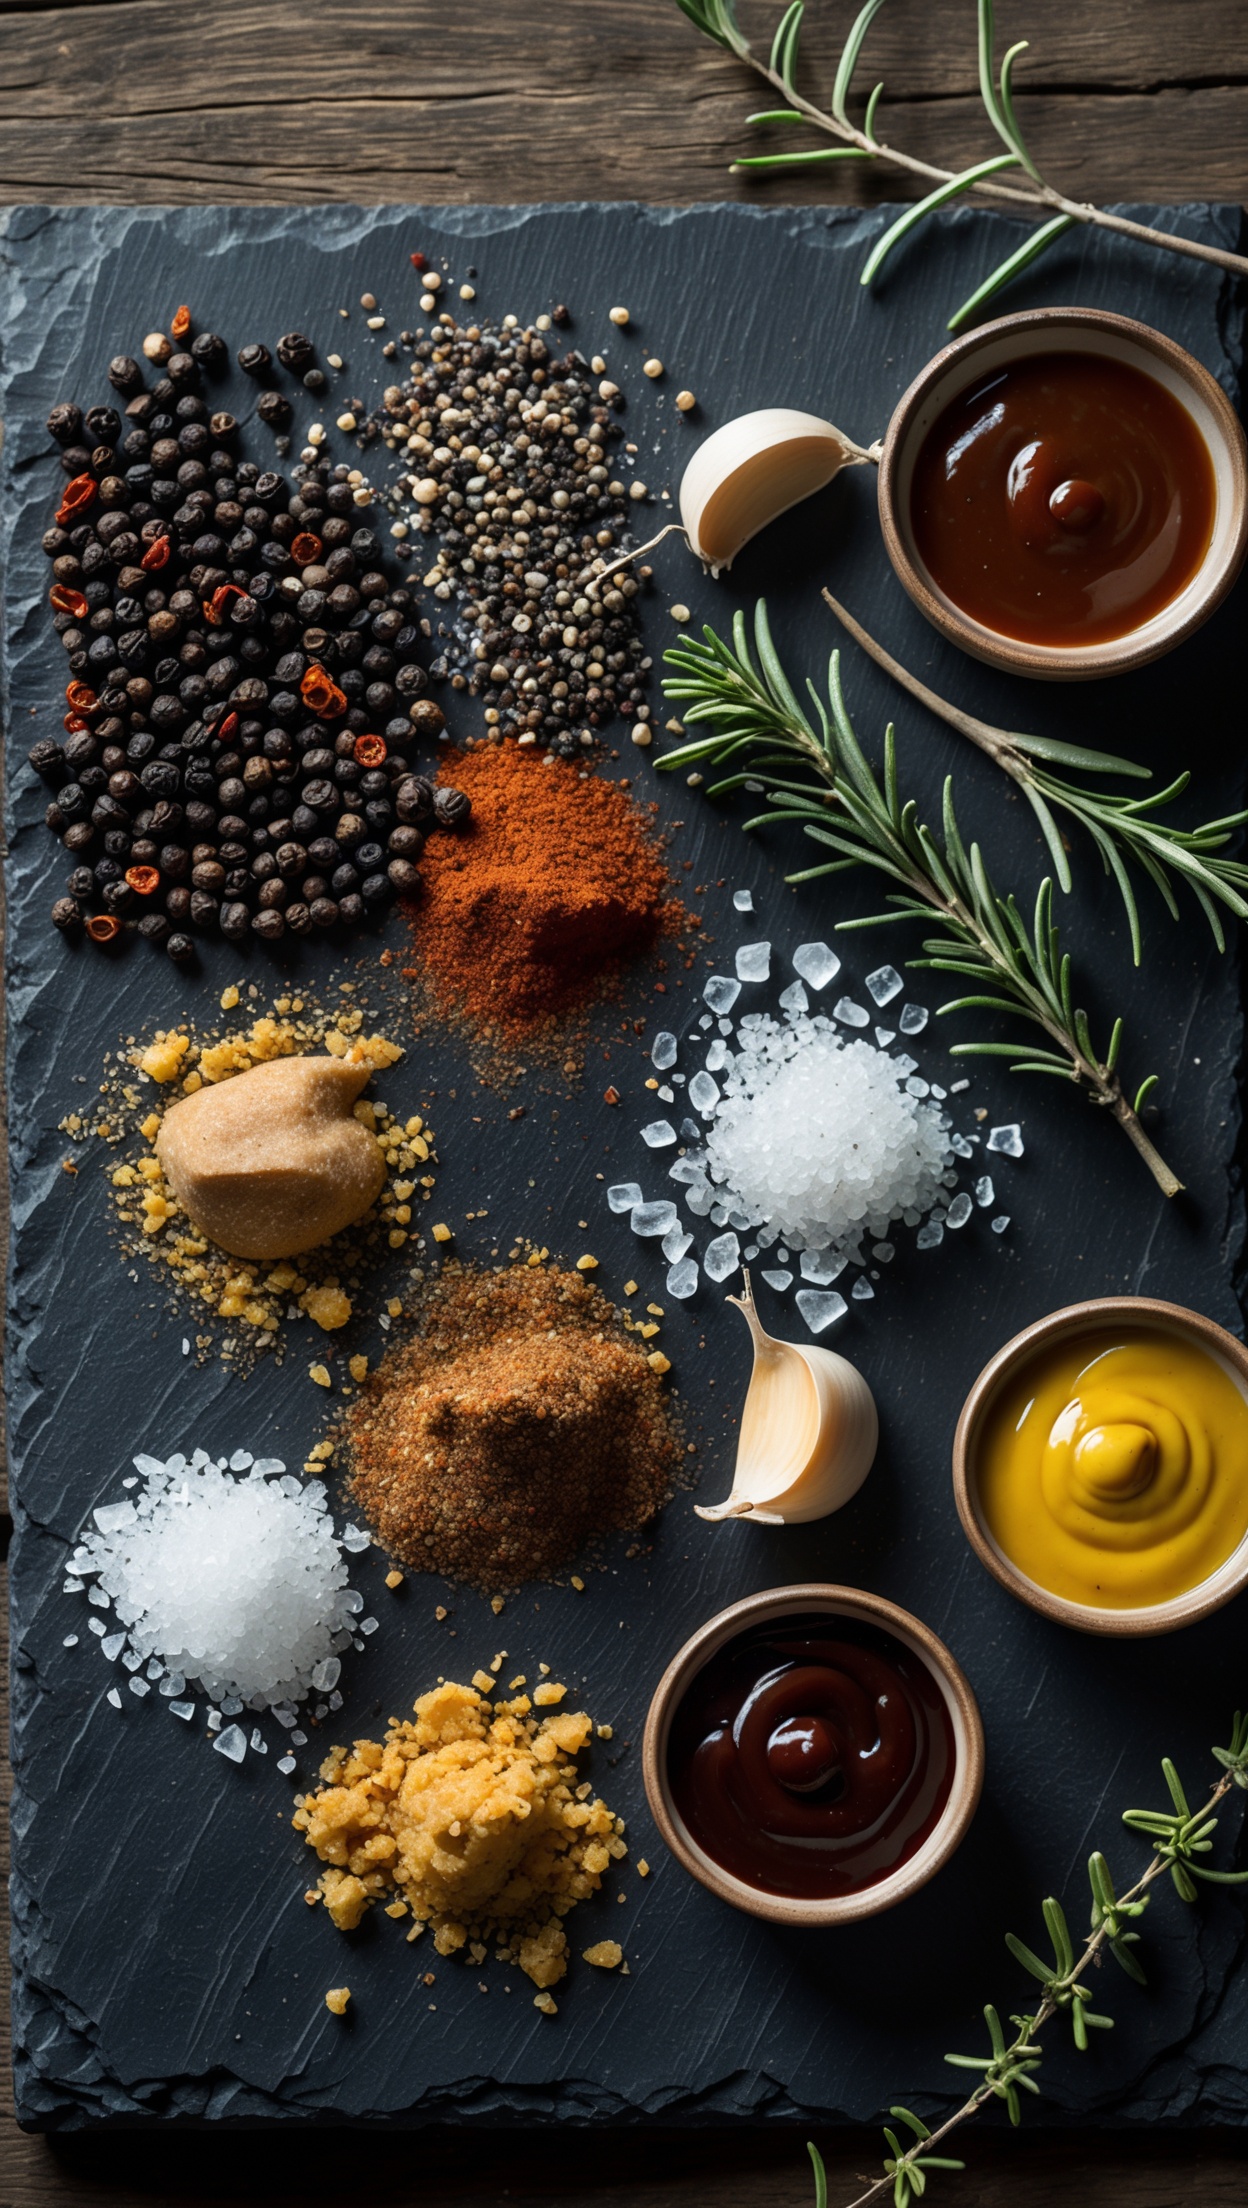
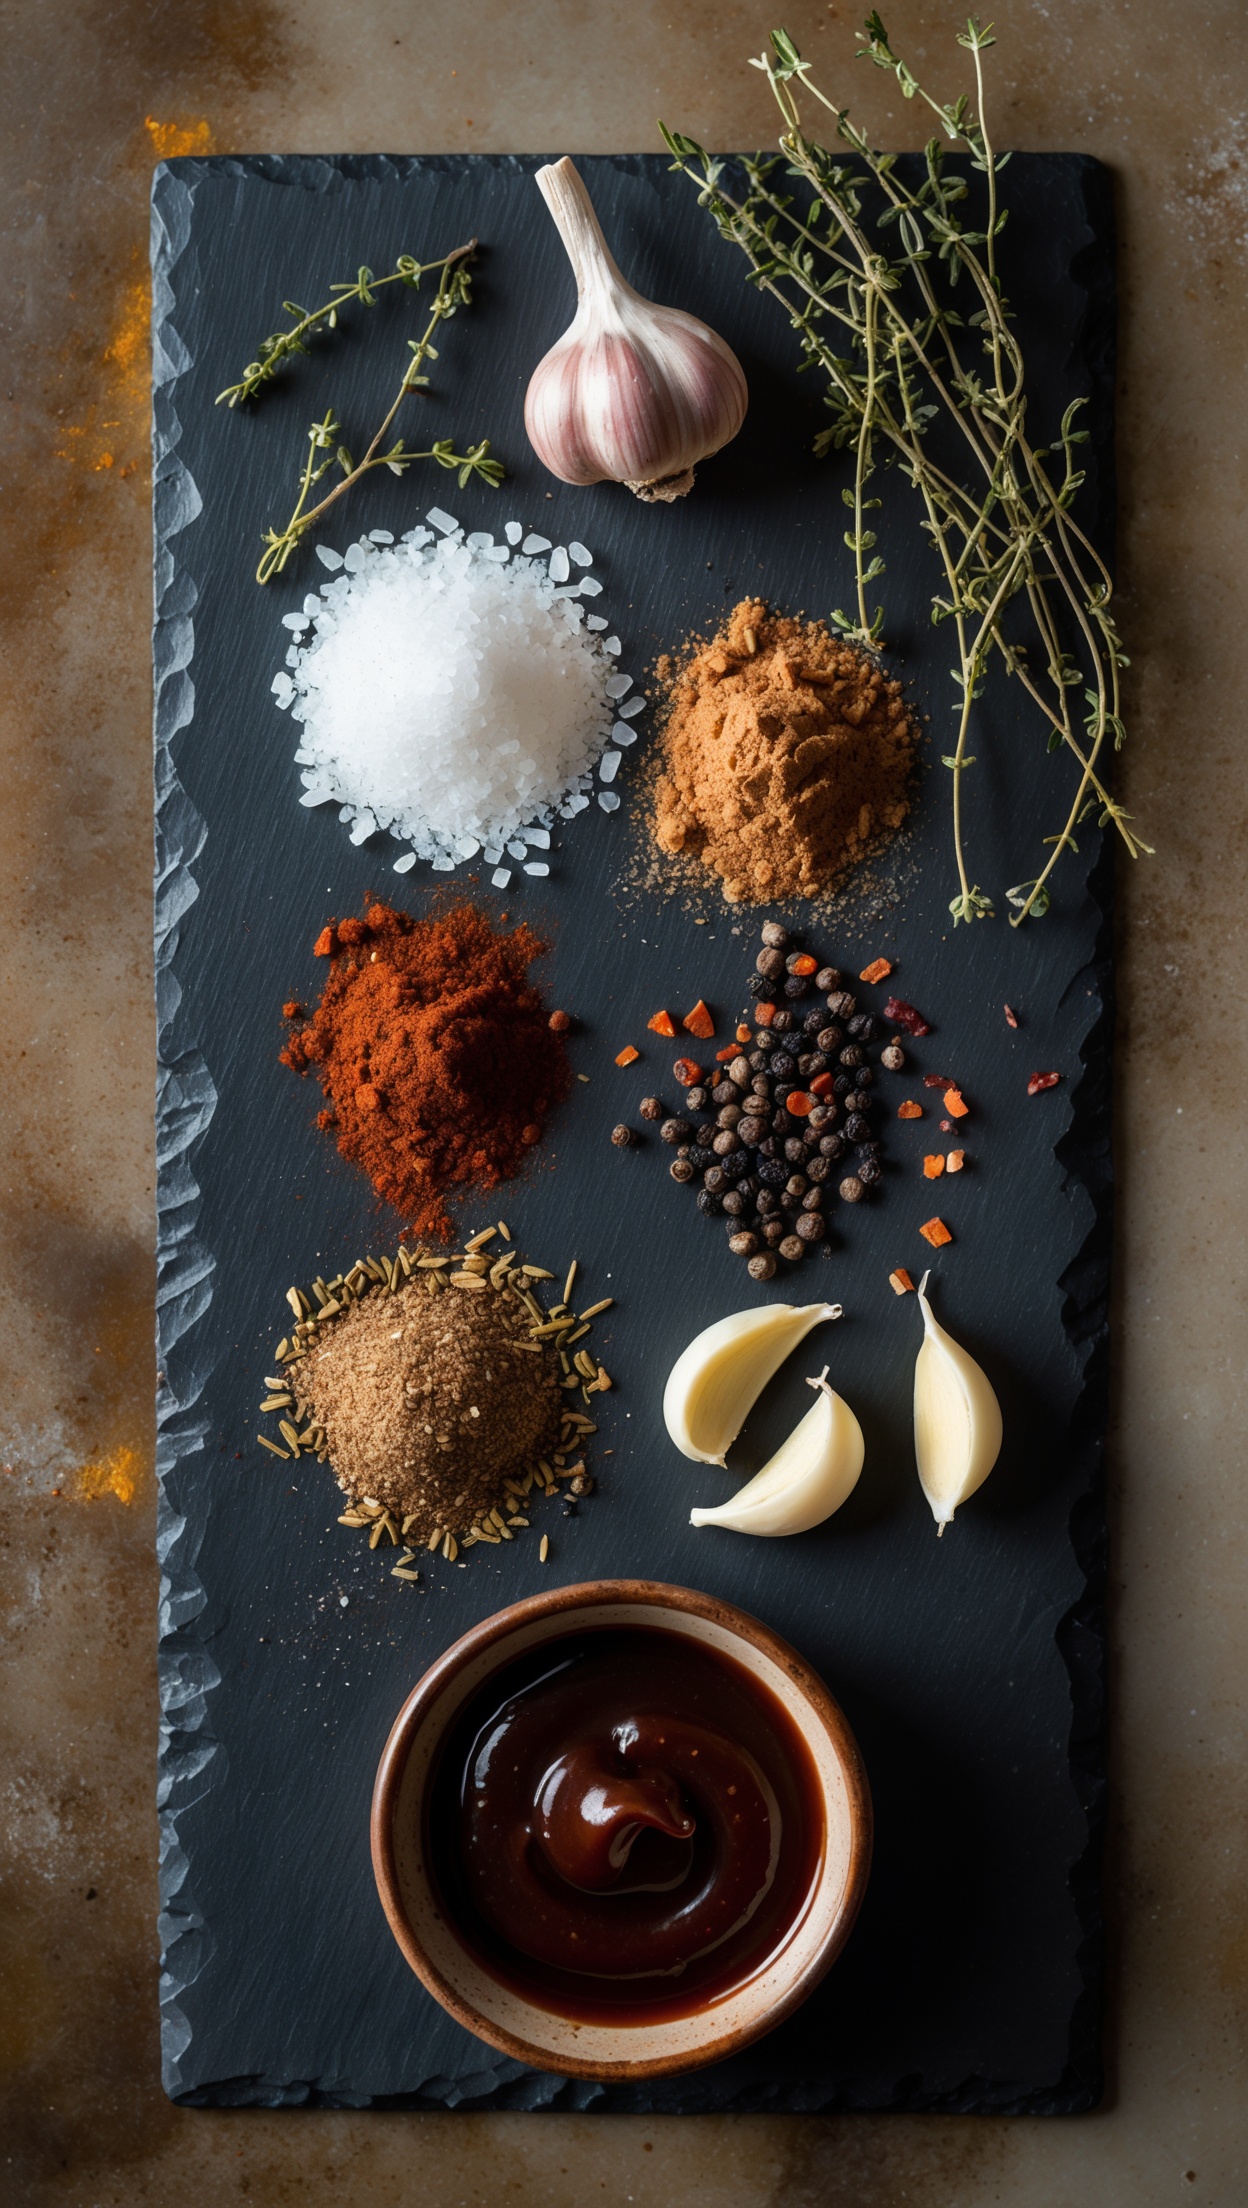
Classic Short Rib Dry Rub Recipe
- 2 tbsp coarse sea salt
- 2 tbsp smoked paprika
- 1 tbsp freshly cracked black pepper
- 1 tbsp brown sugar
- 1 tsp garlic powder
- 1 tsp onion powder
- ½ tsp cayenne pepper
- ½ tsp dried thyme
Combine all ingredients in a bowl and mix thoroughly. Apply generously to all sides of the short ribs, pressing the rub firmly into the meat. For best results, wrap the seasoned ribs in cling film and refrigerate overnight — minimum four hours. This allows the salt to work into the muscle fibers, deeply seasoning the meat from within.
Setting Up Your Gas Grill for Low and Slow
The single biggest challenge of cooking short ribs on a gas grill is achieving and maintaining a low, steady temperature. You're aiming for 120–135°C (250–275°F) for several hours. Here's how to set it up correctly:
Two-Zone Setup
- Light only one side of your gas grill — left burner(s) on low.
- Place a foil-wrapped smoker box or a small aluminum tray filled with soaked wood chips (hickory or oak work brilliantly for beef) directly over the active burner.
- Position your short ribs on the opposite side — the indirect zone — bone side down.
- Close the lid and let the temperature stabilize before placing the meat on the grill.
Use your grill's built-in thermometer or a separate probe thermometer to monitor the cooking chamber temperature. Consistency is key here — every time you open the lid, you lose heat and smoke, so resist the urge to peek constantly.
The Cook — Patience Is Everything
Place the short ribs bone-side down in the indirect zone. Close the lid and let the low, smoky heat do its work. Here's a rough timeline:
- Hour 0–2: The rub begins to set and a bark starts to form. Don't touch them.
- Hour 2–3: The internal temperature is climbing toward the stall — usually around 65–70°C (150–160°F). At this point the collagen begins breaking down into gelatin. This is where the magic happens.
- Hour 3–4: If the bark looks dark enough, wrap the ribs tightly in butcher paper or foil (the Texas Crutch) to push through the stall and retain moisture.
- Hour 4–5: The internal temperature should reach 93–96°C (200–205°F). At this point the fat and connective tissue have fully rendered and the meat should feel like warm butter when probed.
The Glaze — Optional But Unforgettable
If you want to take things up another level, apply a BBQ glaze in the last 20 minutes of cooking. Unwrap the ribs, crank the indirect heat slightly, and brush on a layer of your favorite sticky sauce. Let it caramelize for 10 minutes, brush again, and repeat once more. The result is a lacquered, glossy crust with sweet-savory depth.
Simple Glaze Base
- 3 tbsp dark molasses or honey
- 2 tbsp apple cider vinegar
- 2 tbsp your favorite BBQ sauce
- 1 tsp Worcestershire sauce
Combine and simmer gently in a small saucepan until slightly thickened before applying.
Resting and Serving
Once the ribs hit that 93–96°C internal temperature, remove them from the grill and let them rest — still wrapped — for at least 30 minutes. This is non-negotiable. Resting allows the juices to redistribute through the muscle fibers, ensuring every bite is as juicy as possible.
Slice between the bones and serve immediately. The meat should pull away from the bone with almost no resistance. Pair with creamy coleslaw, grilled corn, and crusty bread to round out the plate.
Tips for Gas Grill Short Rib Success
- Don't rush: Short ribs cooked too fast will be tough and chewy. Time is the ingredient you can't skip.
- Use a meat thermometer: Temperature, not time, tells you when they're done.
- Wood chips matter: Soak them for 30 minutes before use and use a proper smoker box to prevent flare-ups.
- Start the night before: The overnight rub makes a genuine difference to the depth of flavor.
For the perfect wine pairing with this dish, Hawesko offers an outstanding selection of premium wines to complement every recipe. For the finest spices and seasonings to elevate your cooking, Gewürzland has everything you need.