This article contains affiliate links. If you buy through them, we may earn a commission at no extra cost to you.
Perfect Pork Ribs — Step by Step Guide
There are few things in BBQ life more satisfying than a rack of perfectly cooked pork ribs — tender, smoky, with a sticky caramelised glaze that clings to every bone. The good news is that achieving competition-worthy ribs at home is entirely within reach. You don't need a professional smoker or years of pitmaster experience. What you do need is patience, the right technique and a solid dry rub. This guide walks you through every stage, from prepping the membrane to the final glaze, so you can nail it every single time.
Choosing Your Ribs
For this recipe, we're using pork spare ribs — the larger, meatier cut from the belly side of the ribcage. They have more fat marbling than baby back ribs, which means more flavour and a more forgiving cook. Look for racks that are well-covered with meat, not too much exposed bone, and a good layer of fat on the back. Two racks will comfortably feed four people.
The Dry Rub — Building Flavour from the Start
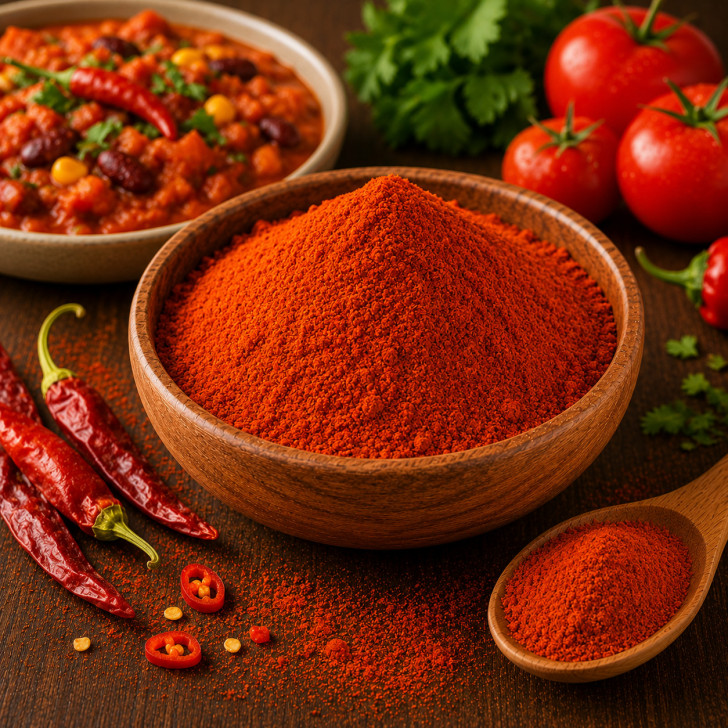
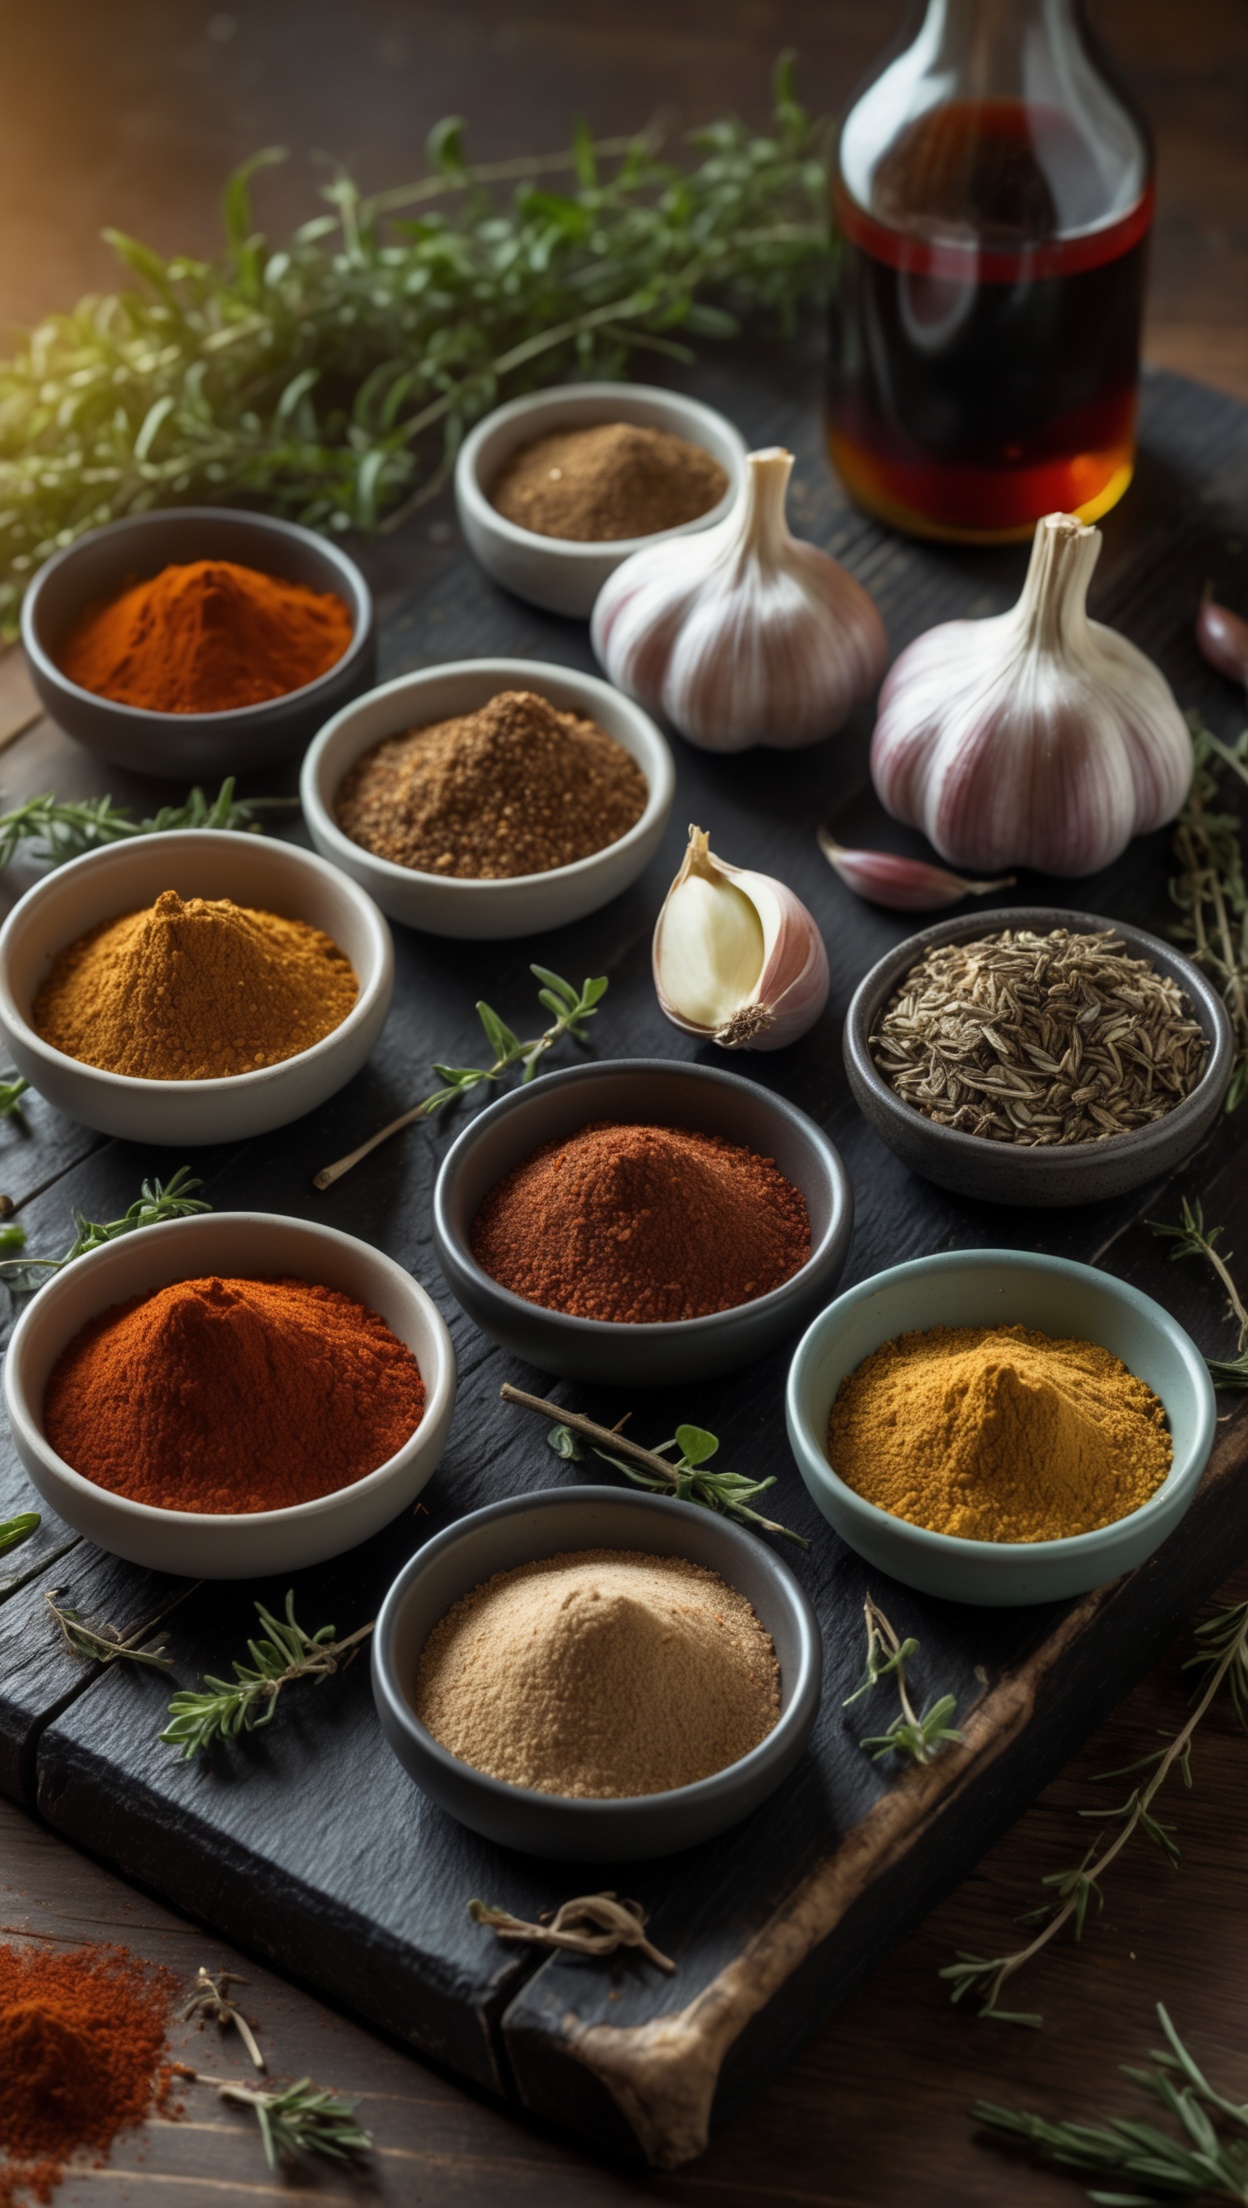
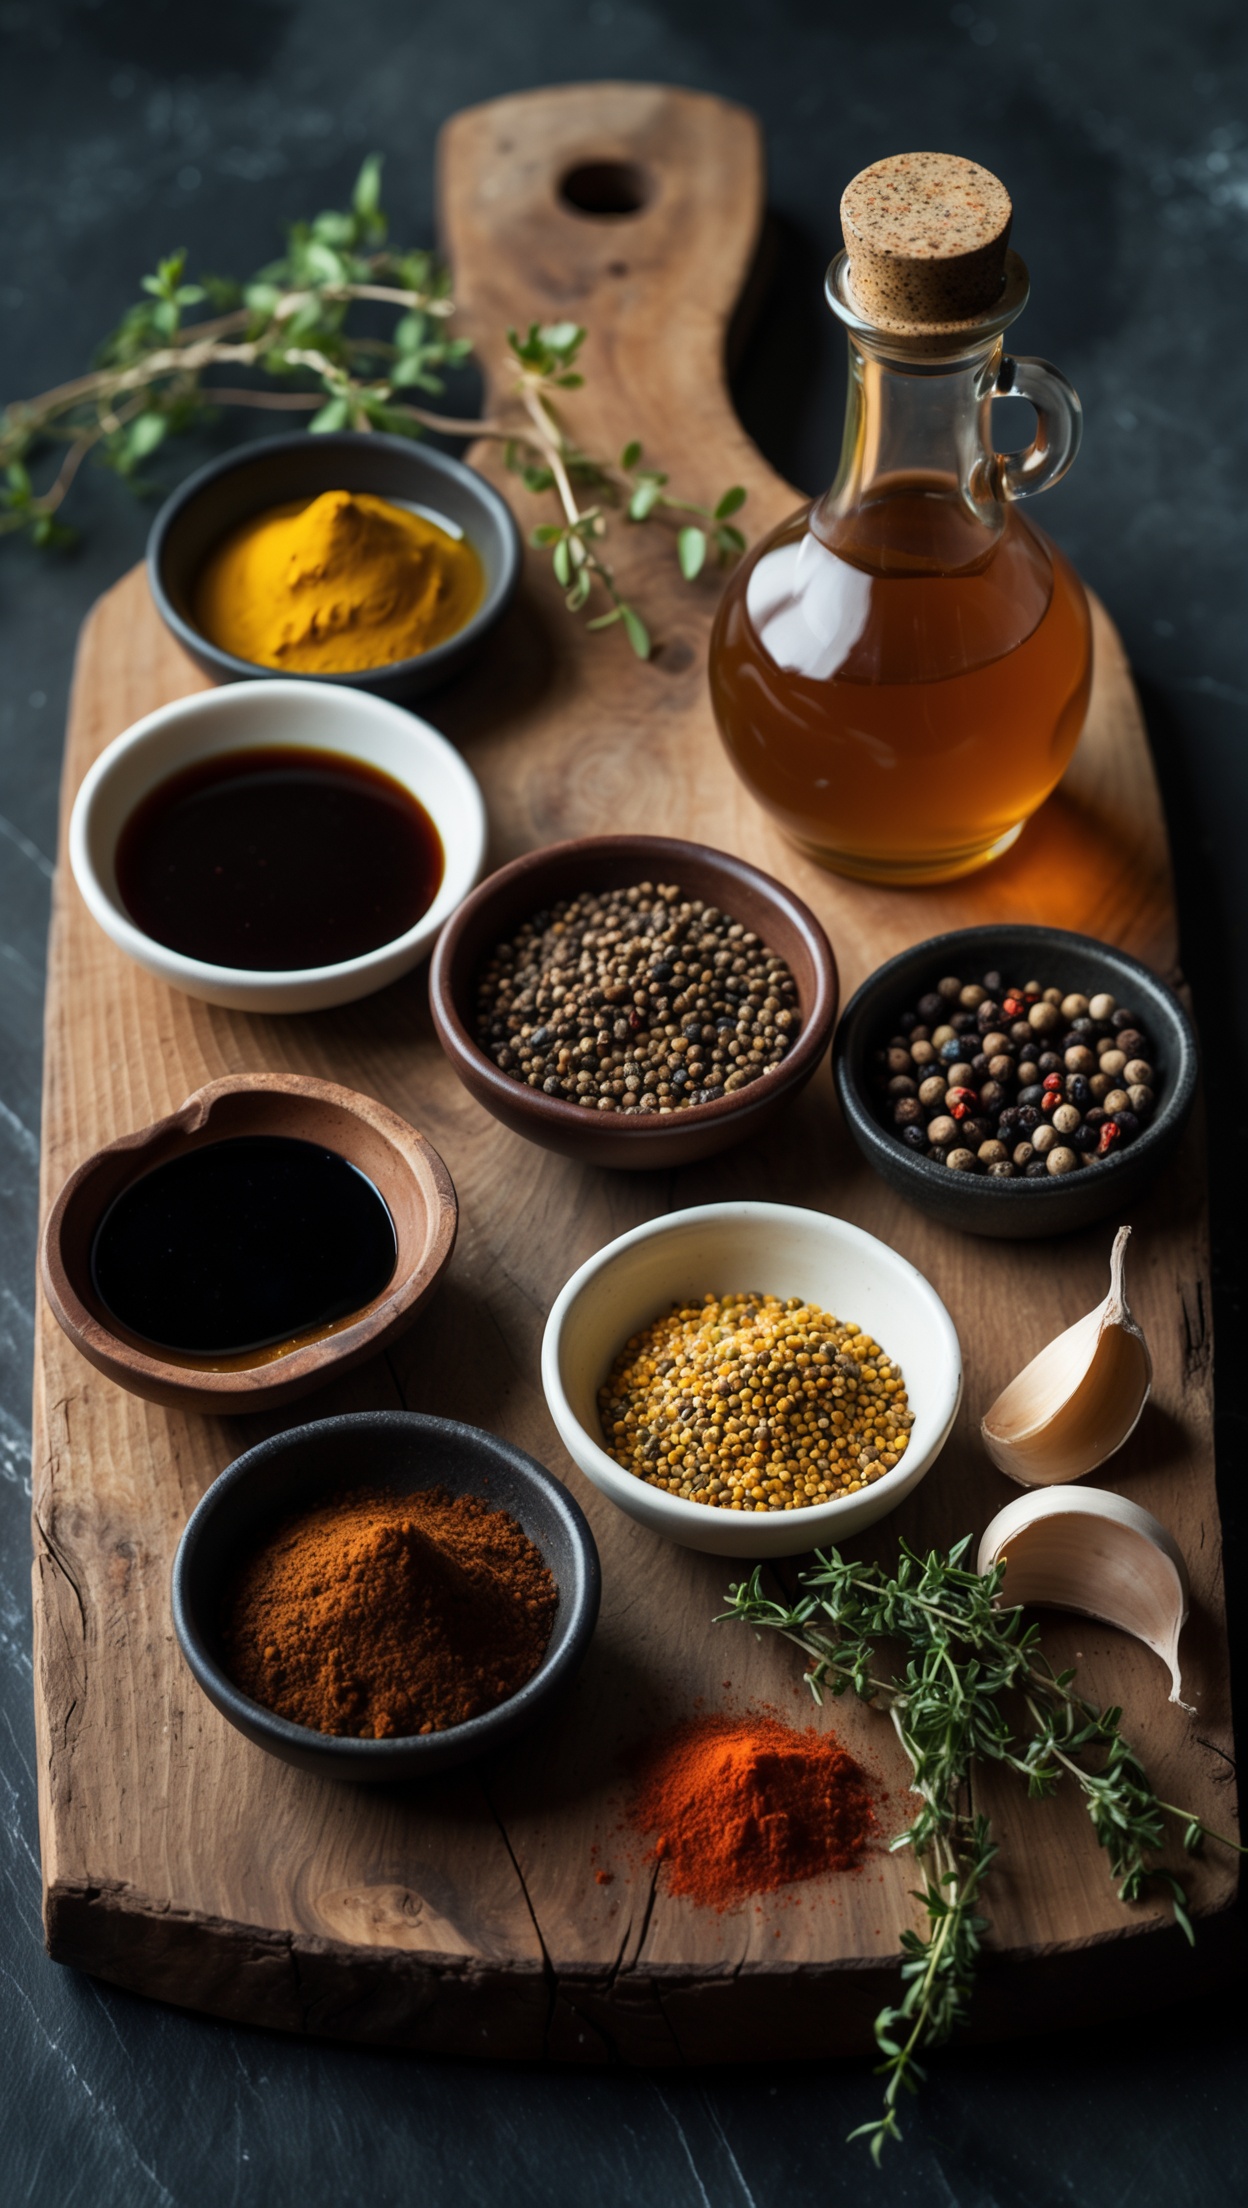
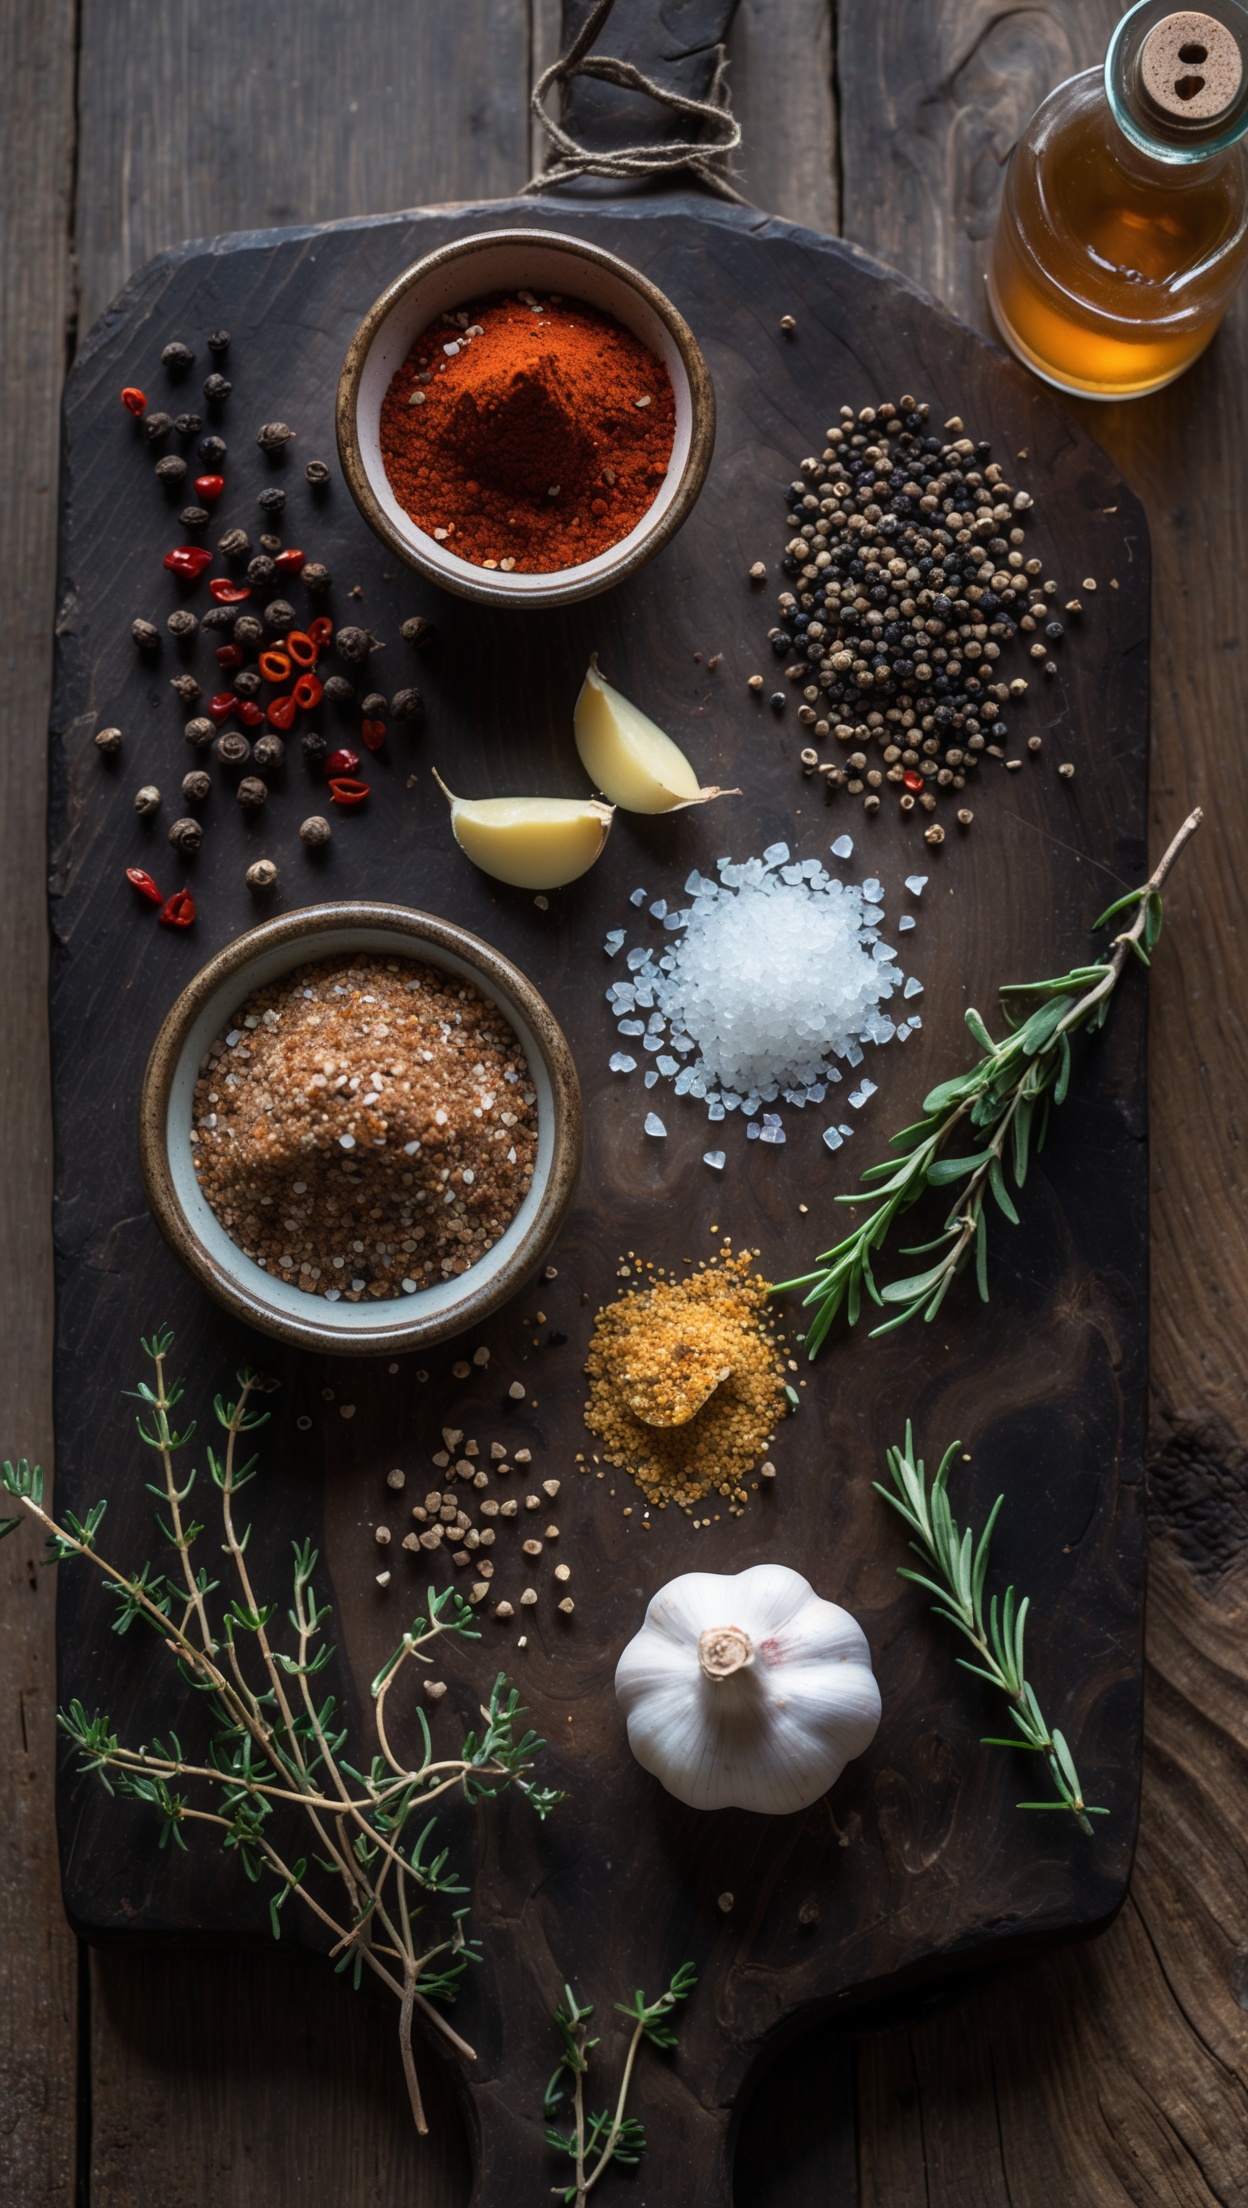
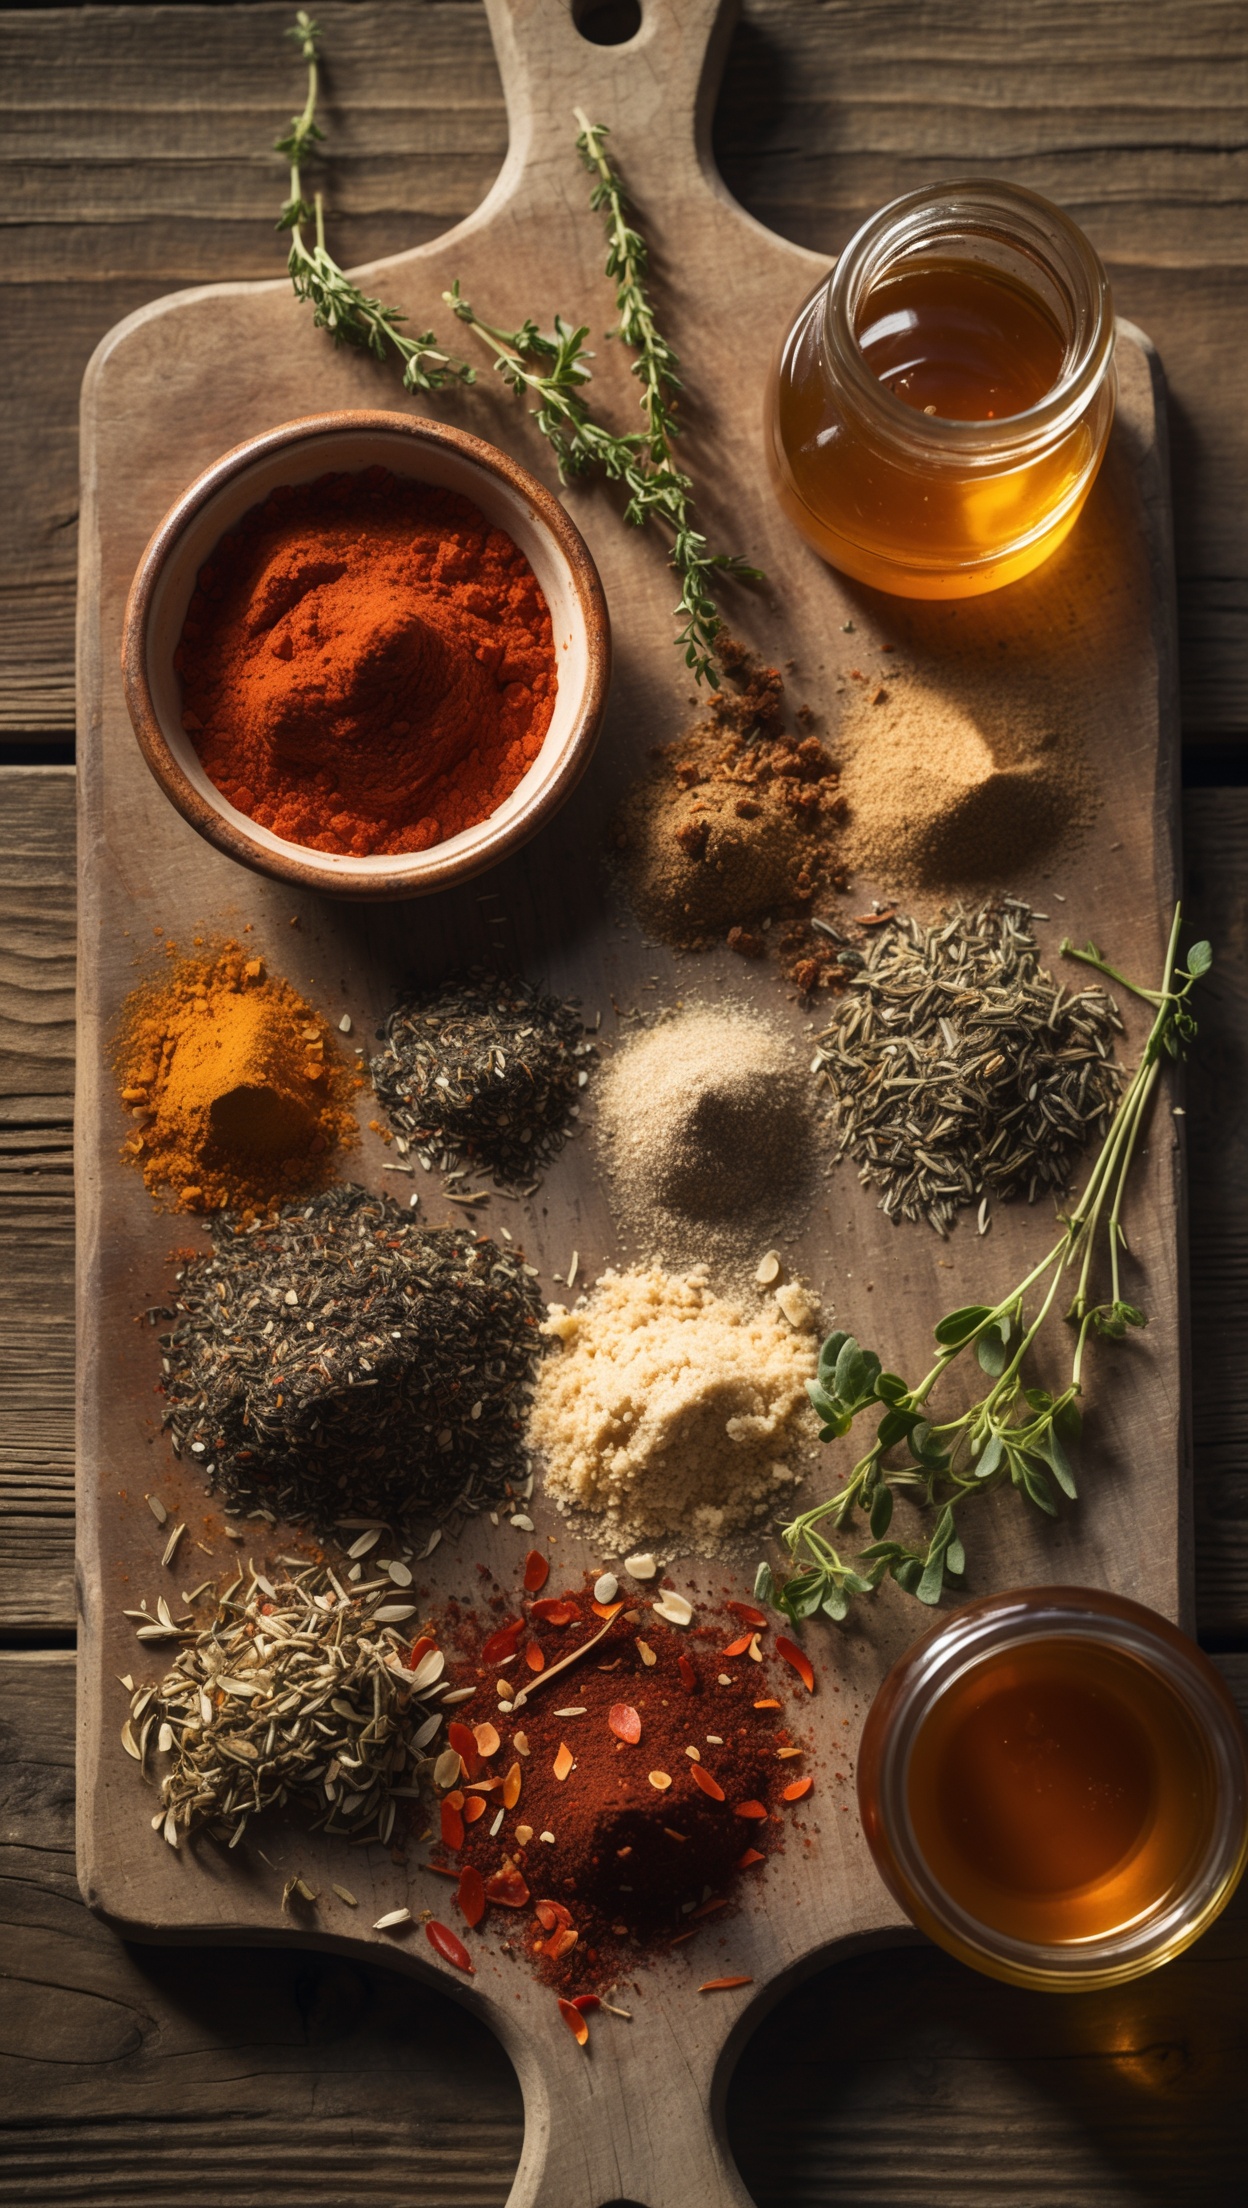
The dry rub is the foundation of great ribs. A balanced mix of smoky, sweet, savoury and mildly spicy notes creates the flavour crust — or "bark" — that makes BBQ ribs so crave-worthy. Our blend uses smoked paprika, brown sugar, garlic powder, onion powder, black pepper, salt, cayenne pepper and dried thyme. Each element plays a role: the sugar helps with caramelisation, the smoked paprika adds depth, and the cayenne gives a gentle kick without overpowering.
For the most vibrant, freshly ground spice flavour, source your individual spices from a reliable supplier who prioritises quality and origin — the difference in your bark will be noticeable.
Ingredients
- 2 racks of pork spare ribs (approx. 1.5 kg each)
- 2 tbsp smoked paprika
- 1 tbsp brown sugar
- 1 tsp garlic powder
- 1 tsp onion powder
- 1 tsp ground black pepper
- 1 tsp salt
- ½ tsp cayenne pepper
- ½ tsp dried thyme
- 3 tbsp apple cider vinegar (for spritzing)
- 150 ml BBQ sauce (for glazing)
- 2 tbsp honey
Step-by-Step Instructions
Step 1 — Remove the Silver Skin
Flip the rack bone-side up. You'll see a thin, shiny membrane running across the bones — this is the silver skin. If left on, it turns tough and rubbery during cooking and prevents the rub from penetrating the meat. Slide a butter knife under one edge near the end bone, lift it up, grip it firmly with a dry paper towel and pull steadily. It should come away in one clean piece. Repeat on the second rack.
Step 2 — Apply the Dry Rub
Combine all your dry rub ingredients in a small bowl and mix well. Lay the racks on a clean surface and coat every side generously, pressing the rub firmly into the meat so it adheres properly. Don't skimp here — a thick, even coating is what creates the bark. Once rubbed, wrap both racks tightly in cling film and refrigerate for at least 2 hours. Overnight is even better.
Step 3 — Set Up for Indirect Heat
Great ribs are cooked low and slow — around 120–130 °C (250 °F) using indirect heat. On a gas grill, turn on one or two burners on one side only and place the ribs on the opposite side. On a charcoal grill, bank the coals to one side and add a couple of wood chunks — hickory for a bold smoky flavour or applewood for something sweeter and milder. Either way, close the lid and let the temperature stabilise before adding the meat.
Step 4 — The First Two Hours
Place the racks bone-side down on the indirect zone, close the lid and walk away. Seriously — resist the urge to peek. Every time you lift the lid, heat escapes and extends the cooking time. Let the ribs cook undisturbed for a full two hours. During this time the rub will set, the fat will begin to render and the smoke will work its magic.
Step 5 — Spritz and Keep Cooking
After two hours, open the grill and give the ribs a light spritz of apple cider vinegar using a small spray bottle. This adds moisture, brightens the flavour and helps develop a beautiful mahogany colour. Close the lid again and repeat the spritz every 30 minutes for the next hour. You're looking for a rich, dark bark and meat that has pulled back slightly from the bone tips — a good sign it's nearly there.
Step 6 — Glaze and Finish
Mix 150 ml of your favourite BBQ sauce with 2 tbsp of honey to make a glossy glaze. Brush it liberally over both sides of the ribs and return them to the grill bone-side down for a final 30 minutes. The glaze will caramelise and become beautifully sticky. Watch the temperature — you want it slightly higher at this stage, around 140–150 °C, to help the glaze set without burning.
Step 7 — Rest and Slice
Remove the racks from the grill and let them rest on a board for 10 minutes. This allows the juices to redistribute and makes slicing much cleaner. Use a sharp knife and cut firmly between each bone. Serve immediately with your favourite sides — coleslaw, corn on the cob and baked beans are classics for a reason.
Tips for Consistently Great Ribs
- Don't rush it. Low and slow is non-negotiable. Raising the temperature to speed things up leads to tough, dry meat.
- Use a thermometer. The internal temperature of properly cooked ribs should reach around 93–96 °C (200–205 °F) for fall-off-the-bone tenderness.
- The bend test. Pick up the rack with tongs from one end — if it bends significantly and the bark begins to crack, the ribs are done.
- Add wood gradually. On a charcoal grill, add one or two chunks of smoking wood at the start. Too much smoke can make the meat bitter.
- Make extra rub. It keeps well in an airtight jar for weeks and is excellent on chicken, brisket or even roasted vegetables.
What to Serve with BBQ Ribs
The best sides cut through the richness of the meat. Classic choices include:
- Creamy coleslaw with a light vinegar dressing
- Grilled corn with herb butter
- Smoky baked beans
- Soft brioche buns for soaking up the glaze
- Pickled red onions for acidity and colour
Make It Your Own
Once you've mastered this base recipe, it's easy to personalise. Swap cayenne for chipotle powder for a smokier heat profile. Add ground coffee to the rub for a deeper, more complex bark. Try a mustard-based glaze instead of the honey-BBQ mix for a tangy Southern-style finish. The technique stays the same — only the flavour direction changes.
Perfect pork ribs are a project, not a quick midweek dinner — but the payoff is absolutely worth the time invested. Follow these steps closely the first time, and you'll understand intuitively how to adjust on your next cook. That's how great BBQ cooks are made.