Perfect Slow Spareribs — The Step-by-Step Guide
There is a moment at every great BBQ when the conversation stops. Forks drop. Eyes close. That moment is caused by perfectly cooked spareribs — smoky, caramelized on the outside, impossibly tender within, with meat that slides cleanly off the bone without falling apart. This guide will show you exactly how to achieve that result, every single time.
Why Low and Slow is the Only Way
Spareribs are a tough cut. They are packed with connective tissue and collagen that, if cooked too fast, turns rubbery and chewy. But when subjected to sustained low heat — between 110°C and 130°C (225°F to 265°F) — that same collagen melts into gelatin, basting the meat from the inside and creating that signature silky texture. This is the science behind low and slow, and it cannot be rushed.
The most reliable method for home pitmasters is the 3-2-1 method: three hours of direct smoke exposure, two hours wrapped in foil with a splash of liquid, and one final hour unwrapped to set a sticky, lacquered glaze. Simple, repeatable, and devastatingly effective.
What You Need
The Ribs
Choose a full rack of pork spareribs — ideally St. Louis cut, which has been trimmed into a neat rectangular shape for even cooking. A rack typically weighs between 1.2 kg and 1.8 kg. Allow at least one full rack per two people, more if your guests are serious eaters.
The Dry Rub
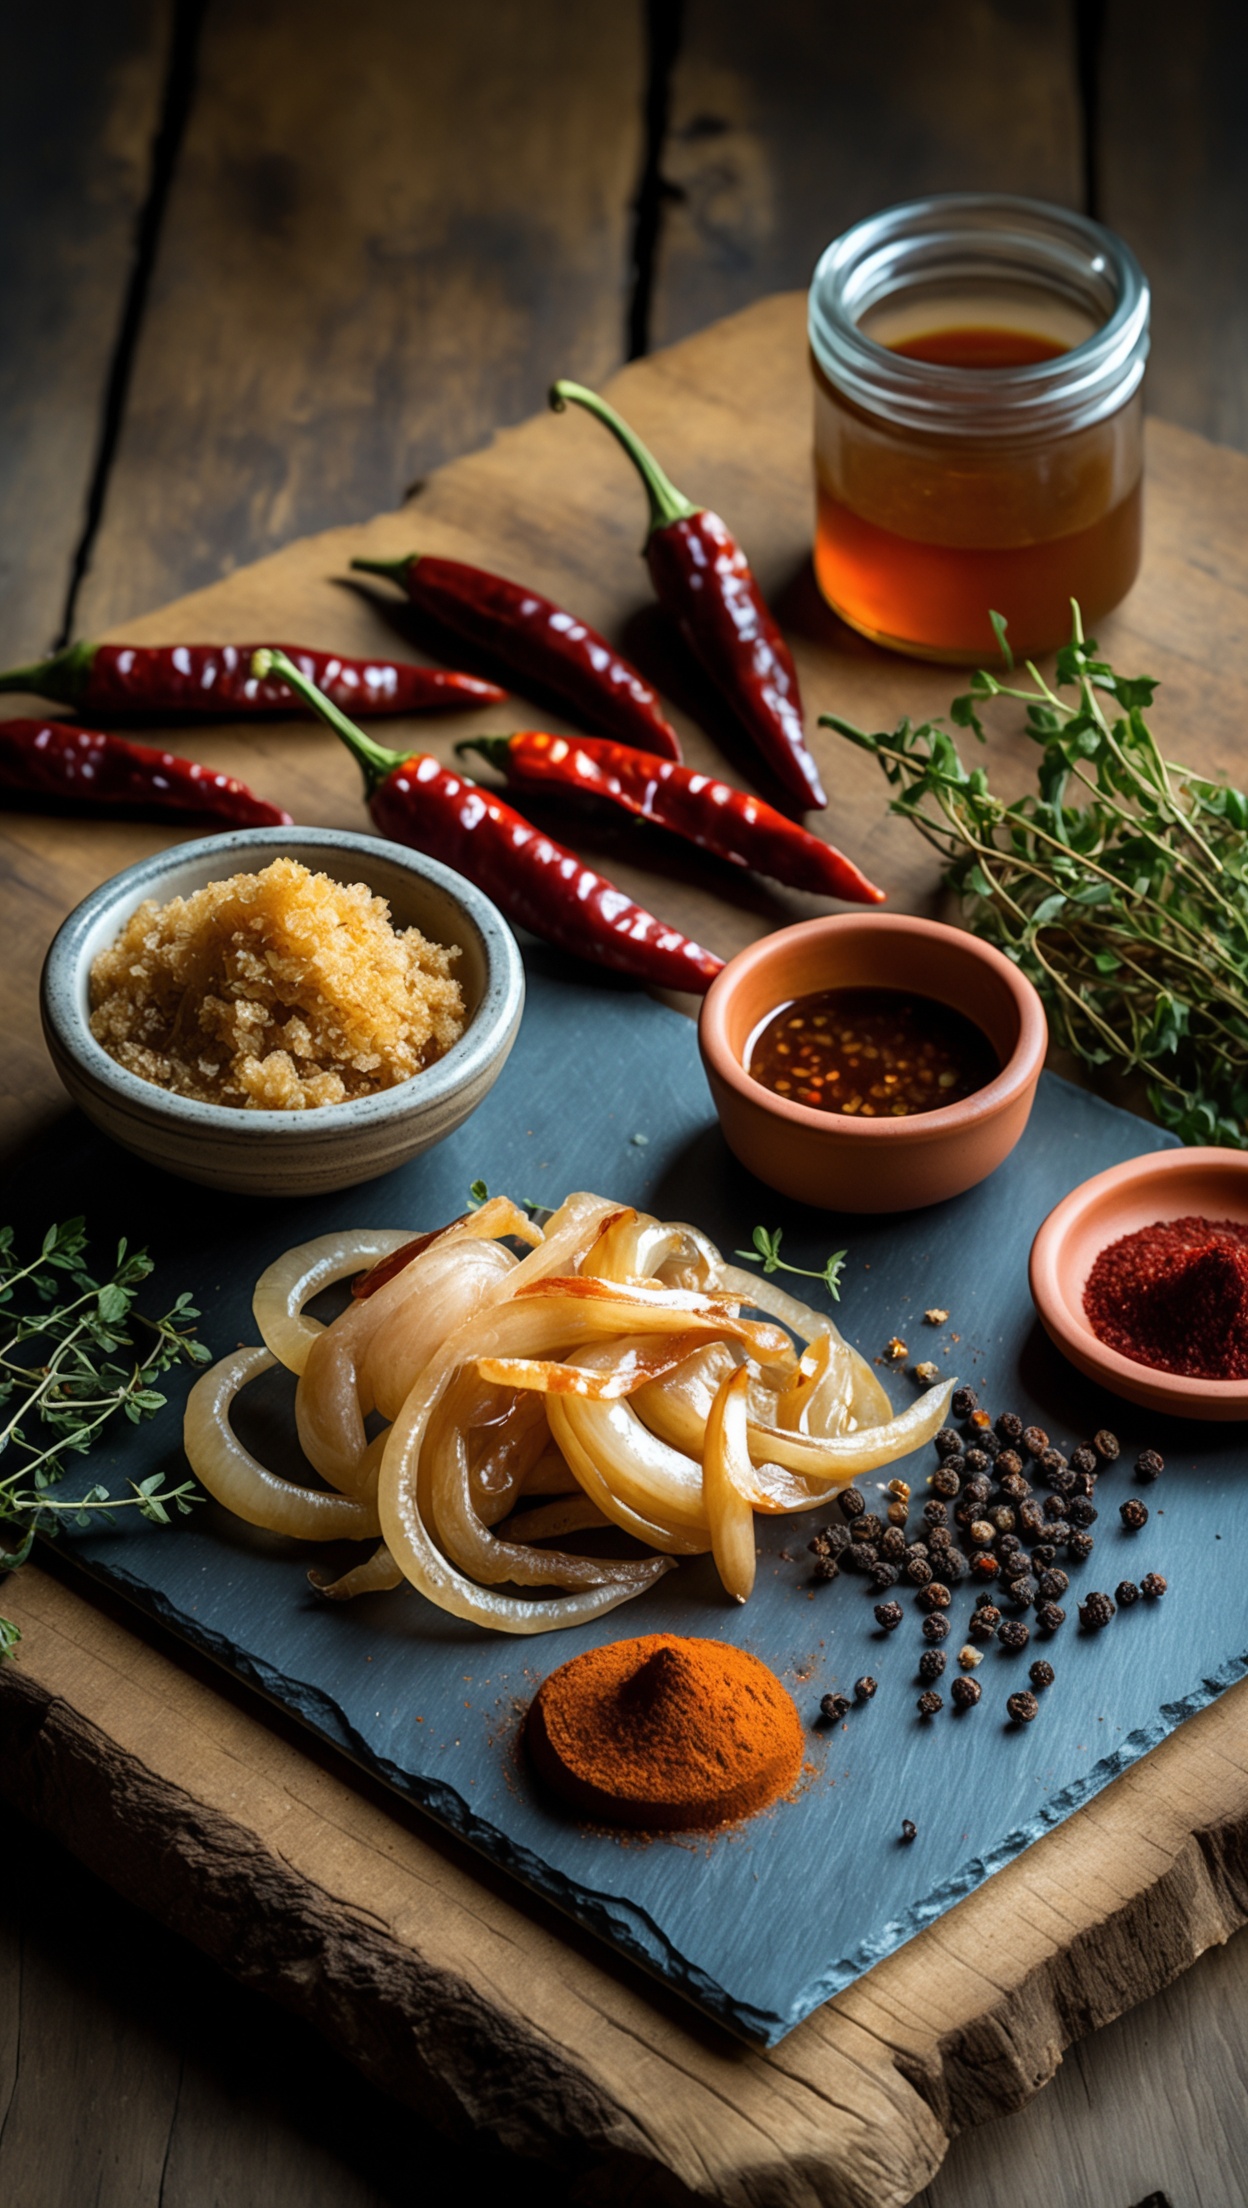
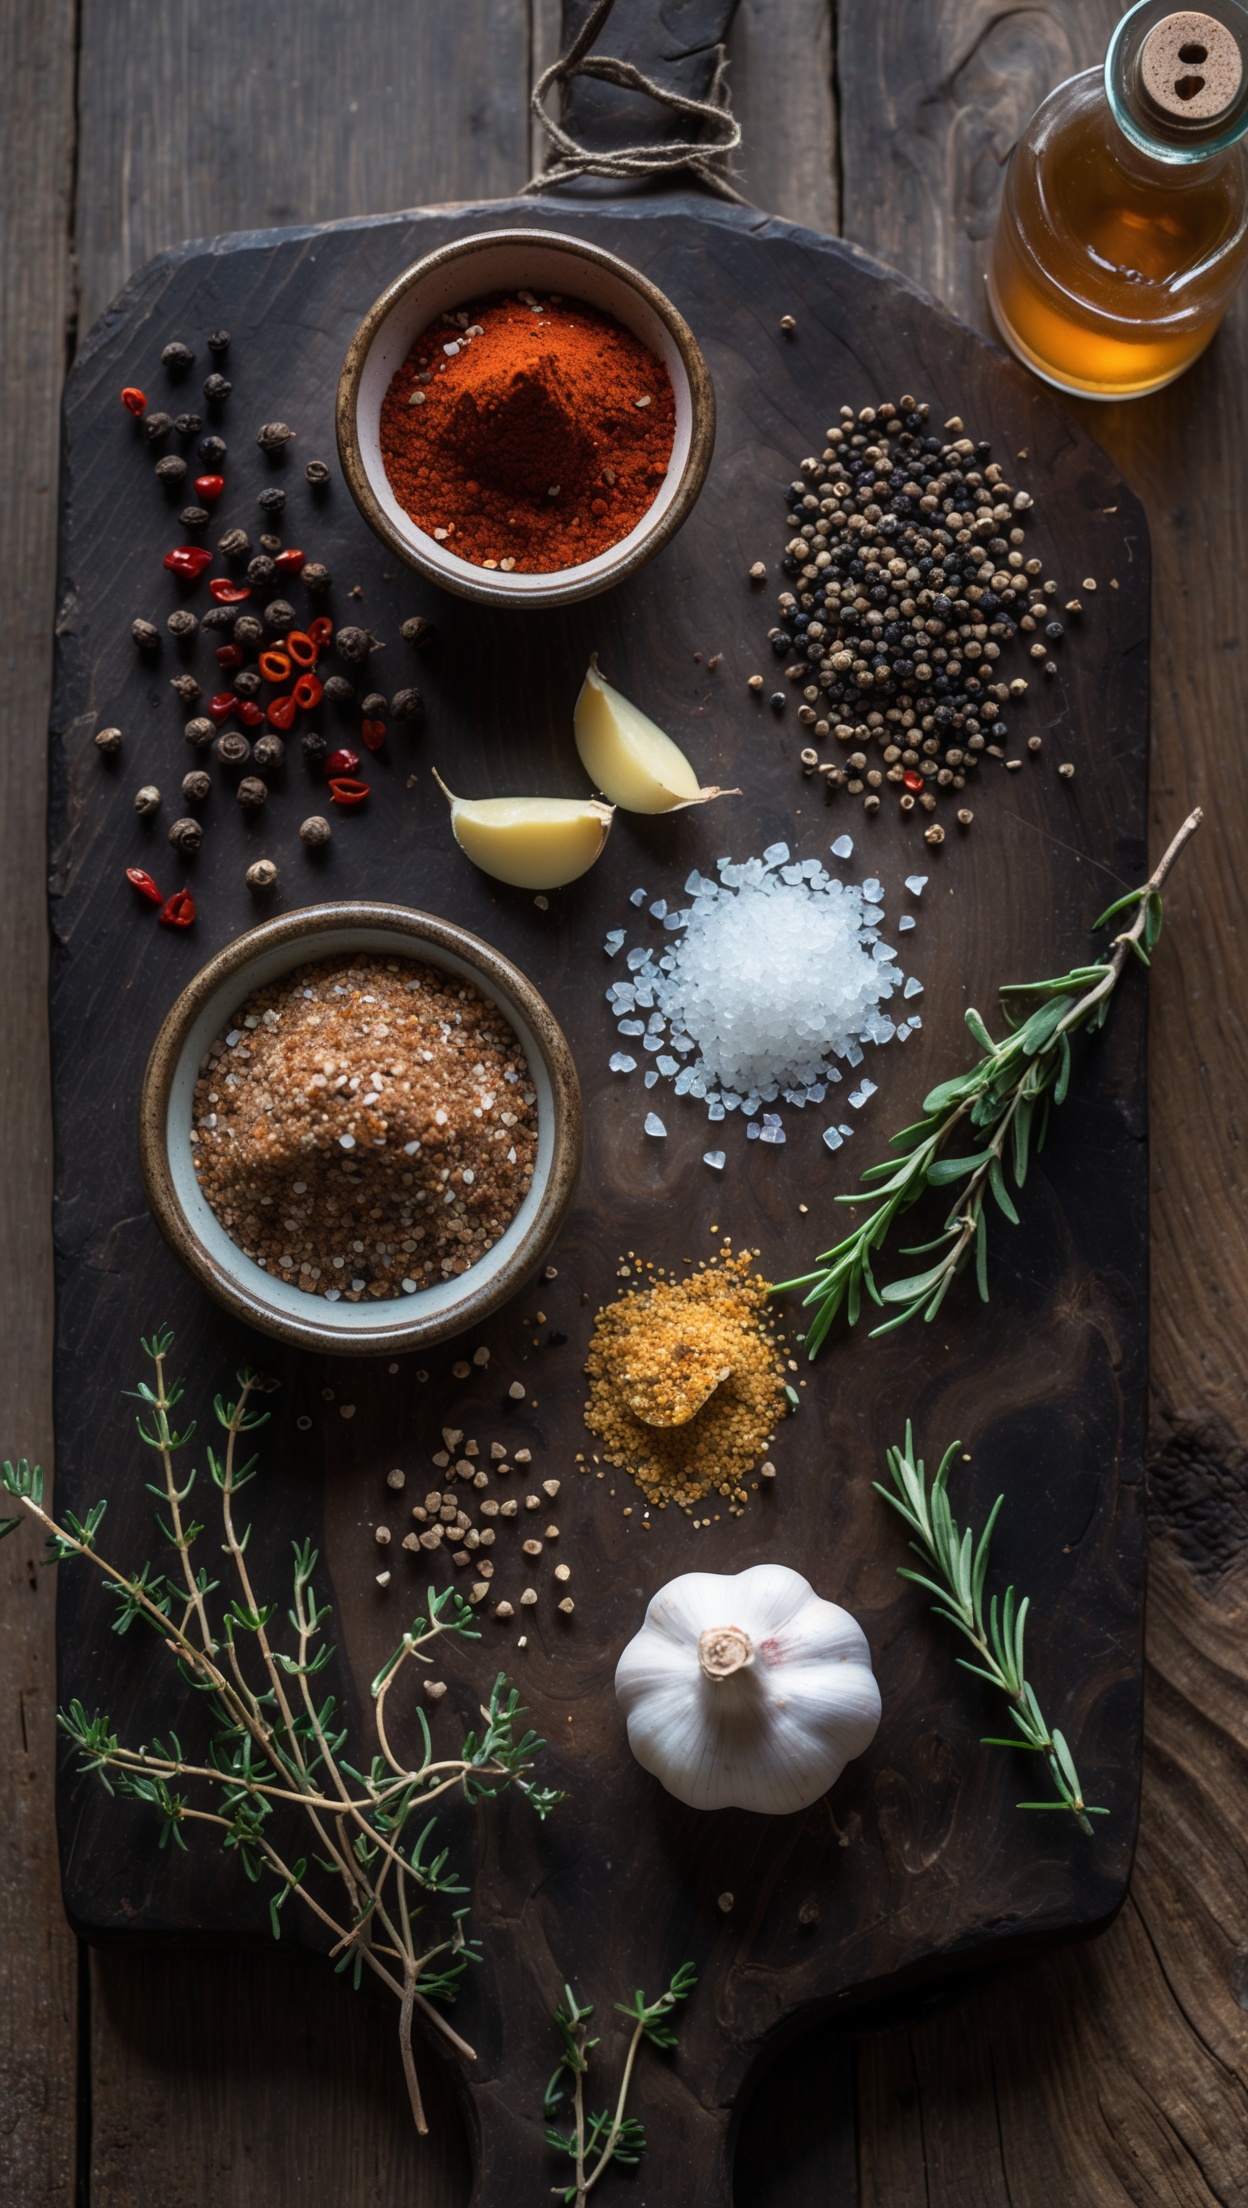
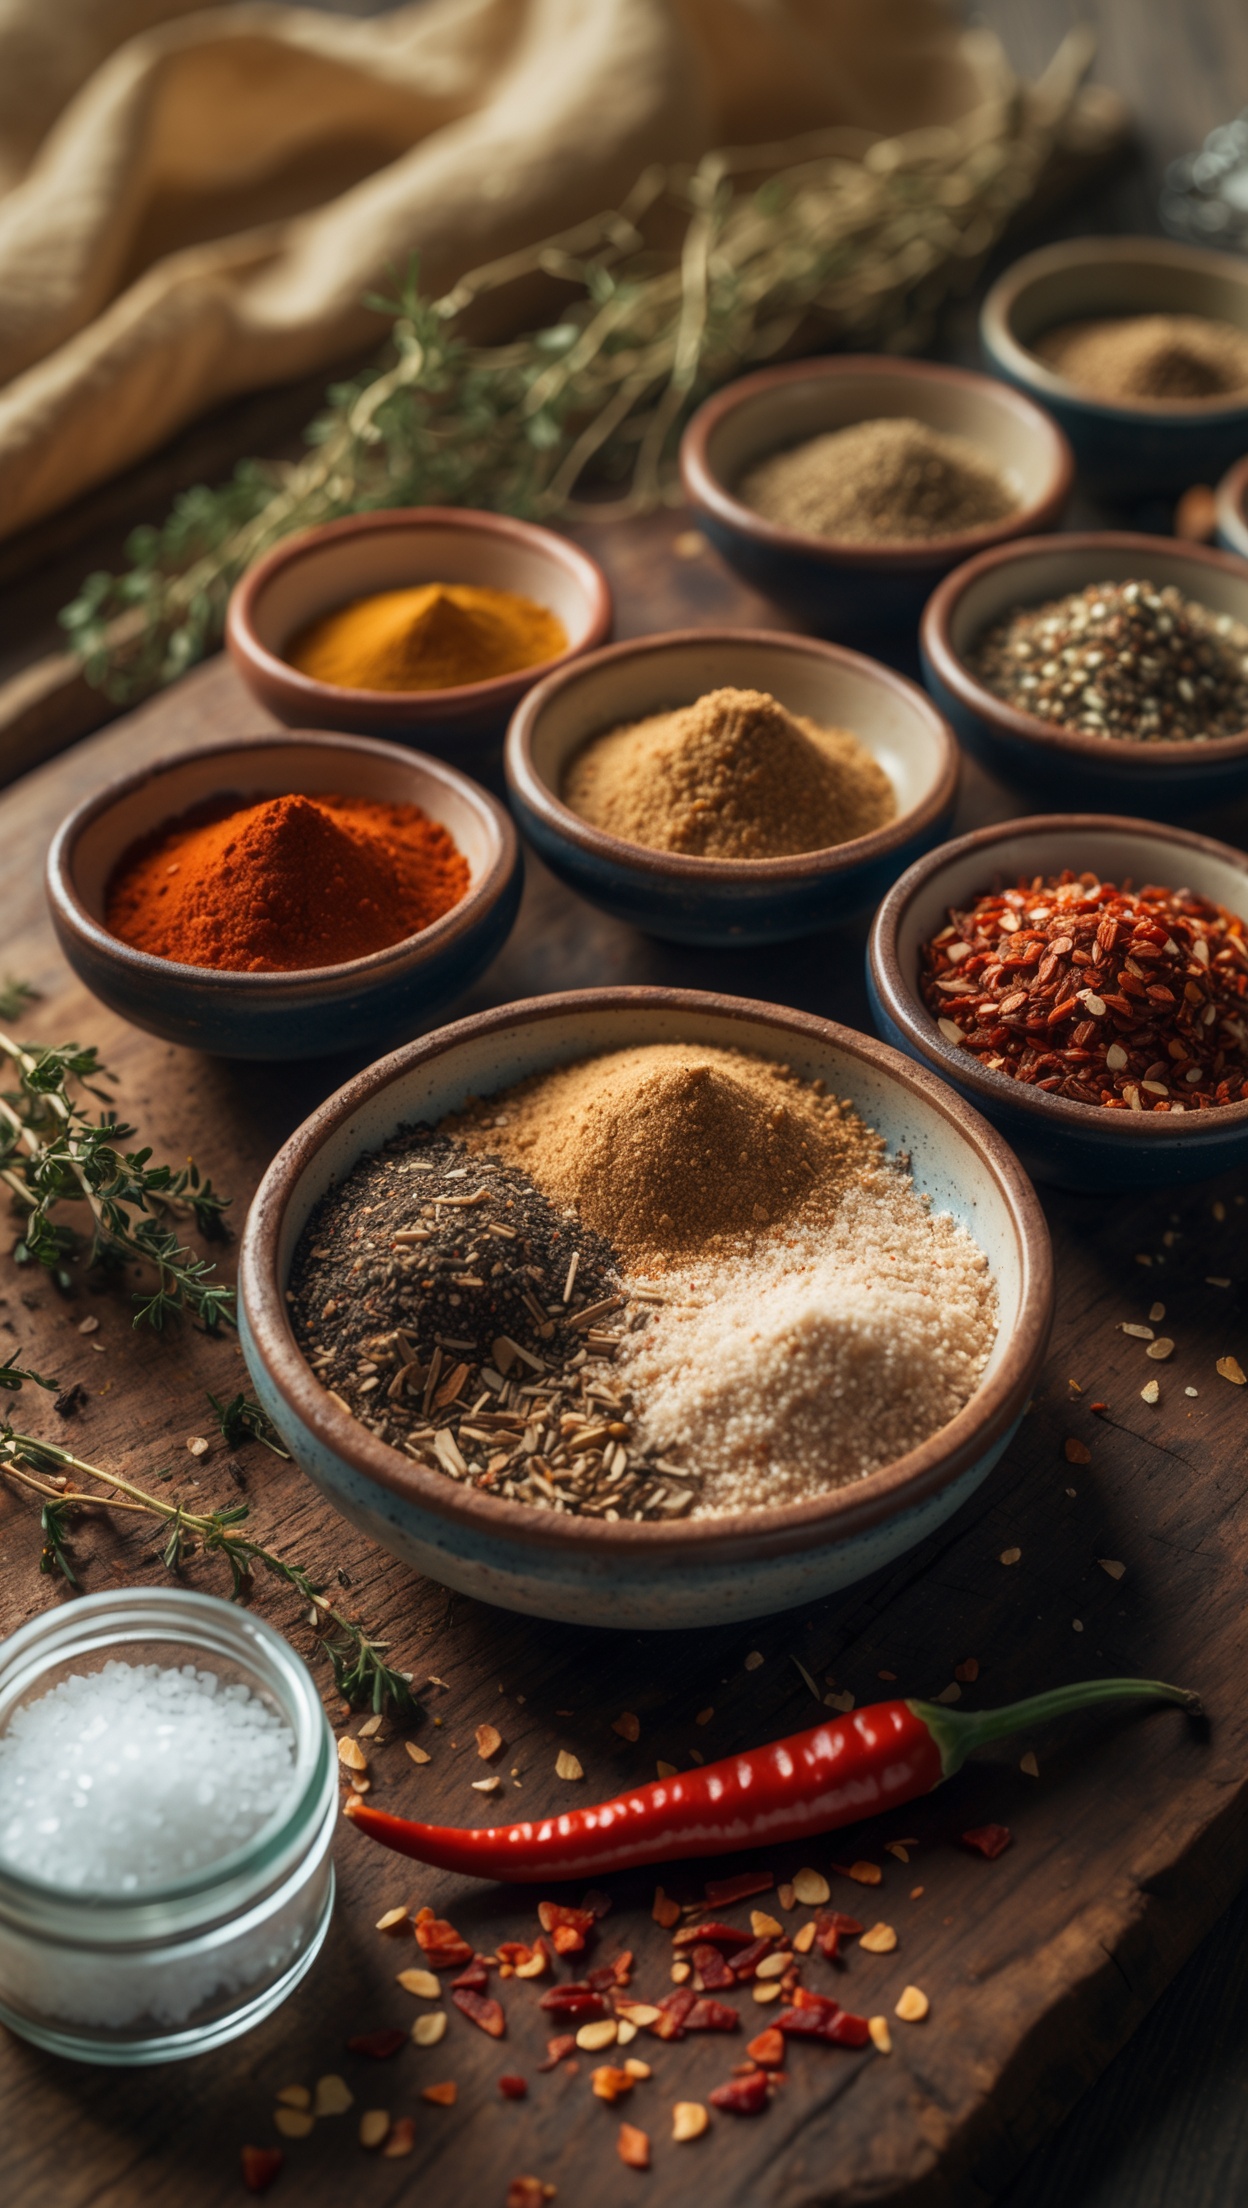
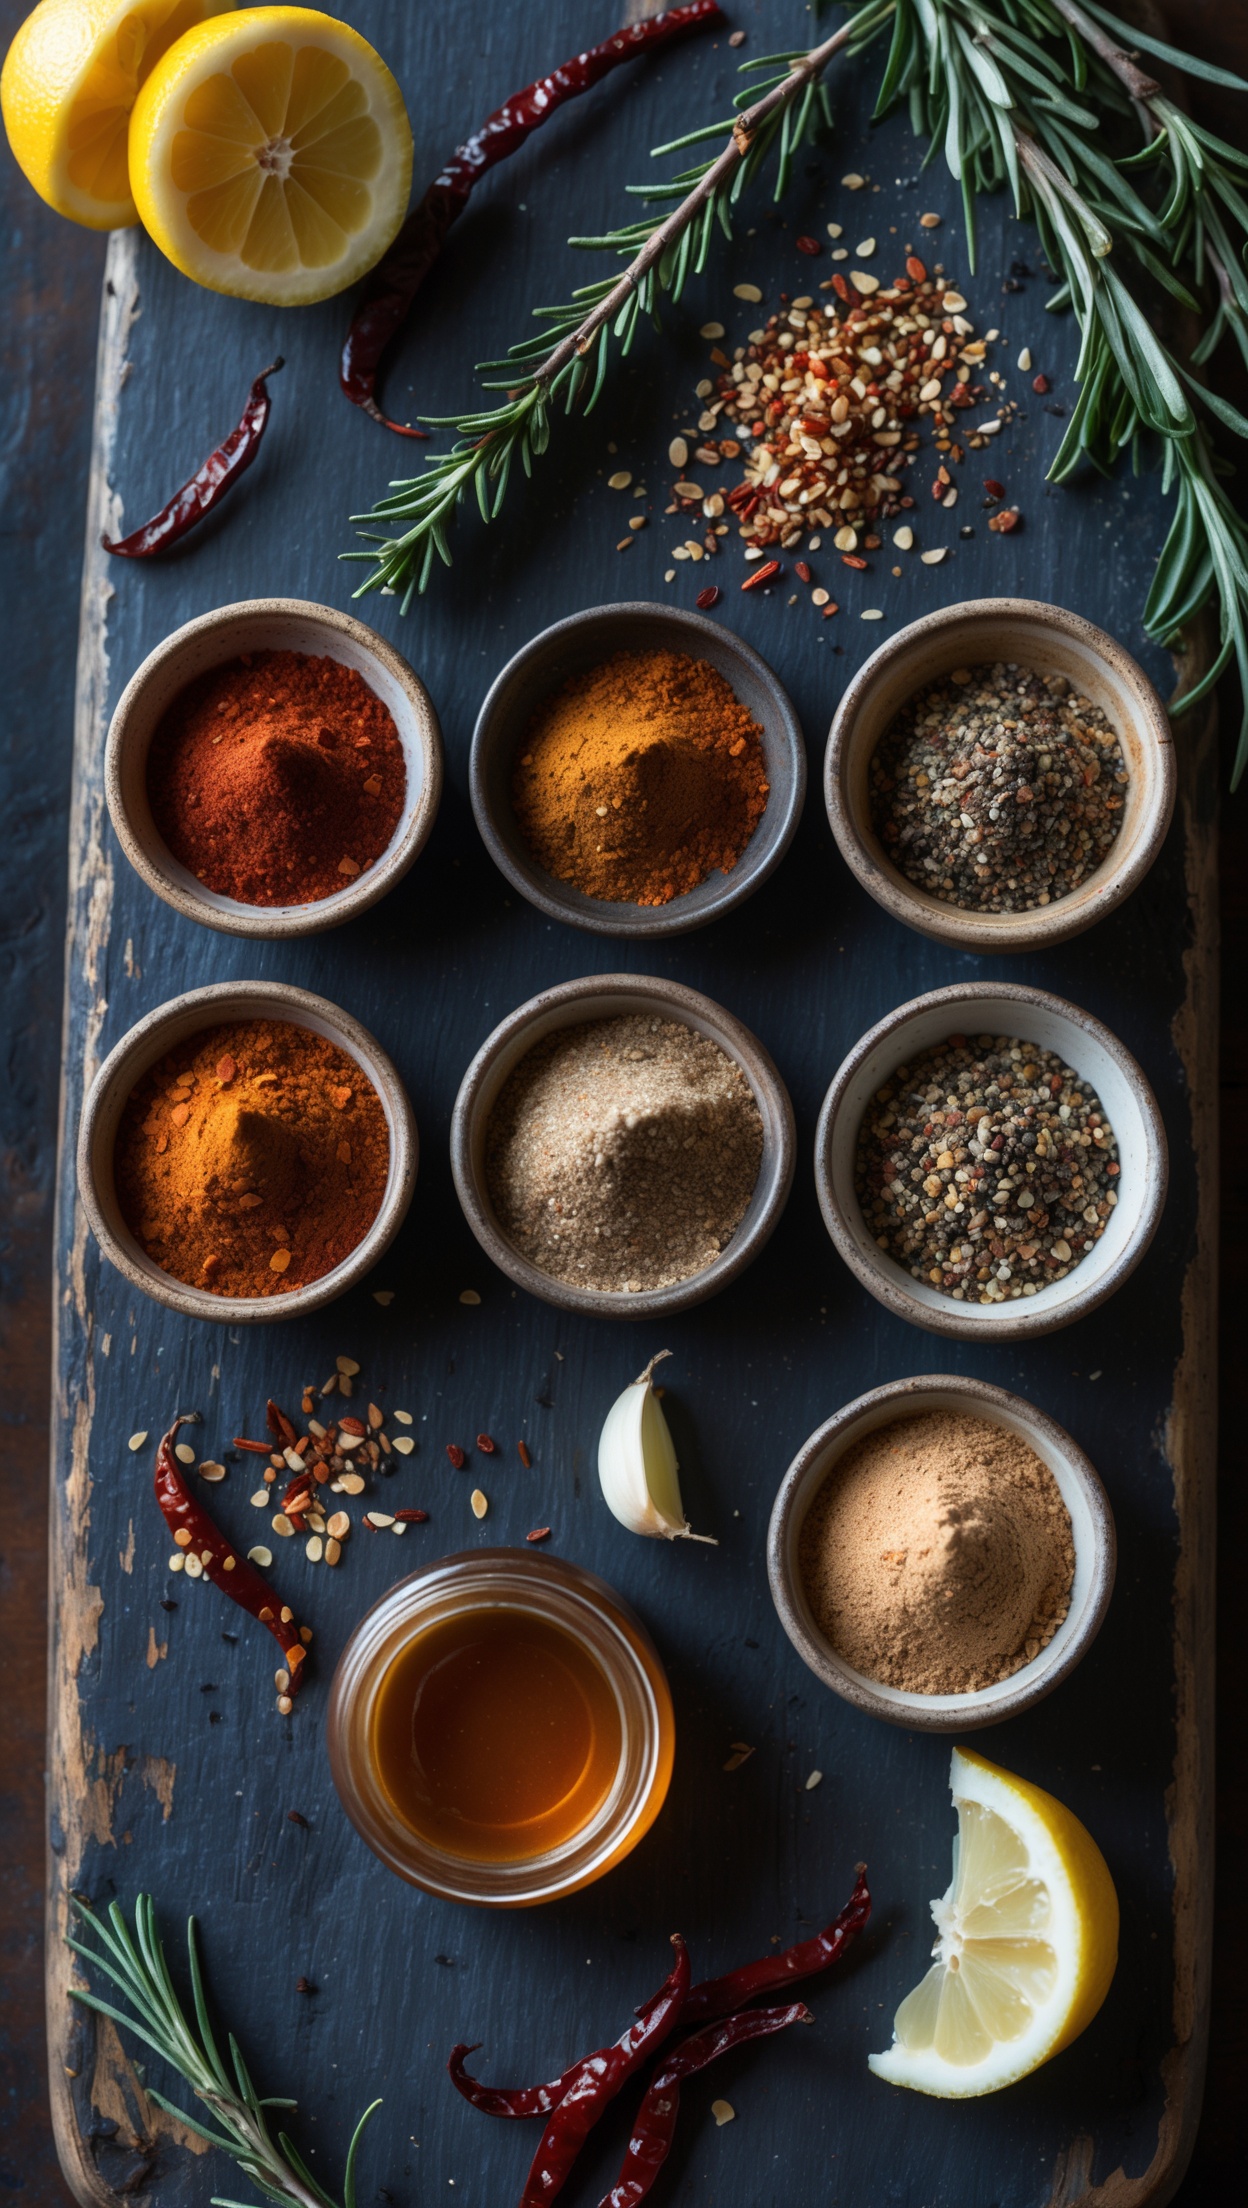
A great dry rub is the foundation of exceptional ribs. Mix together:
- 3 tbsp smoked paprika
- 2 tbsp brown sugar
- 1 tbsp coarse black pepper
- 1 tbsp garlic powder
- 1 tsp cayenne pepper
- 1 tsp dried thyme
- 1 tsp mustard powder
- 2 tsp fine sea salt
Apply this rub generously on both sides of the rack and leave it to penetrate overnight in the fridge for best results, or at minimum one hour before cooking.
The Smoker or Grill Setup
For authenticity and flavour depth, a dedicated smoker or a kettle grill set up for indirect cooking is ideal. Use hardwood chunks — cherry, hickory or apple wood all pair beautifully with pork. If you are looking for a premium grill that handles long smoking sessions with precision, Block House is a trusted name in professional BBQ equipment that serious grill enthusiasts will appreciate.
Step-by-Step: The 3-2-1 Method
Step 1 — Prep the Rack (the Night Before)
Remove the silverskin membrane from the bone side of the rack. Slide a butter knife under the membrane at one end, grip it with a paper towel for traction and pull it away in one motion. If left on, it prevents smoke and seasoning from penetrating and crisps up unpleasantly during cooking.
Apply your dry rub all over the rack, pressing it firmly into the meat. Wrap in cling film and refrigerate overnight.
Step 2 — The First 3 Hours: Smoke
Bring your smoker or grill to a stable temperature of 110°C–120°C (225°F–250°F). Place the ribs bone-side down over indirect heat. Add your wood chunks to the coals or smoker box. Close the lid and do not peek for at least 90 minutes.
After three hours, the ribs should have a deep mahogany bark forming on the surface and register an internal temperature of around 70°C (158°F).
Step 3 — The Next 2 Hours: Wrap
Lay out two sheets of heavy-duty aluminium foil. Place the rack bone-side up on the foil and add a splash of apple juice, beer or honey — this creates steam inside the parcel, accelerating the breakdown of connective tissue. Wrap tightly and return to the heat at the same temperature.
During this phase the ribs finish cooking and reach that tell-tale bend test doneness — when you lift the rack with tongs at one end, it should arc and begin to crack on the surface.
Step 4 — The Final Hour: Glaze
Unwrap carefully — watch out for steam. Brush a generous coat of your BBQ sauce over both sides of the rack and return to the grill or smoker, uncovered. Repeat the glaze every 20 minutes for a rich, sticky lacquer. This final hour also allows the bark to reform and intensify.
The BBQ Sauce
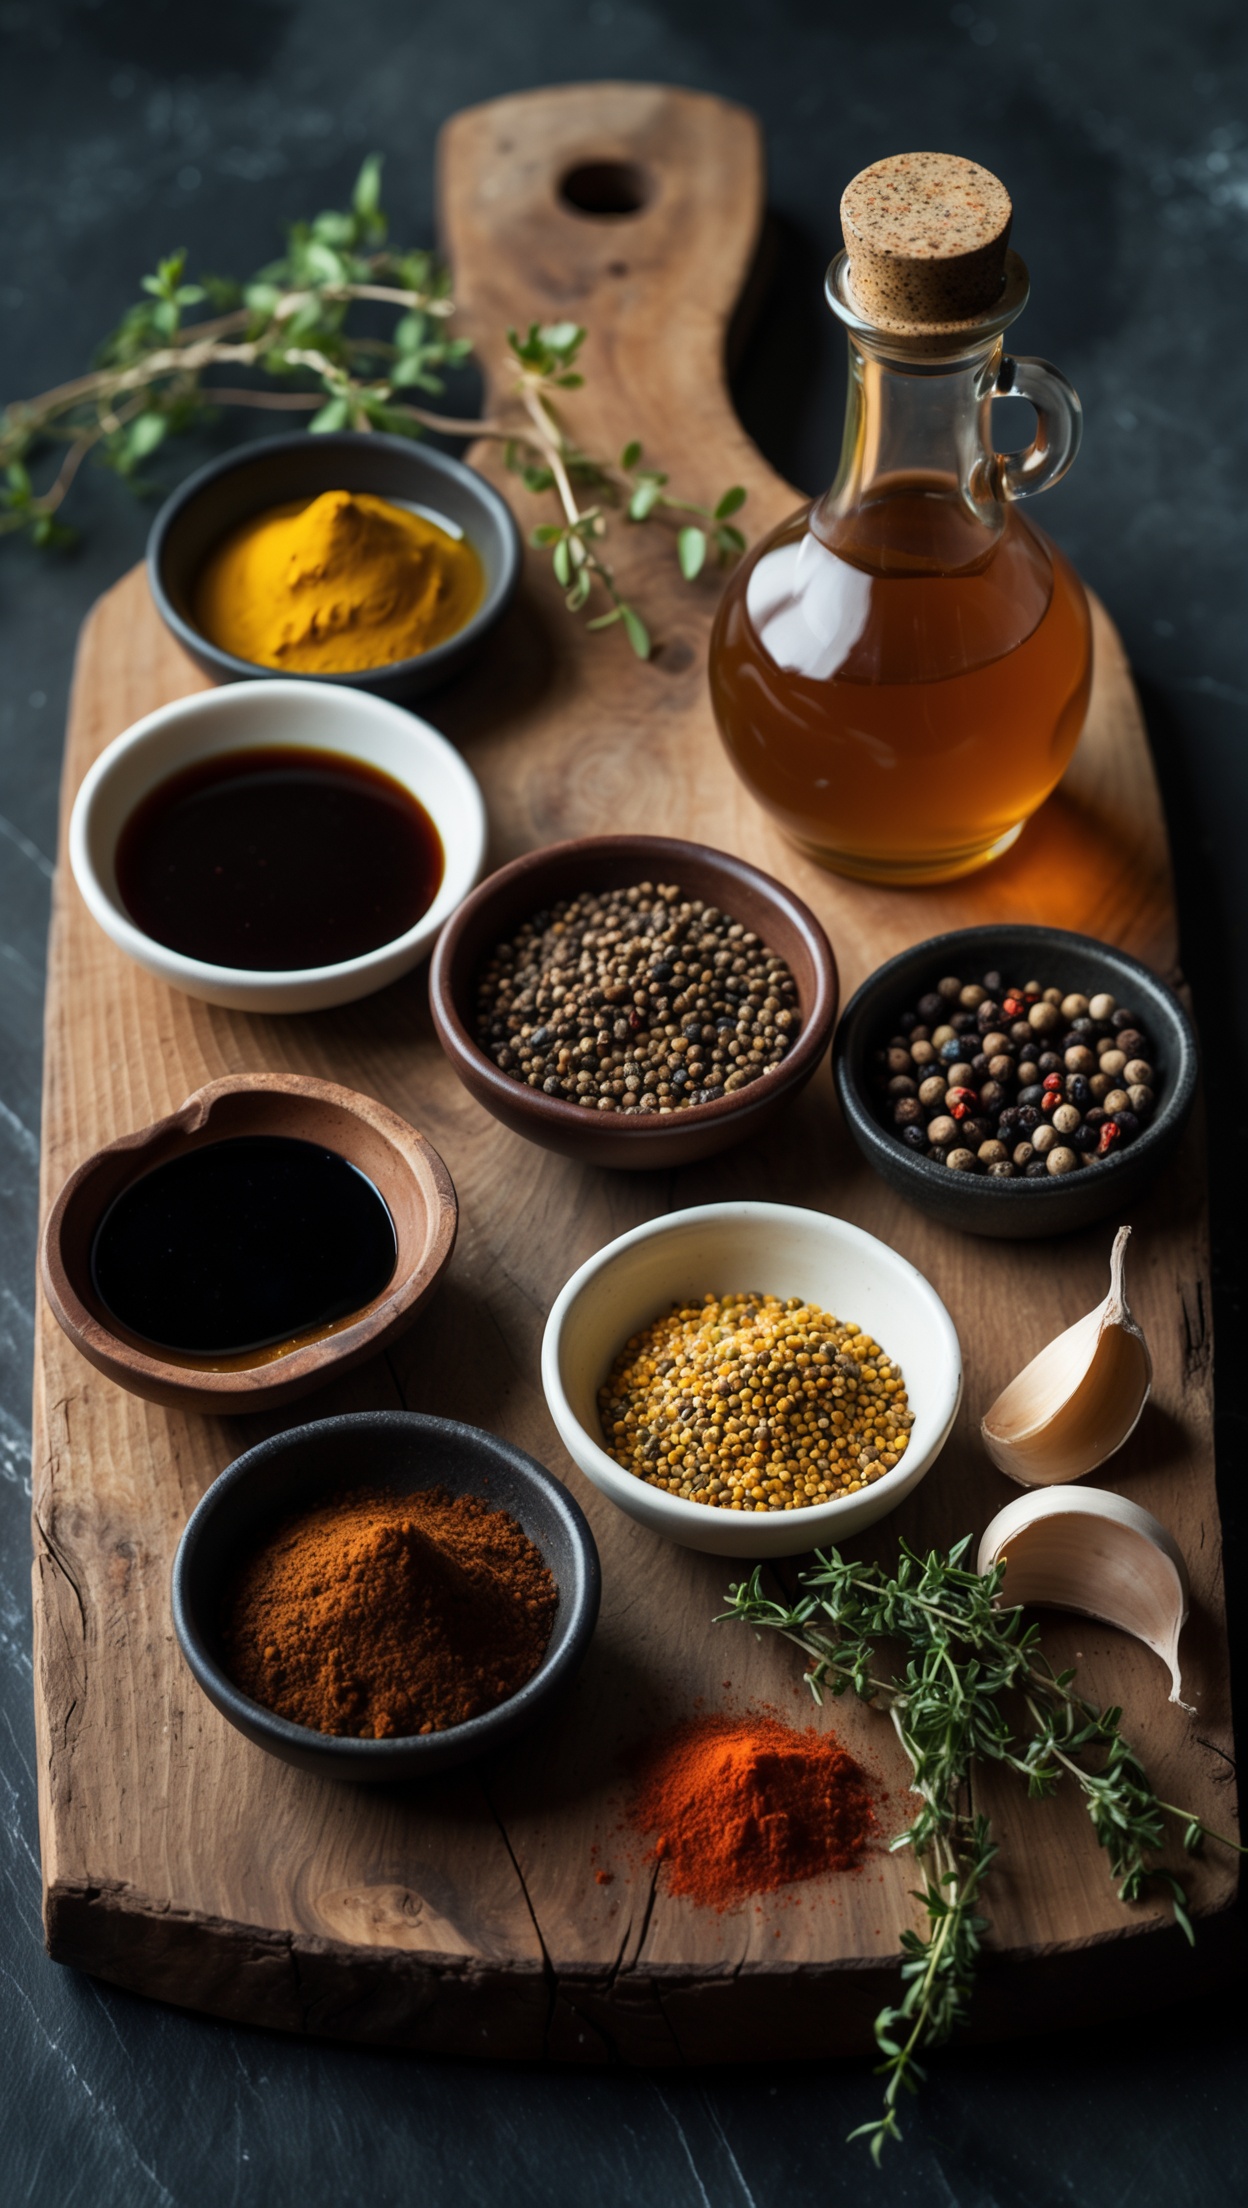
You can use a store-bought sauce, but making your own takes only minutes and produces something far more rewarding. Combine ketchup, apple cider vinegar, brown sugar, Worcestershire sauce, smoked paprika, a pinch of cayenne and a spoonful of Dijon mustard. Simmer for 15 minutes until thick and glossy.
Resting and Serving
Once your glaze has set and the rack passes the bend test, remove it from the heat and rest it loosely tented with foil for 10–15 minutes. This allows the juices to redistribute. Slice between the bones with a sharp knife and serve immediately.
Classic sides include coleslaw, corn on the cob, baked beans and pickled jalapeños. Cold craft beer or a bold red wine are both excellent companions.
Tips for Consistent Results
- Temperature control is everything. Invest in a reliable dual-probe thermometer to monitor both the grill and the meat simultaneously.
- Don't skip the rest. Five minutes of patience makes a measurable difference to juiciness.
- Wood matters. Avoid resinous woods like pine. Stick to fruit or hardwoods for clean, pleasant smoke.
- Consistency beats quantity. Thin smoke over three hours beats a heavy blast in the first thirty minutes.
For the perfect wine pairing with this dish, Hawesko offers an outstanding selection of premium wines to complement every recipe. For the finest spices and seasonings to elevate your cooking, Gewürzland has everything you need.