This article contains affiliate links. If you buy through them, we may earn a commission at no extra cost to you.
Spicy Candied Bacon — Easy Step by Step Guide
Spicy candied bacon sits right at the intersection of sweet, smoky and fiery — and once you have made it, plain bacon will never feel like enough again. Whether you lay it across a BBQ burger, crumble it over a brunch plate or simply eat it straight off the rack (no judgement here), this recipe delivers perfectly lacquered, crispy strips with a caramelised chili glaze every single time. Below you will find everything you need: the exact ingredients, the technique, the temperatures and the small but important details that separate good candied bacon from truly great candied bacon.
Why This Recipe Works
The secret is a two-stage glaze application combined with a wire rack. Elevating the bacon allows hot air to circulate underneath, so the strips crisp up evenly without sitting in their own fat. Applying the glaze in two rounds — once before baking and once at the halfway flip — builds a thick, lacquered crust that sticks rather than slides off. Brown sugar gives body, maple syrup adds depth and the combination of smoked paprika, cayenne and chili flakes creates a slow-building heat that balances the sweetness without overpowering it.
Ingredients
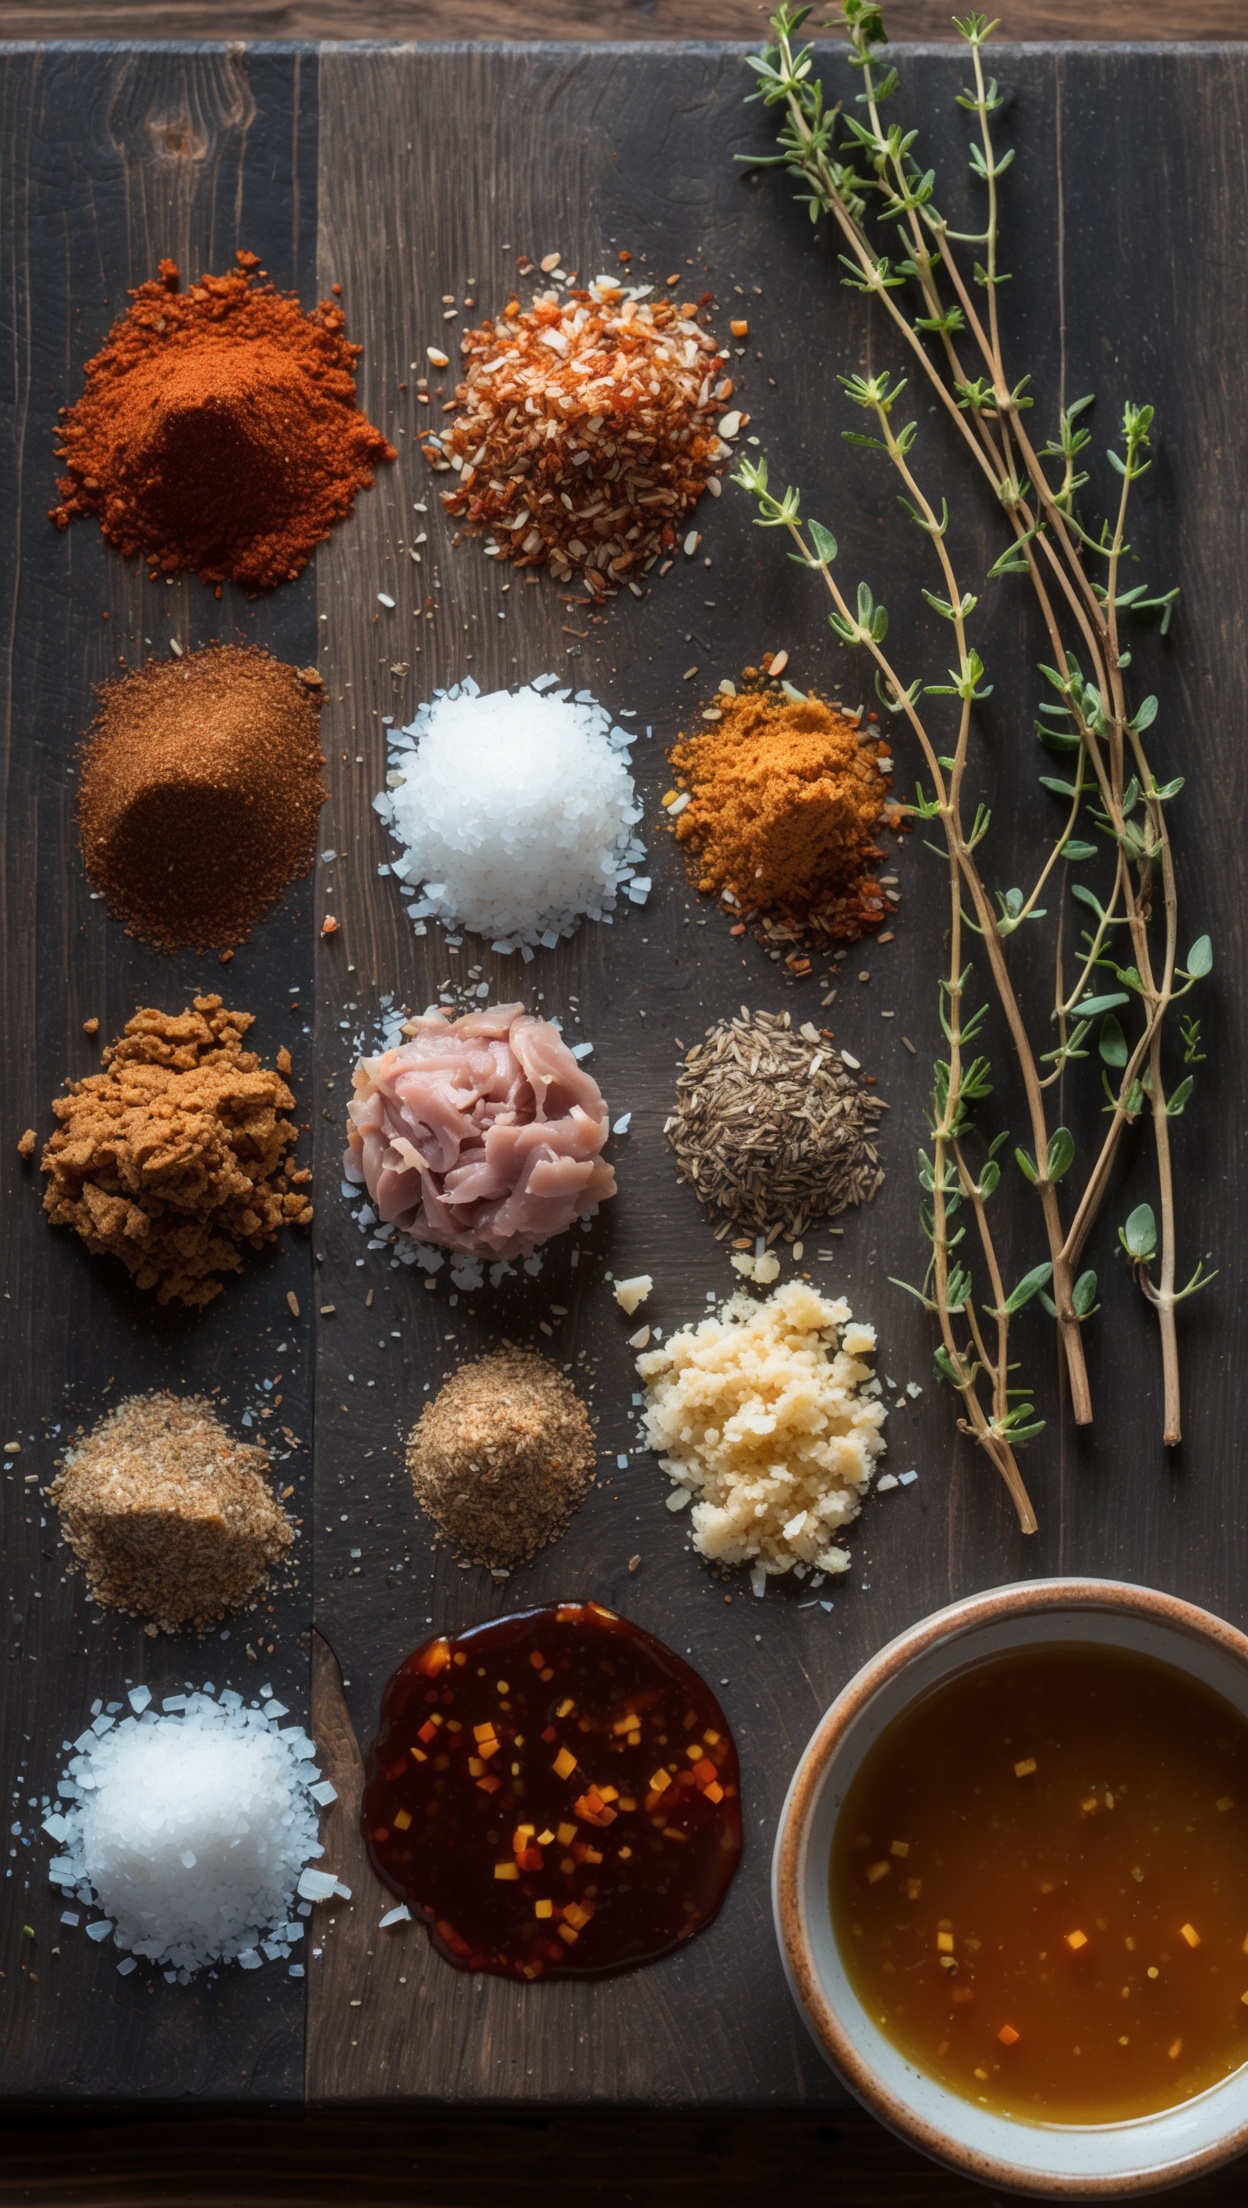
- 8 thick-cut bacon strips
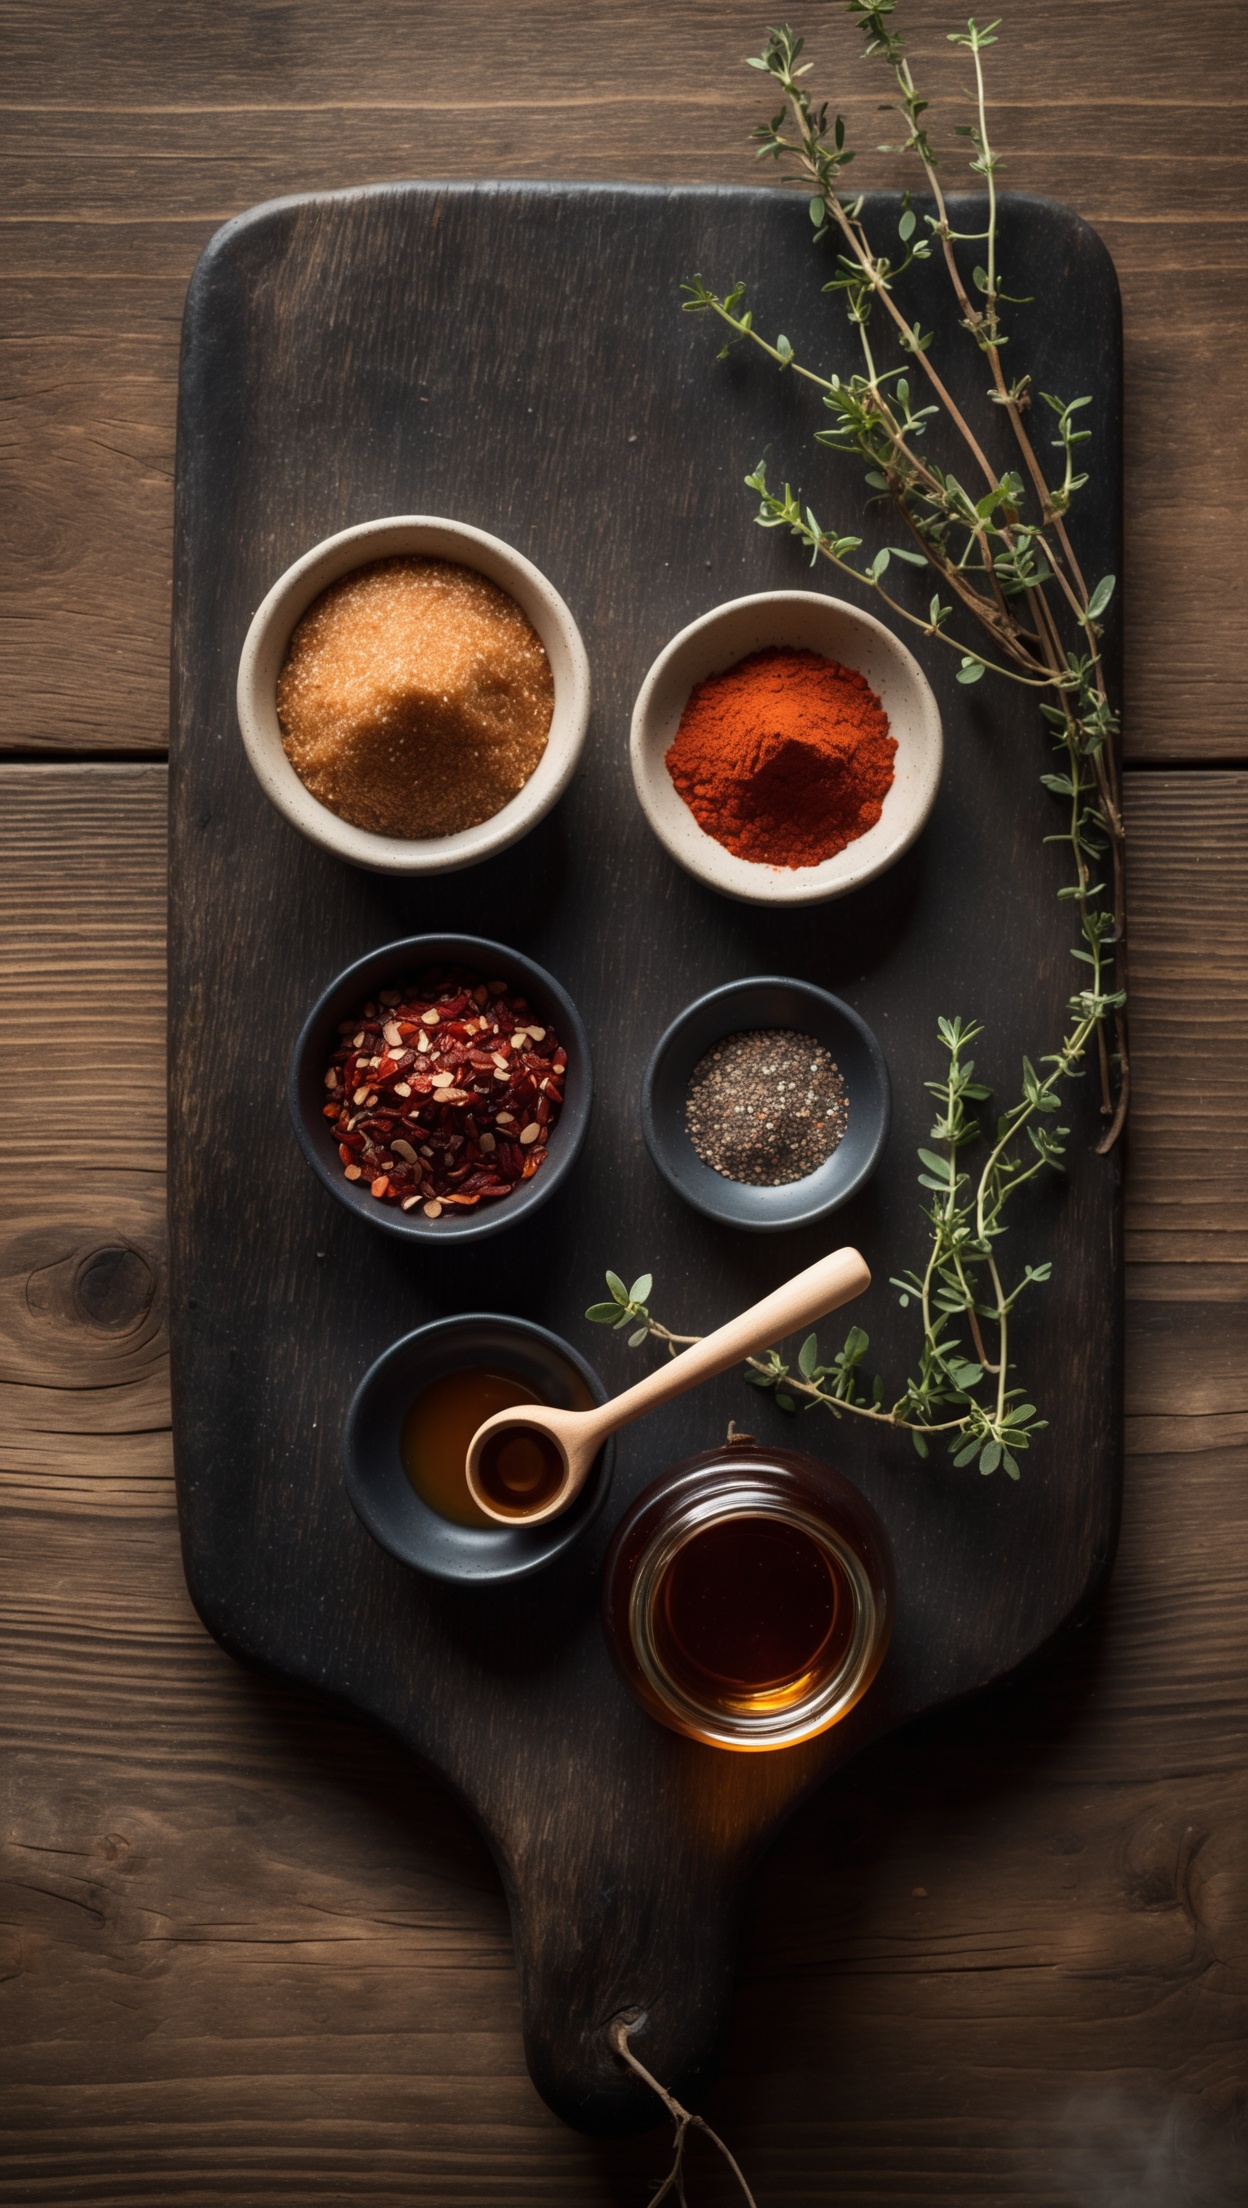
- 3 tbsp brown sugar
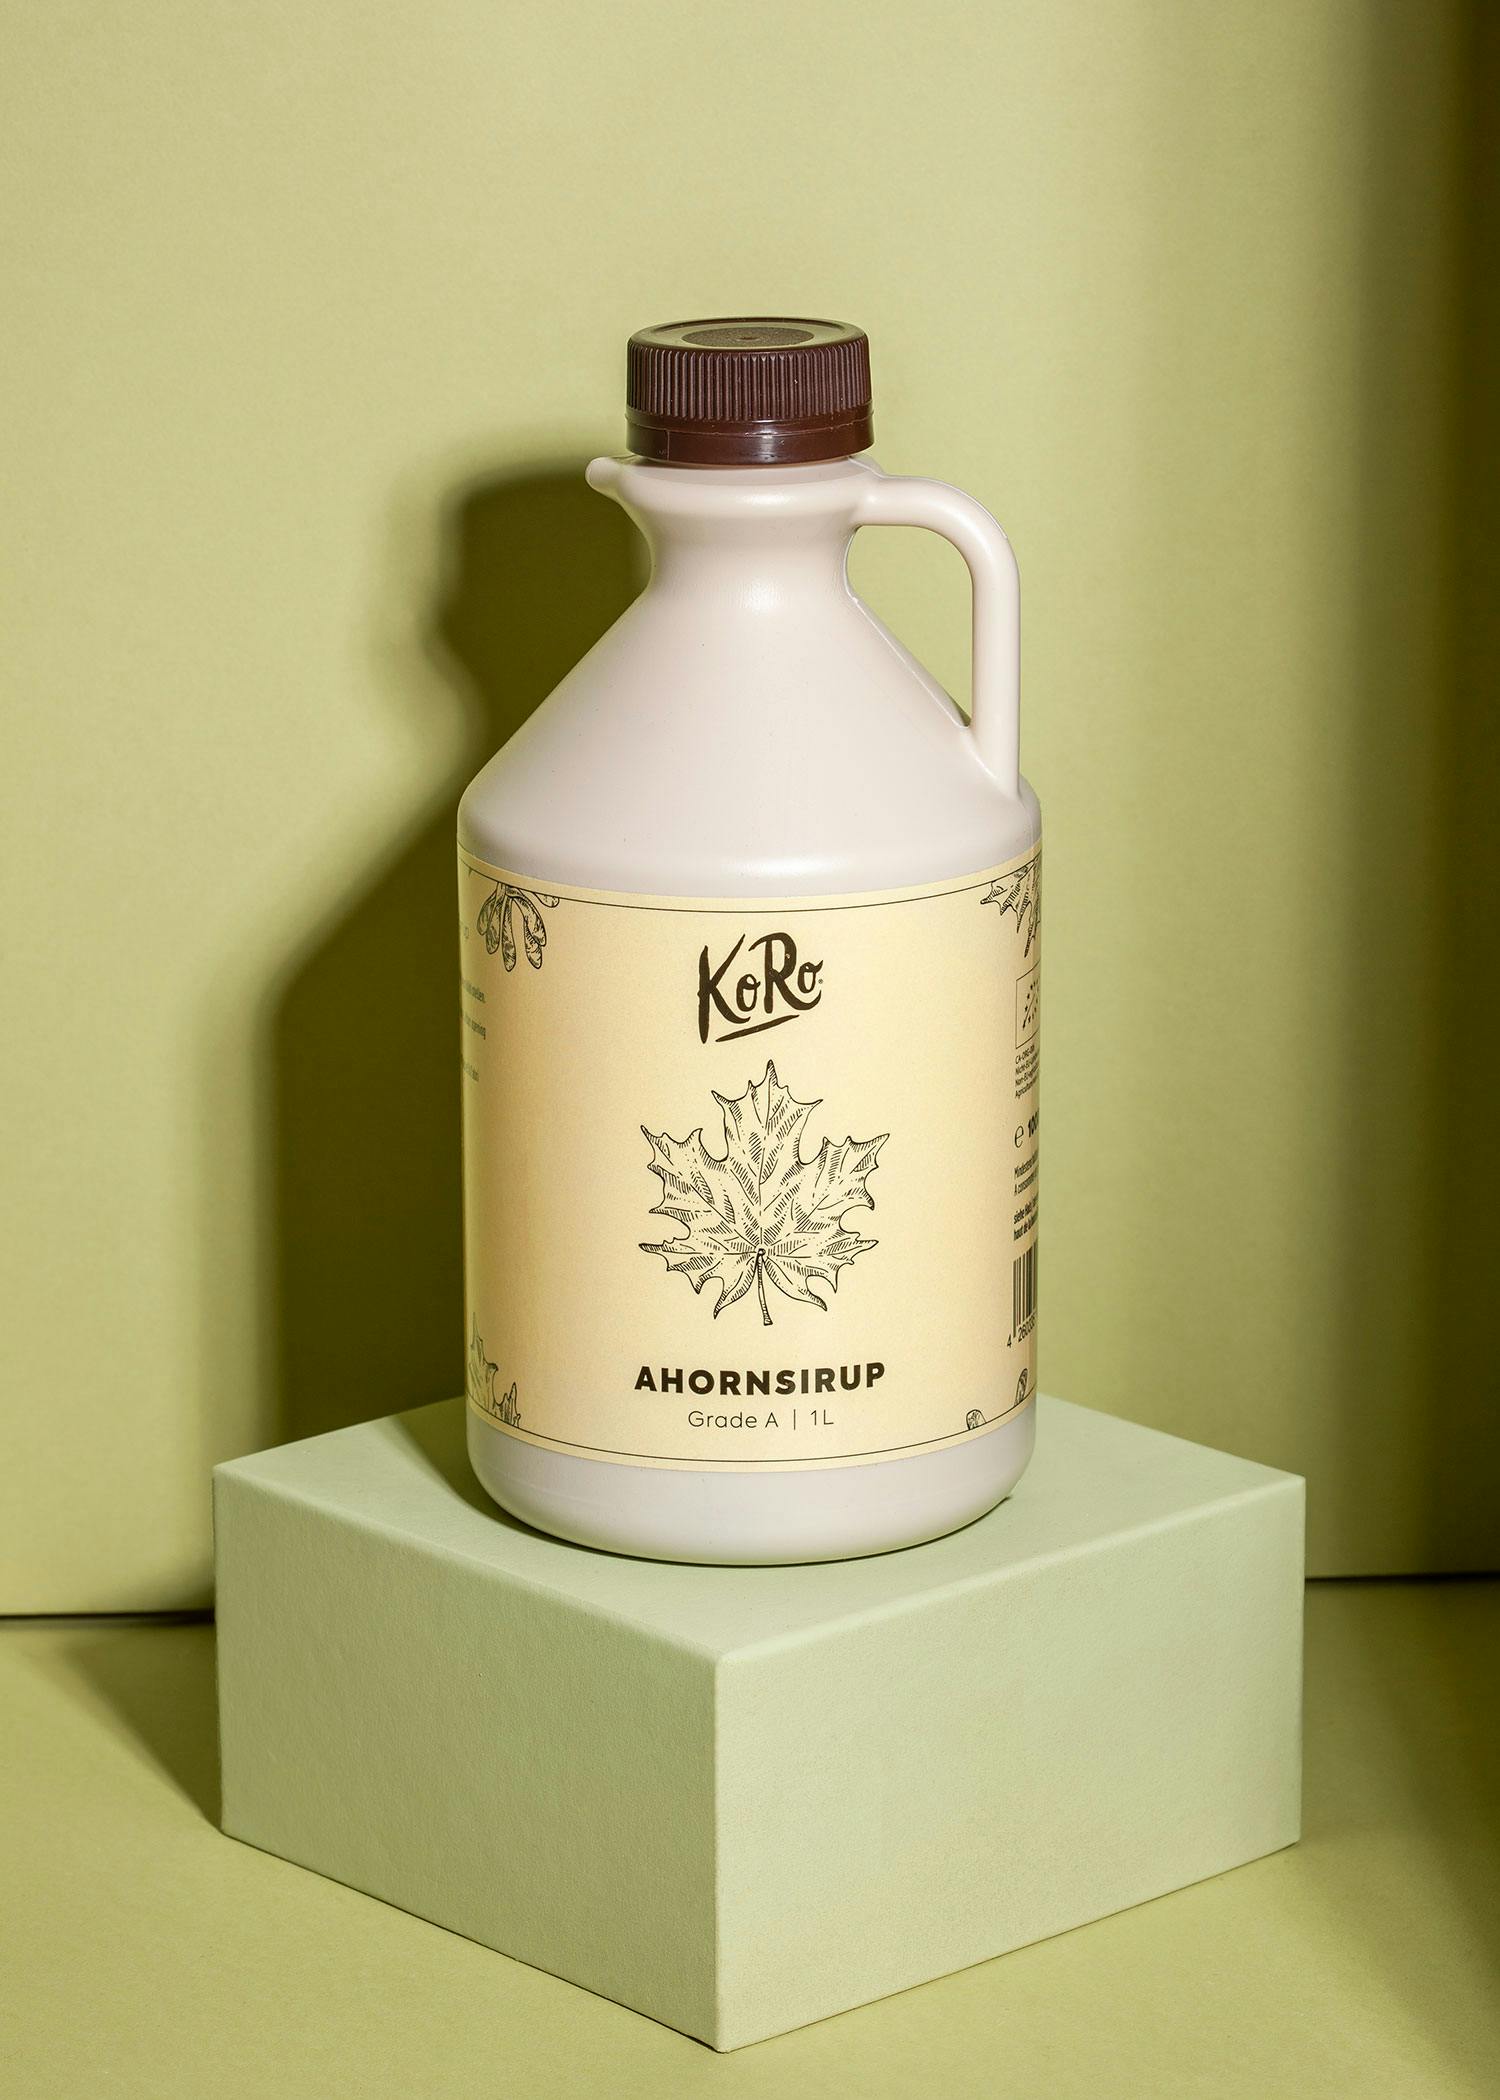
- 2 tbsp maple syrup
- 1 tsp smoked paprika
- ½ tsp cayenne pepper
- ½ tsp red chili flakes
- ¼ tsp black pepper, freshly ground
- Pinch of sea salt
A Note on Bacon Thickness
Thick-cut bacon (around 4–5 mm) is non-negotiable here. Thin rashers will over-caramelise and turn brittle before the centre has any chew. Ask your butcher for centre-cut thick slices, or look for packages labelled "extra thick" at the supermarket. The extra thickness gives you that signature contrast: crispy caramelised edges with a slightly chewy, meaty centre.
Step by Step Instructions
Step 1 — Prepare Your Setup
Preheat your oven to 190 °C (375 °F). Line a large baking sheet with aluminium foil — this catches the dripping fat and sugar and saves you a serious clean-up job. Place a wire rack on top of the foil-lined tray and set it aside.
Step 2 — Mix the Spicy Glaze
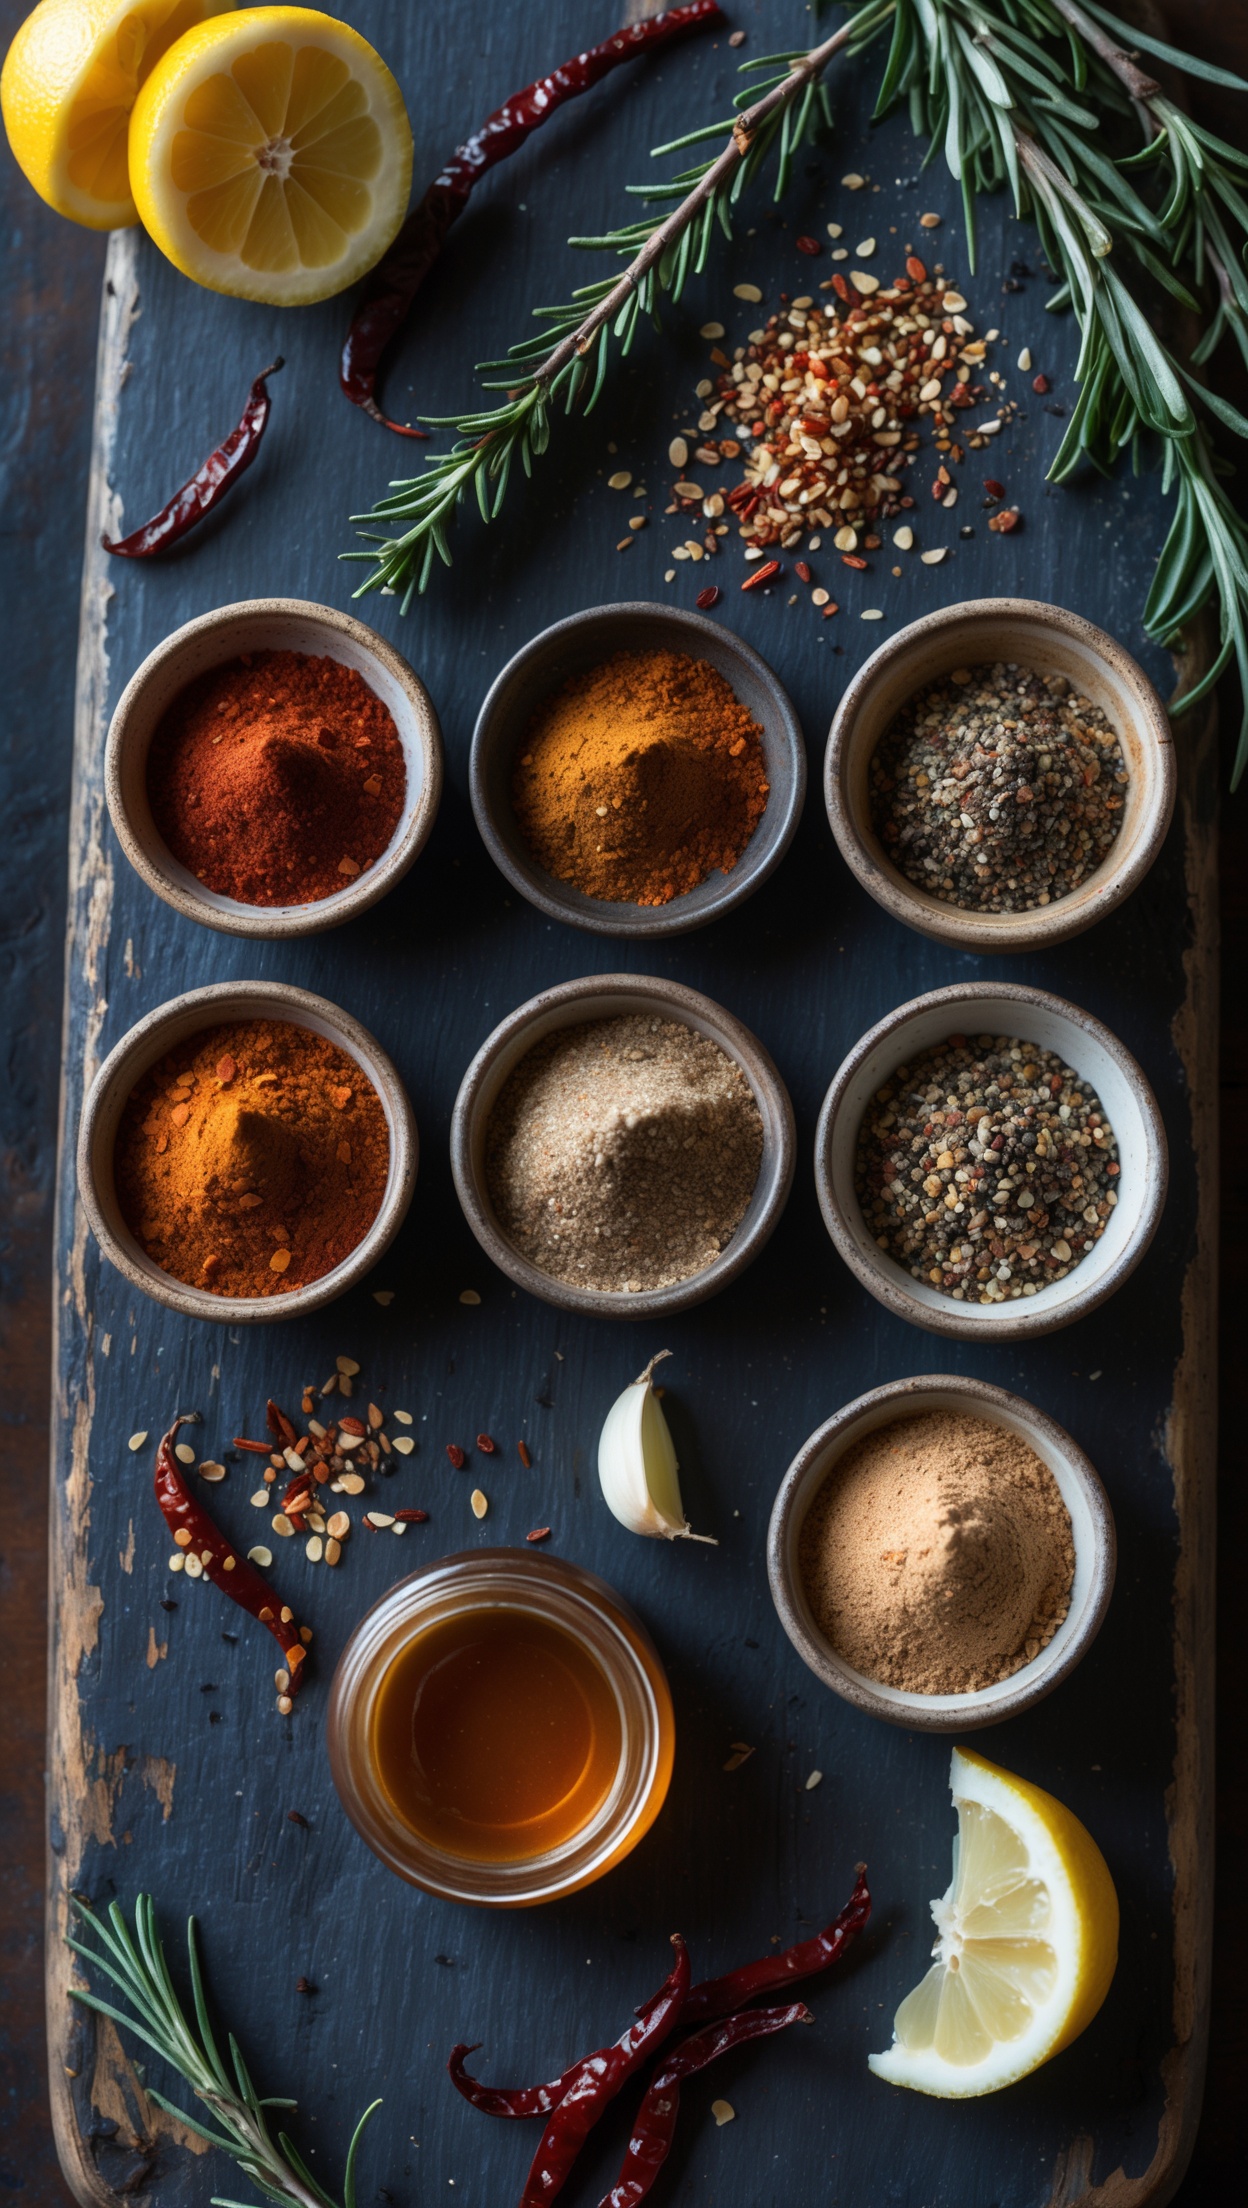
In a small bowl, combine the brown sugar, maple syrup, smoked paprika, cayenne pepper, red chili flakes, black pepper and sea salt. Stir well until you have a uniform, thick and sticky paste. Taste it — it should be intensely sweet with a clear chili warmth on the back of your tongue. Adjust cayenne up or down depending on your heat preference.
Step 3 — Arrange the Bacon
Lay the bacon strips flat on the wire rack in a single layer. Make sure the strips do not touch or overlap — overlapping strips steam each other instead of crisping, and you will lose that essential crunch.
Step 4 — First Glaze Application
Using a pastry brush or the back of a spoon, coat the top side of each strip generously with half of the spicy glaze. Do not be shy — you want a thick, even layer that covers the entire surface.
Step 5 — First Bake
Slide the tray into the centre of the oven and bake for 12 minutes. The bacon will begin to render its fat and the glaze will start to bubble and darken at the edges.
Step 6 — Flip and Second Glaze
Remove the tray from the oven. Carefully flip each strip using tongs — the glaze will be hot and sticky. Apply the remaining glaze to the now-exposed side, again making sure the entire surface is covered.
Step 7 — Final Bake
Return the tray to the oven and bake for a further 10–13 minutes. Watch the bacon closely in the last 3 minutes — the sugar content means it can go from perfectly caramelised to burnt very quickly. You are looking for deeply amber, lacquered strips with visibly crispy edges.
Step 8 — Rest and Set
Remove the tray from the oven and leave the bacon on the rack for at least 5 minutes before touching it. This resting time is essential: the glaze is liquid when hot and only sets into that satisfying, glass-like crust as it cools. Do not skip this step.
Serving Ideas
- BBQ burger topping — lay one or two strips over a smash burger or beef patty for a sweet-heat contrast
- Brunch board — arrange alongside fried eggs, avocado and sourdough toast
- Bloody Mary garnish — stand a strip upright in the glass for the ultimate Sunday cocktail
- Salad crumble — break into shards and scatter over a Caesar or wedge salad
- Standalone snack — serve on a board with good cheese and pickles
Storage and Make-Ahead Tips
Spicy candied bacon keeps well in an airtight container at room temperature for up to 2 days. For longer storage, refrigerate for up to 5 days. To re-crisp, place strips on a wire rack in a 160 °C oven for 5 minutes. Do not microwave — the moisture will make the glaze sticky and soft rather than crispy.
Common Mistakes to Avoid
- Skipping the wire rack: Bacon sitting in a flat pan fries in its own fat instead of roasting — you lose the crisp glaze.
- Using thin bacon: It will burn before the glaze has time to caramelise properly.
- Not resting the bacon: Cutting into it straight from the oven means the glaze runs off and the strip stays soft.
- Too high a temperature: Above 200 °C the sugar caramelises too fast and burns before the bacon is cooked through.
Variations to Try
Once you have mastered the base recipe, the glaze is endlessly adaptable. Swap maple syrup for honey for a more floral sweetness. Add a teaspoon of Dijon mustard for a tangy edge. Use chipotle powder instead of cayenne for a deeper, smokier heat. A pinch of cinnamon works surprisingly well if you are leaning into the sweeter, brunch-friendly direction.
Final Tips for Perfect Results
Every oven behaves slightly differently, so start checking at the 10-minute mark of the second bake. Rotate the tray halfway through if your oven has uneven heat distribution. And always use foil under the rack — caramelised sugar stuck to a bare baking sheet is one of the most stubborn things to clean in any kitchen.
Spicy candied bacon is one of those recipes that genuinely impresses people out of all proportion to the effort involved. The combination of sweet caramel, smoky depth and building chili heat makes it completely addictive — and the fact that it takes under 30 minutes from start to finish makes it a permanent fixture in any serious BBQ cook's repertoire.